… I got your millimeter right here, pal!
David
From the Land of Inches, Feet, Yards, and Miles
-
Funky? It seems that America is learning the metric system one millimeter at a time!Leave a comment:
-
-
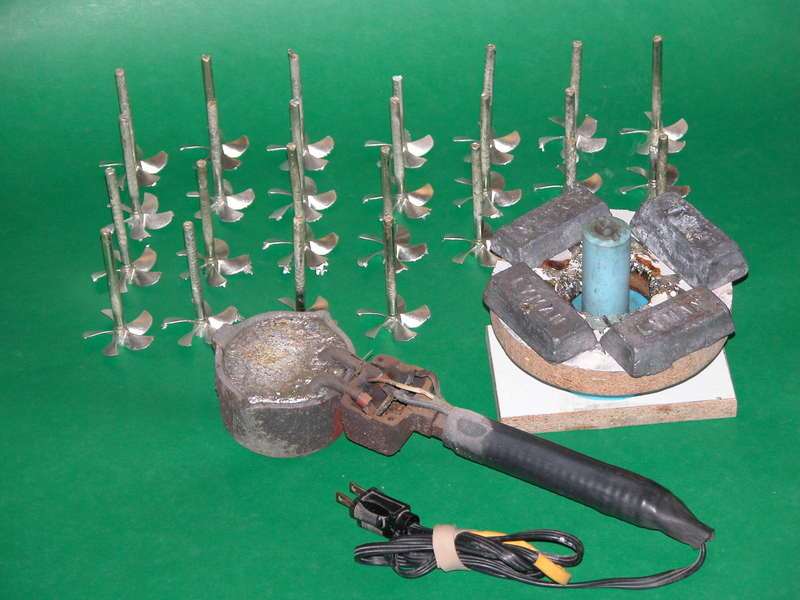
Waiting for more rubber to arrive (Friday) so I've been casting the rear planes.
Leave a comment:
-
-
Nope. I'd need a 1.2 metre long pot to do that. I've found that the best practical method is to brush on the first two coats of goop to pull the bubbles out. I missed the bit near the bottom sonar dome and it set up before I could get back to it. Hopefully the bubbles are in the matrix and not on the surface of the plug. More glooping tomorrow.Leave a comment:
-
Do you vacuum the mix before application? If not, the alternative is to slip the work into a pressure pot and take it down an atmosphere and keep it there till the rubber changes state.
DavidLeave a comment:
-
That was the top; this is the bottom.
I'm having a small problem with trapped air bubbles. They are small but persistent. I'm using a brush to paint over the rubber to release the bubbles but if you miss a few and the rubber goes off, you're done.
Leave a comment:
-
I wondered how you did that. Meanwhile the first layer of gloop is on!
Its a crappy photo. I had to shut the shed doors to keep out the sunlight. The moulding clay interface between the plug and the splitter board kept melting. Have to wait a few hours while this skin coat goes off before adding thickened gloop to make up the full thickness mould.Leave a comment:
-
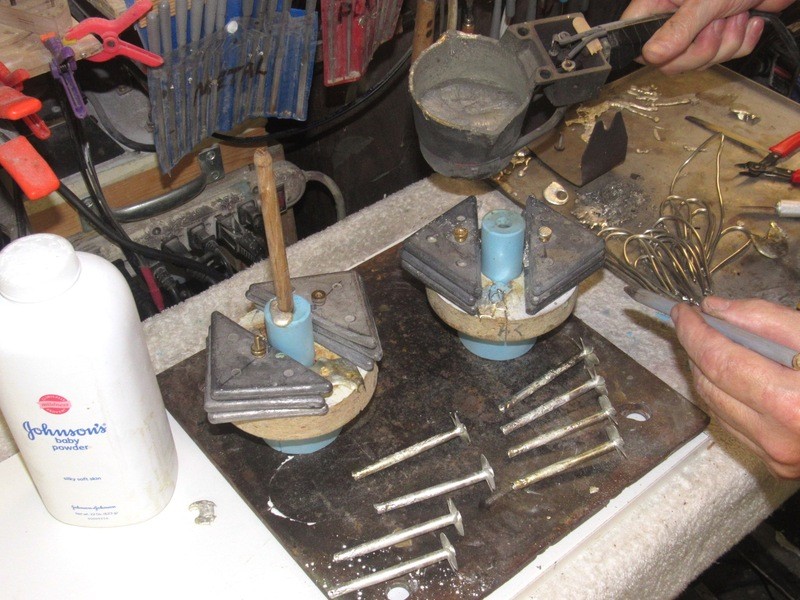
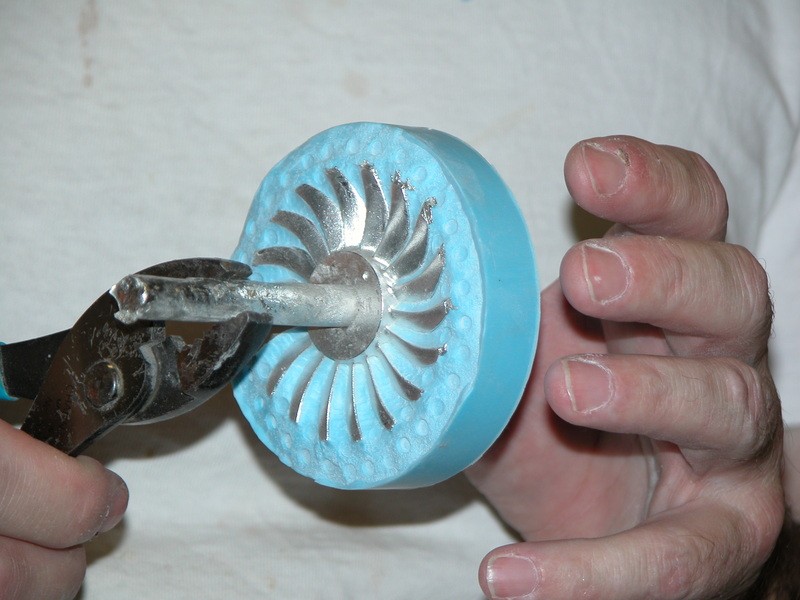
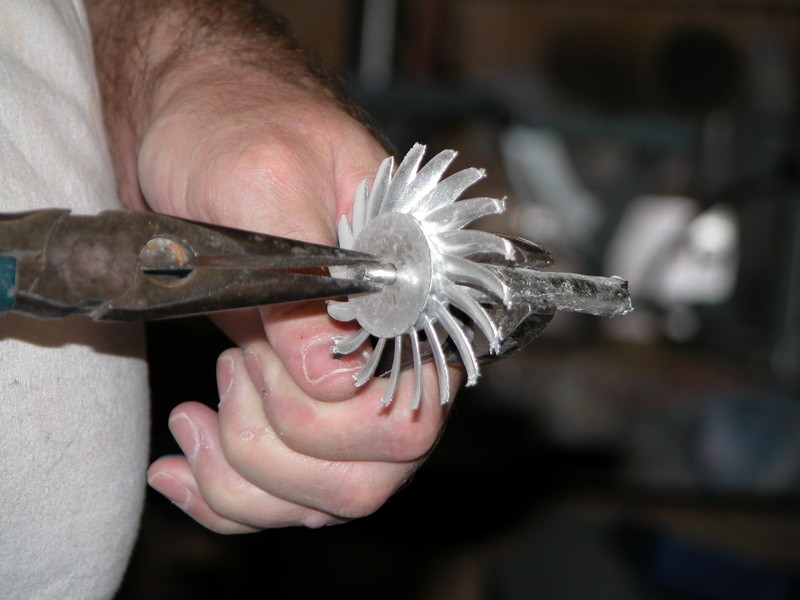
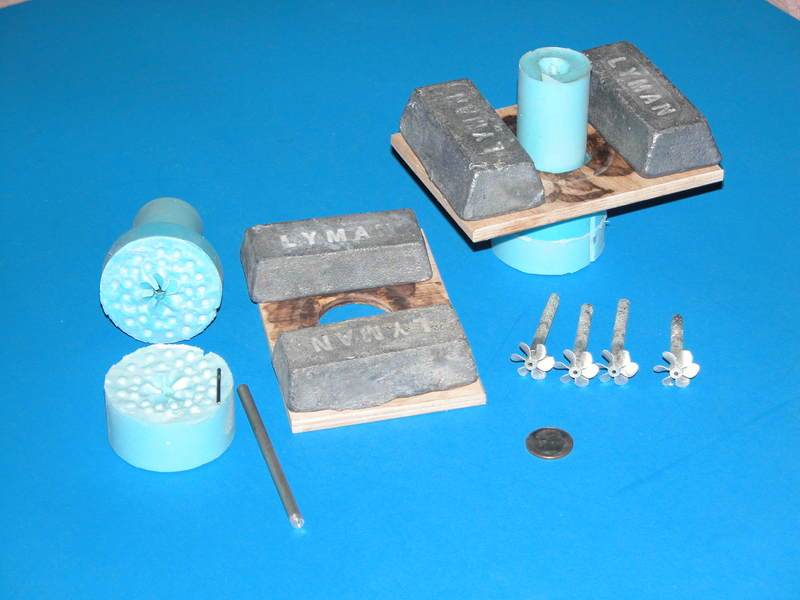
The dowel is inserted at the top of the sprue channel to displace a bit of the liquid metal. As the opening of the sprue channel is beveled. Failure to dump the metal at the top would result in a plug of frozen metal that would prevent removal of the propeller and attached sprue piece from the tool.
DavidLeave a comment:
-
-
Leave a comment:
-
Insanely good stuff. Can't wait to see that how that sail comes out. Silicone should arrive today, in which case I will get on with making the hull moulds. Onward!Leave a comment:
-
Leave a comment:
-
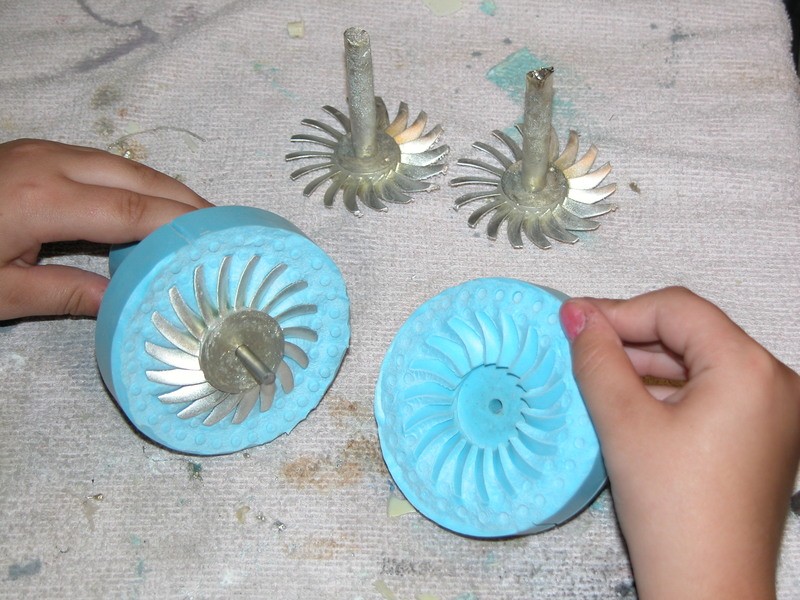
Good eye, Andy. And you surmise right: the rubber jumps out of the way, the rigid GRP does not. A guided hand, and the properties of glass and rubber get the job done with little damage to the tool.
Can't do this to a hard-shell tool without the risk of damage at the flange line.
DavidLast edited by He Who Shall Not Be Named; 04-03-2019, 06:12 AM.Leave a comment:

Leave a comment: