
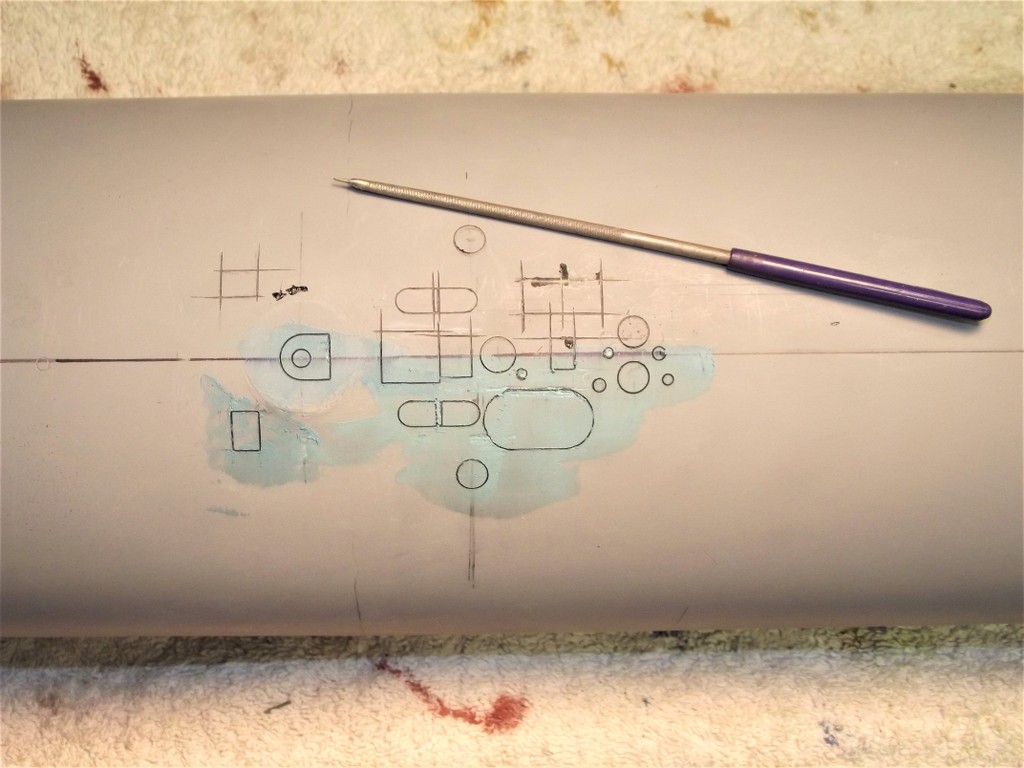
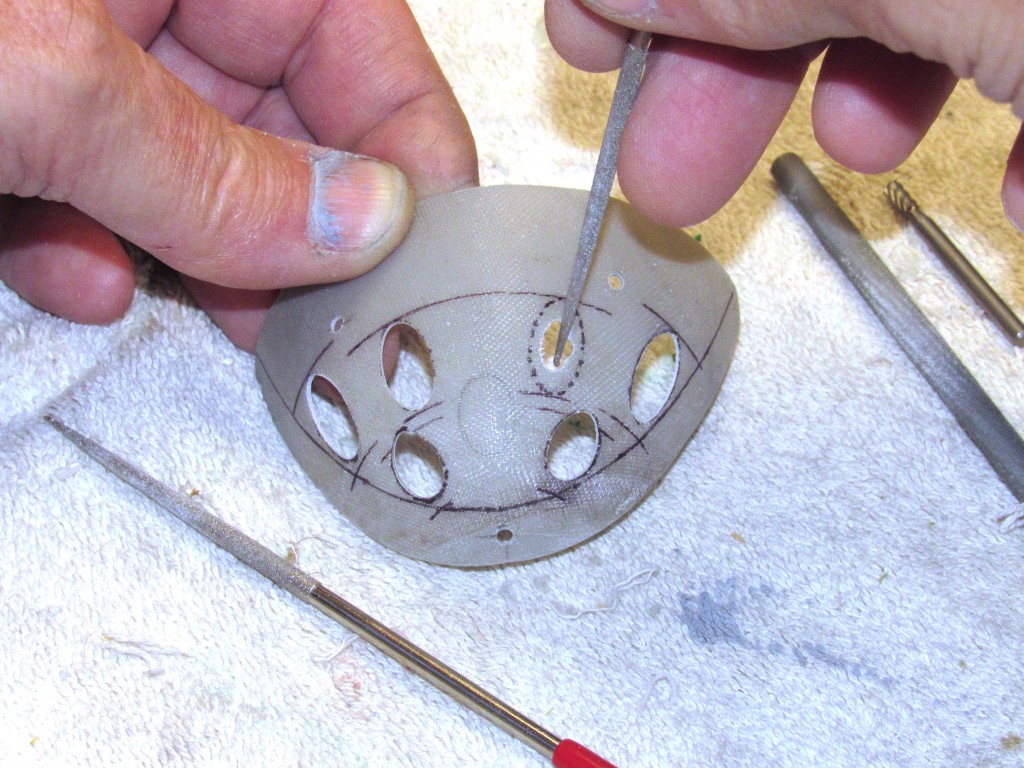
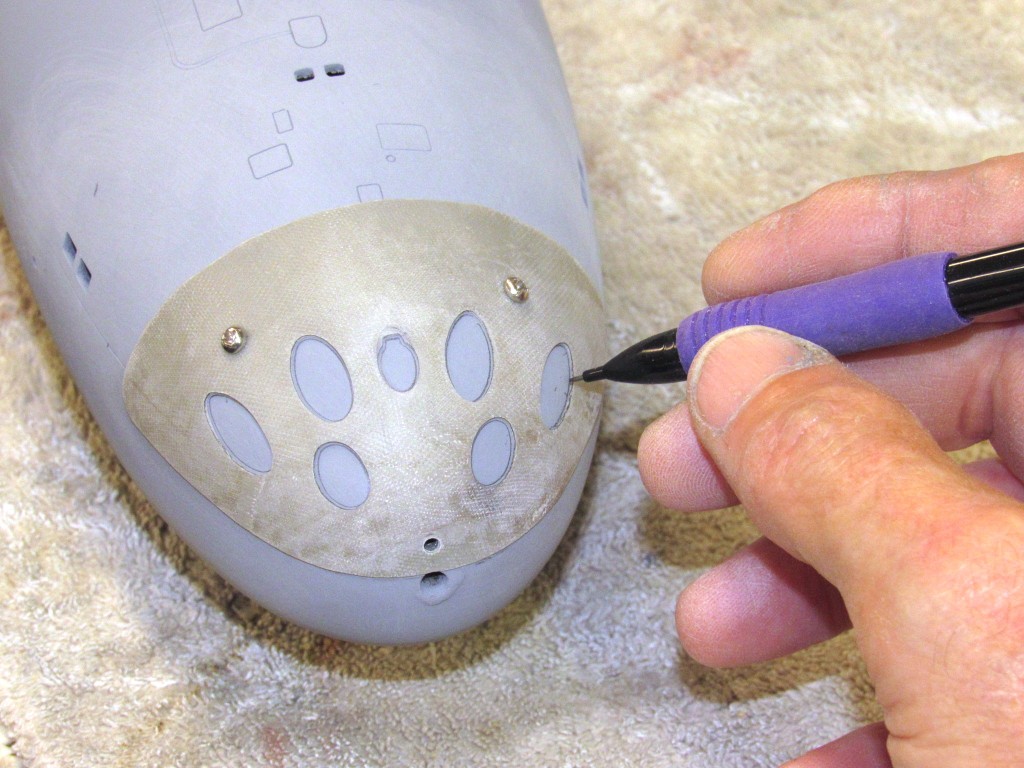
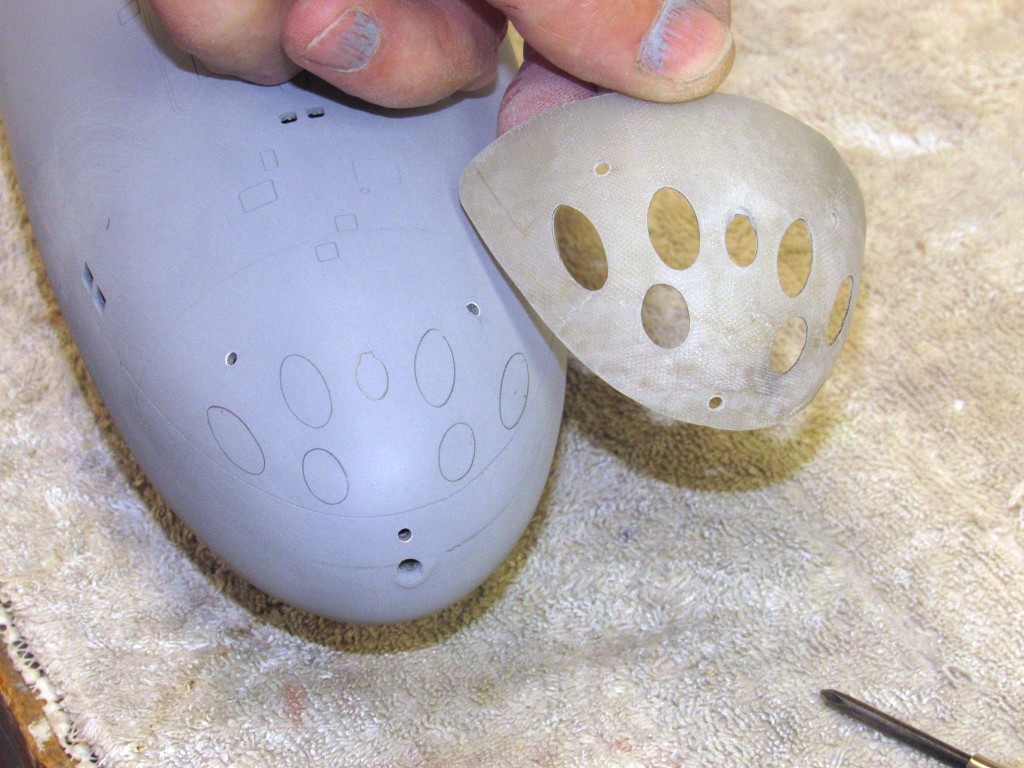
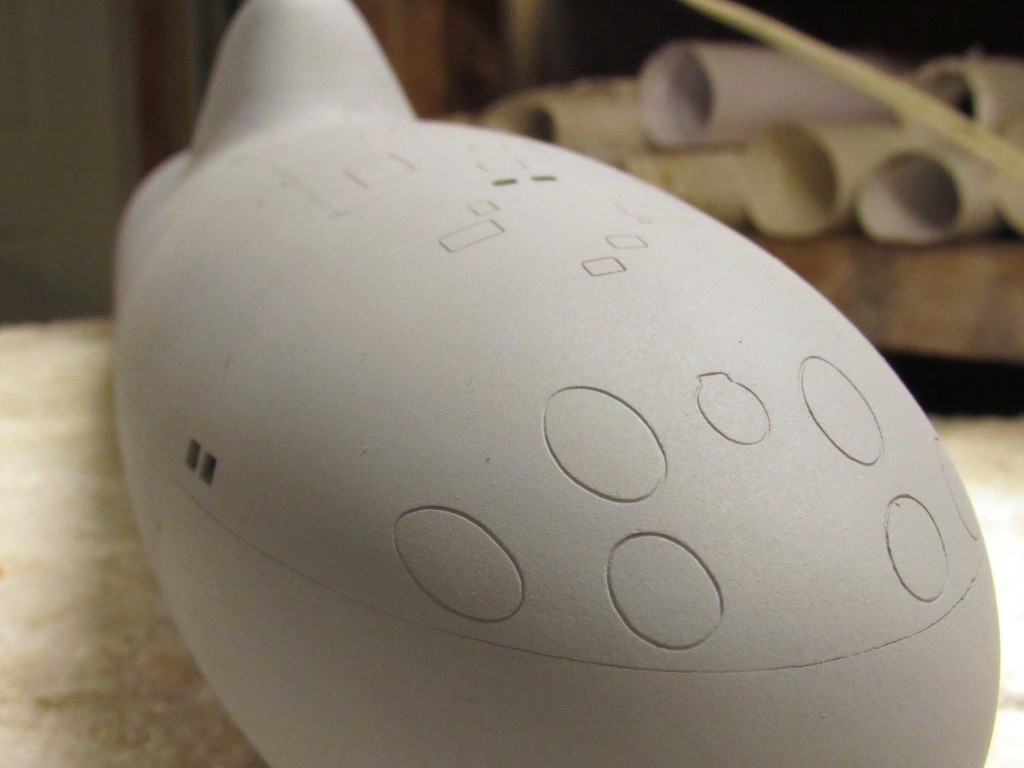
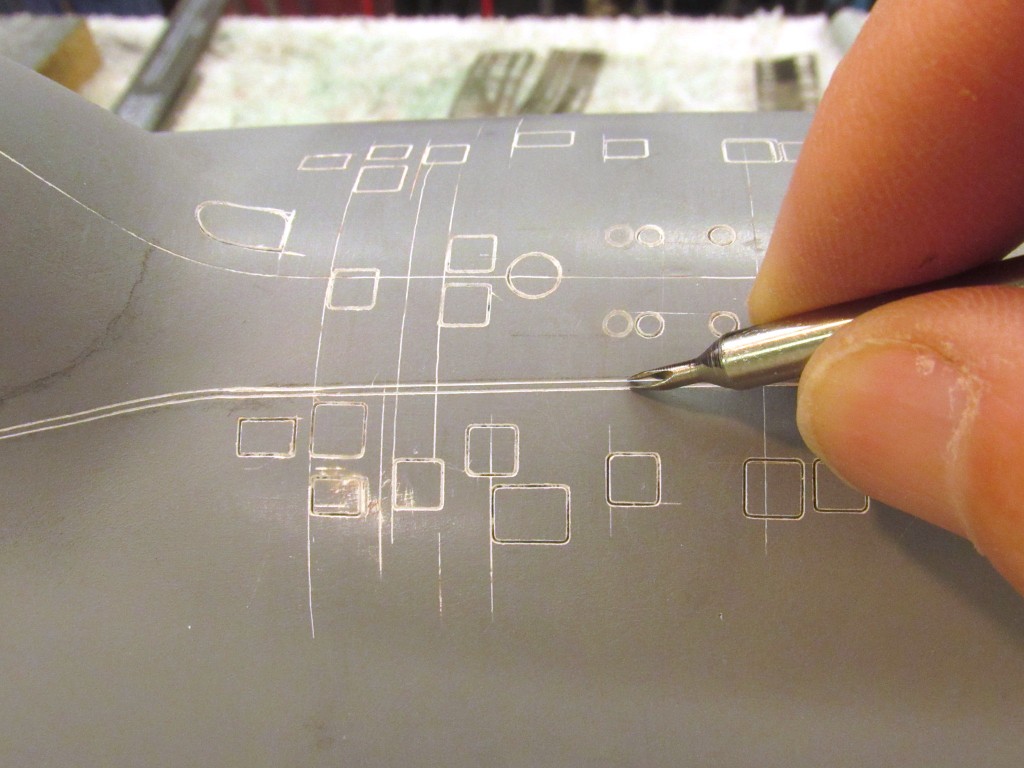
Done scribing. Ready for priming and colour! Must say, this was the first entire hull that i (re-)scribed... 


-
-
Your work improves with each new project, sir.
DavidWho is John Galt?Comment
-
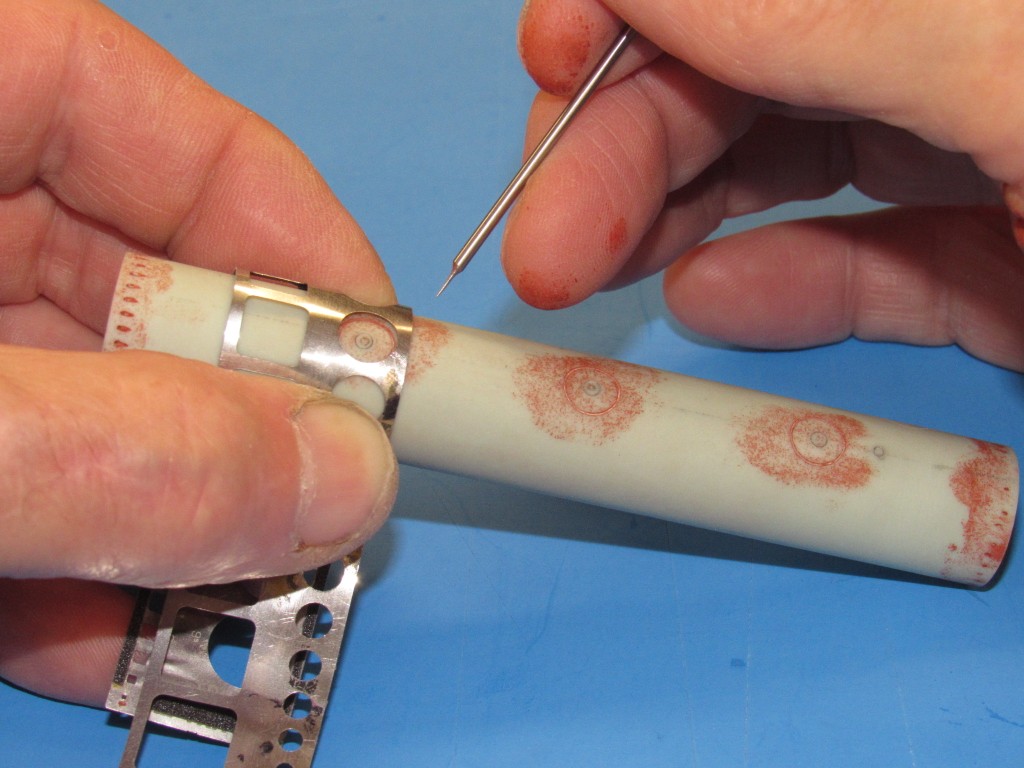
Thank you! Well see how things look after painting. Am sure ill find some more spots to refine. Will make a new set of tools for scribing, did all this with a fine blade and a needle pin.it worked, but i have got some ideas for better performance. Happy new year!Comment
-
What are you using for tool construction? Spring steel? What is the red filler (nitro?bondo?) good for? Your Alfa is great. i own the Kehrer version thats sadly quite flawed.
Thanks for the pictures,very inspiring!Comment
-
Kehrer stuff always looked pretty decent to me, what's wrong with your boat?Comment
-
Its not to scale, its alfaish'. Flat deck, sail too high wrong bow, planes too small. Therefore, its still resting on the shelfLast edited by JHapprich; 12-31-2020, 04:32 PM.Comment
-
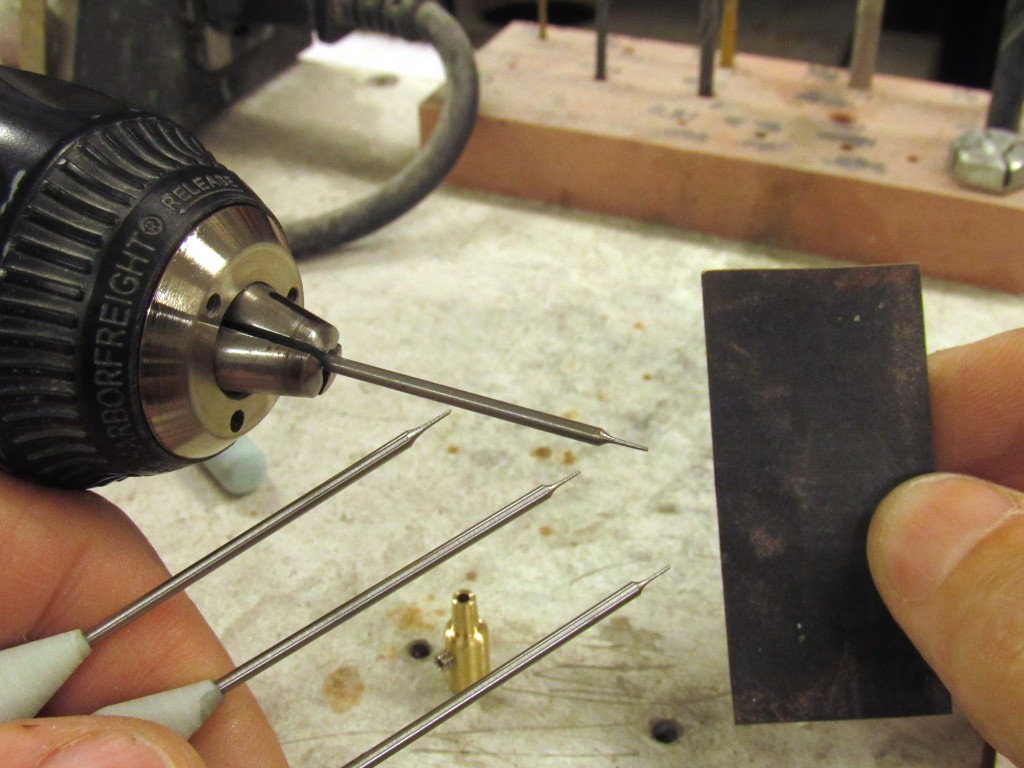
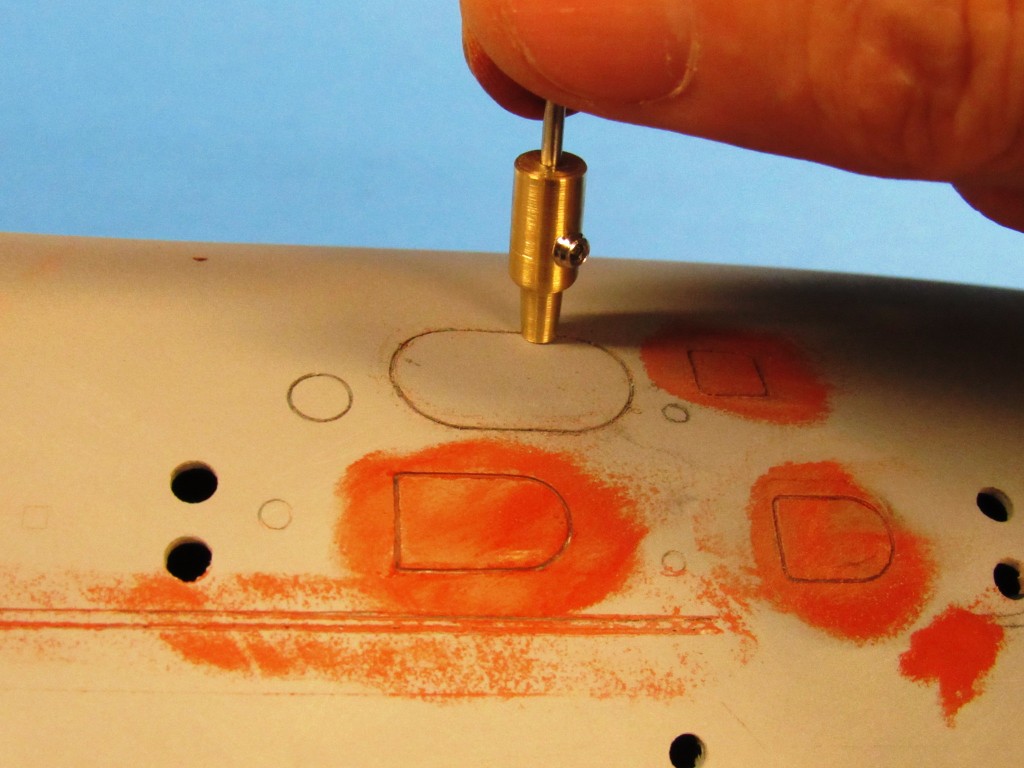
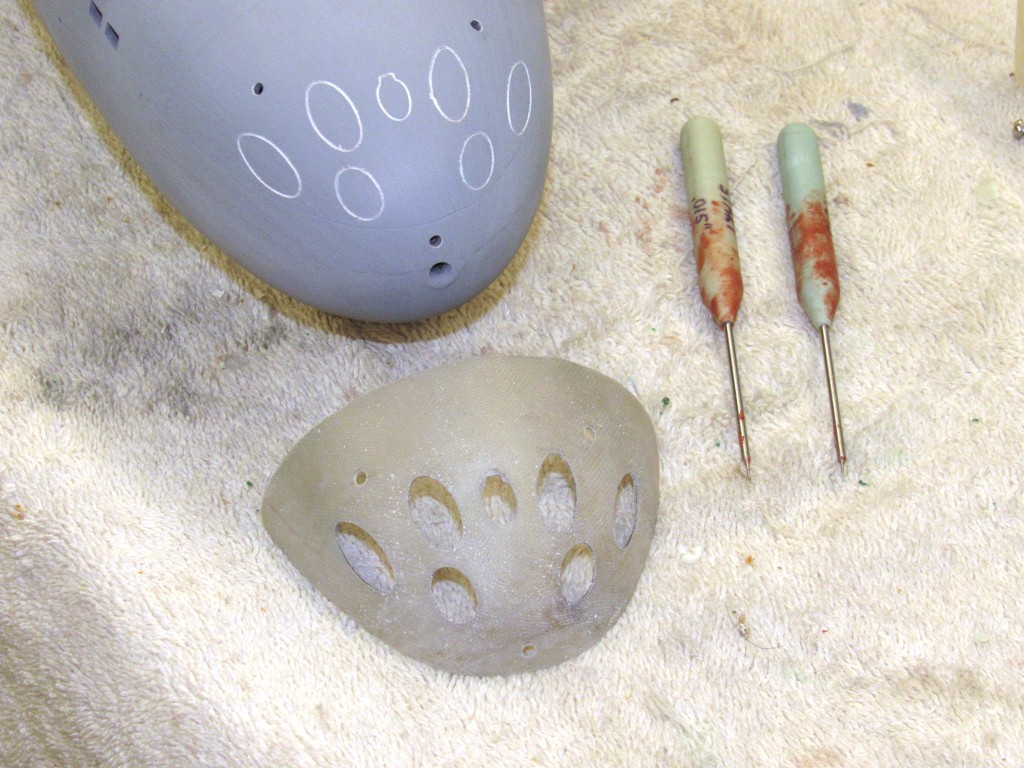
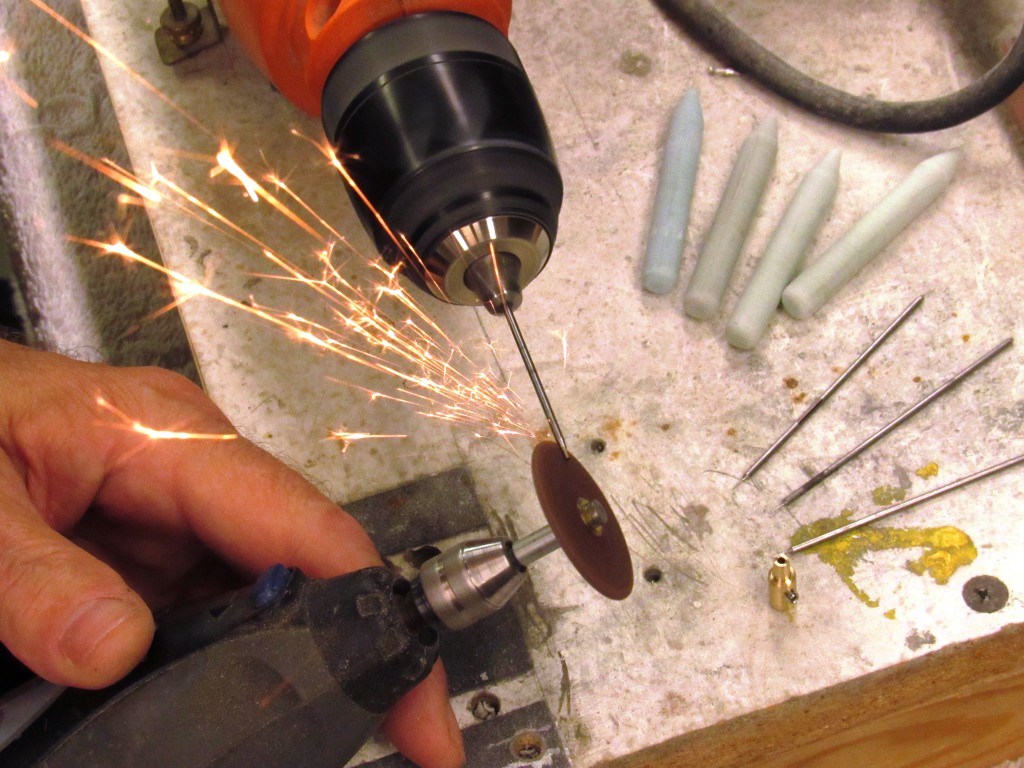
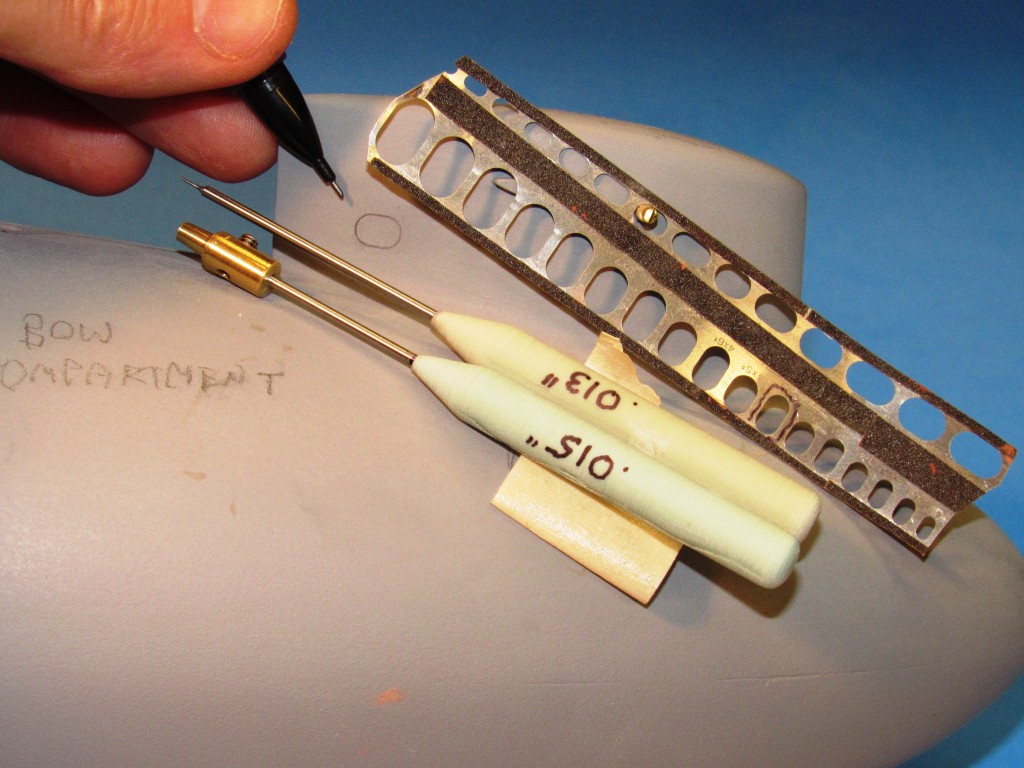
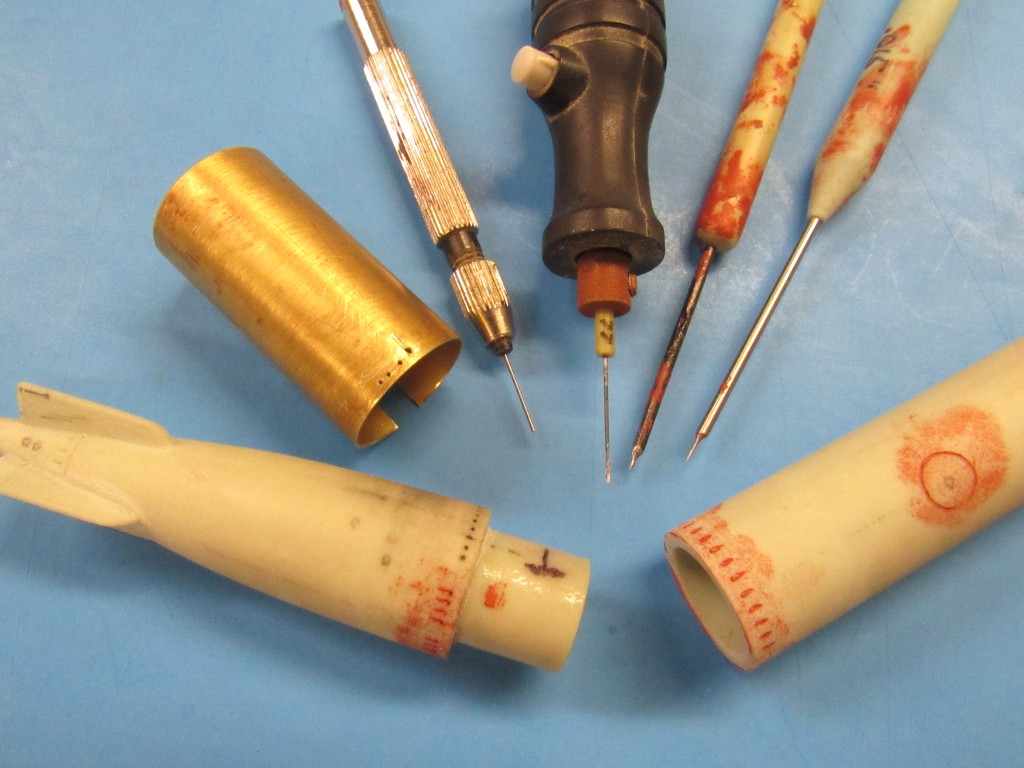
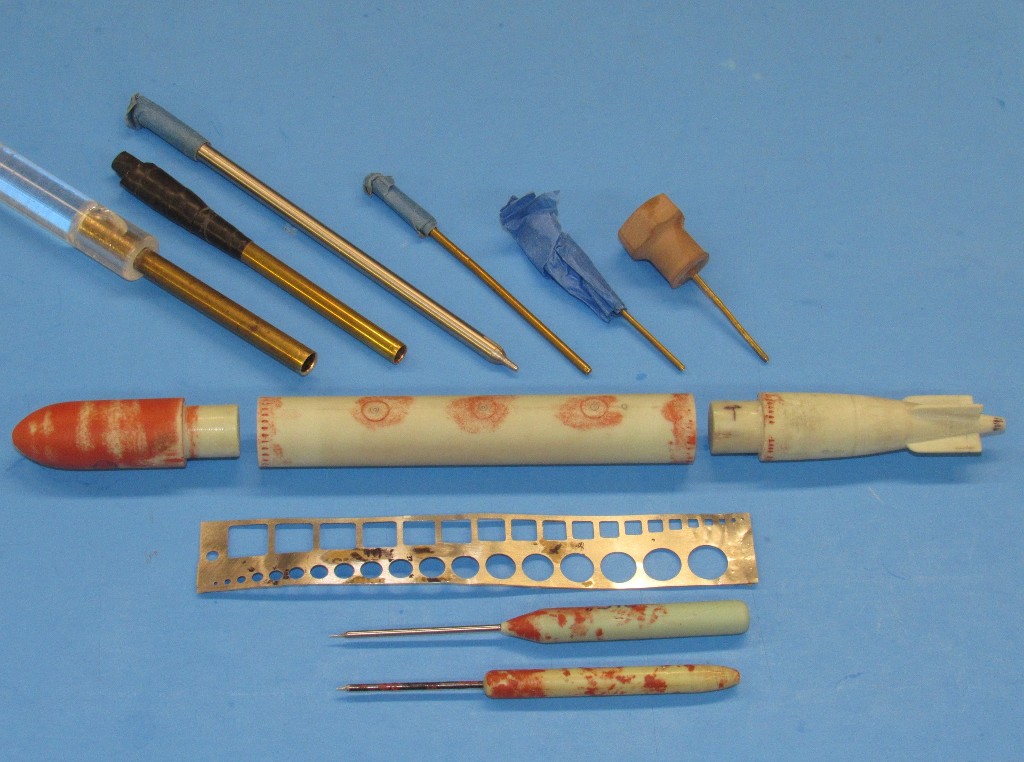
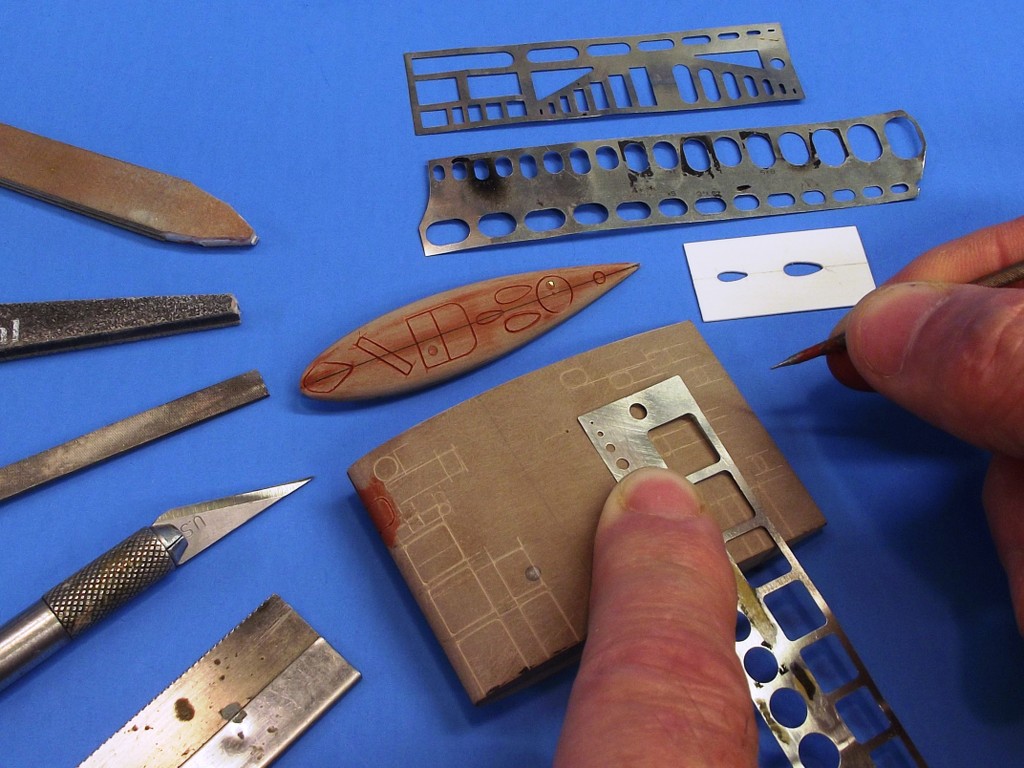
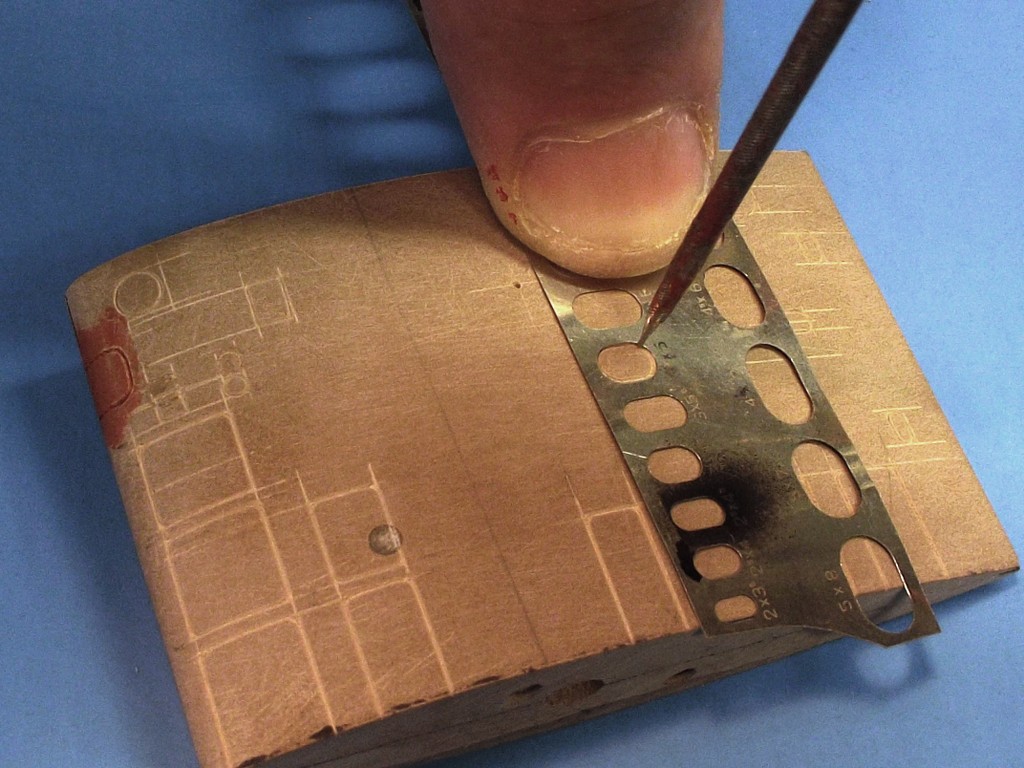
Yes, high carbon steel. Holds the edge against the ravages of fiberglass fibers.
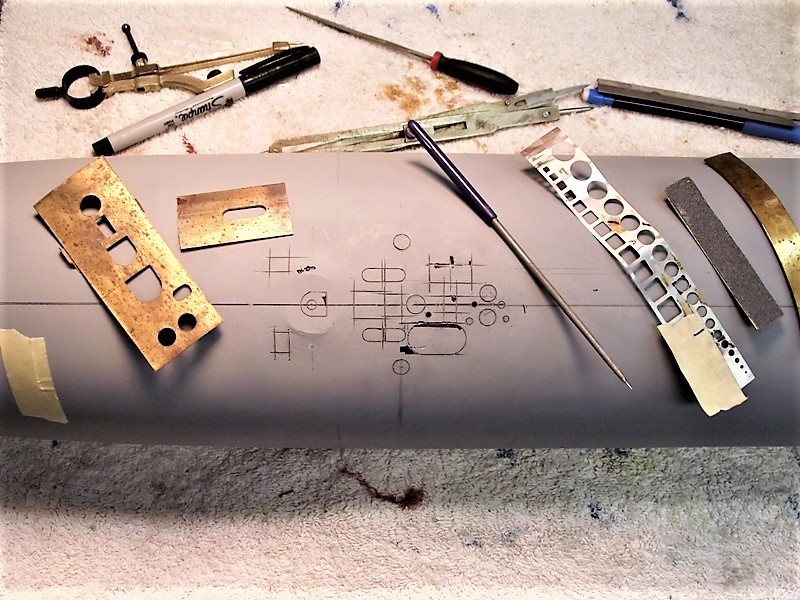
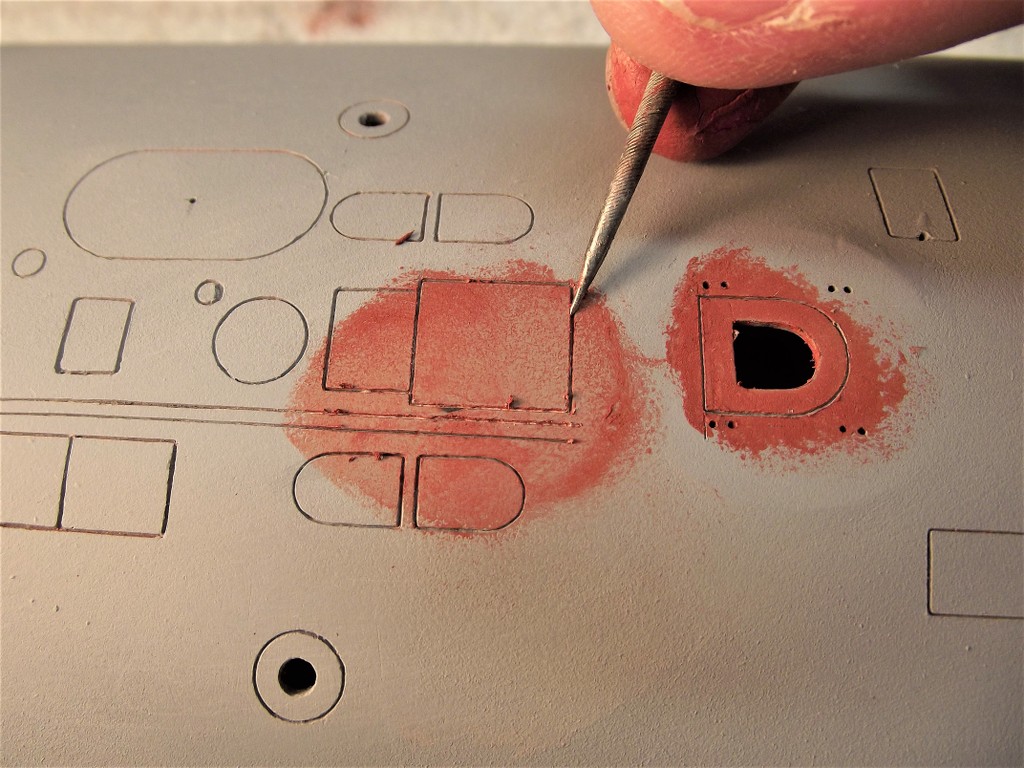
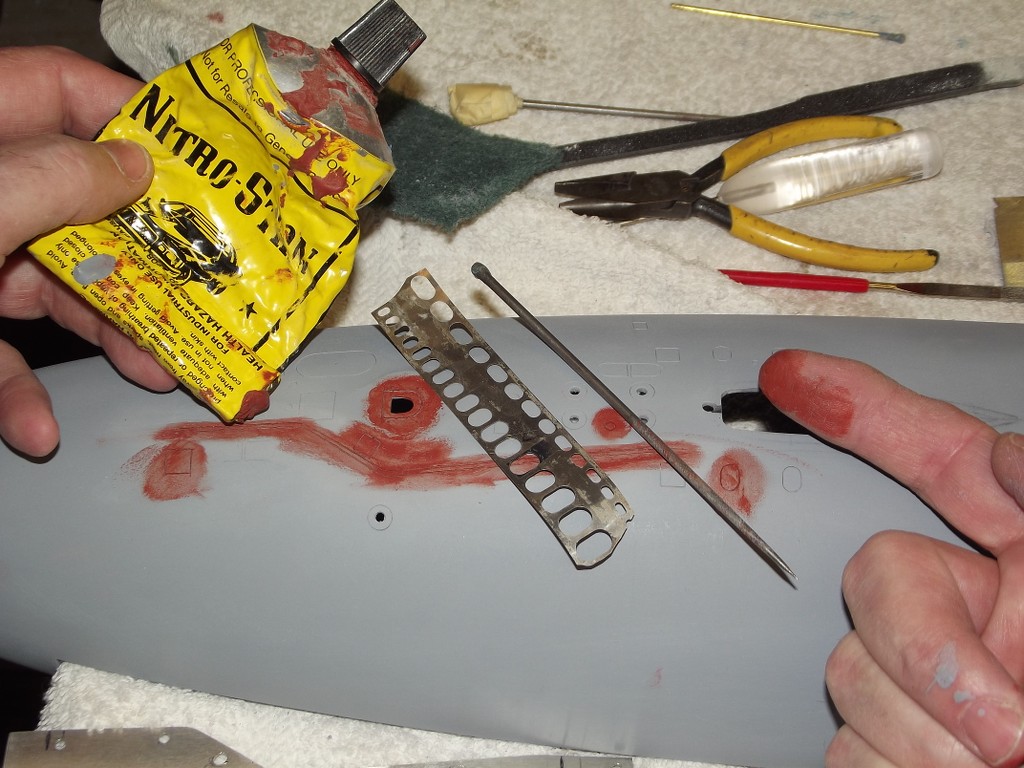
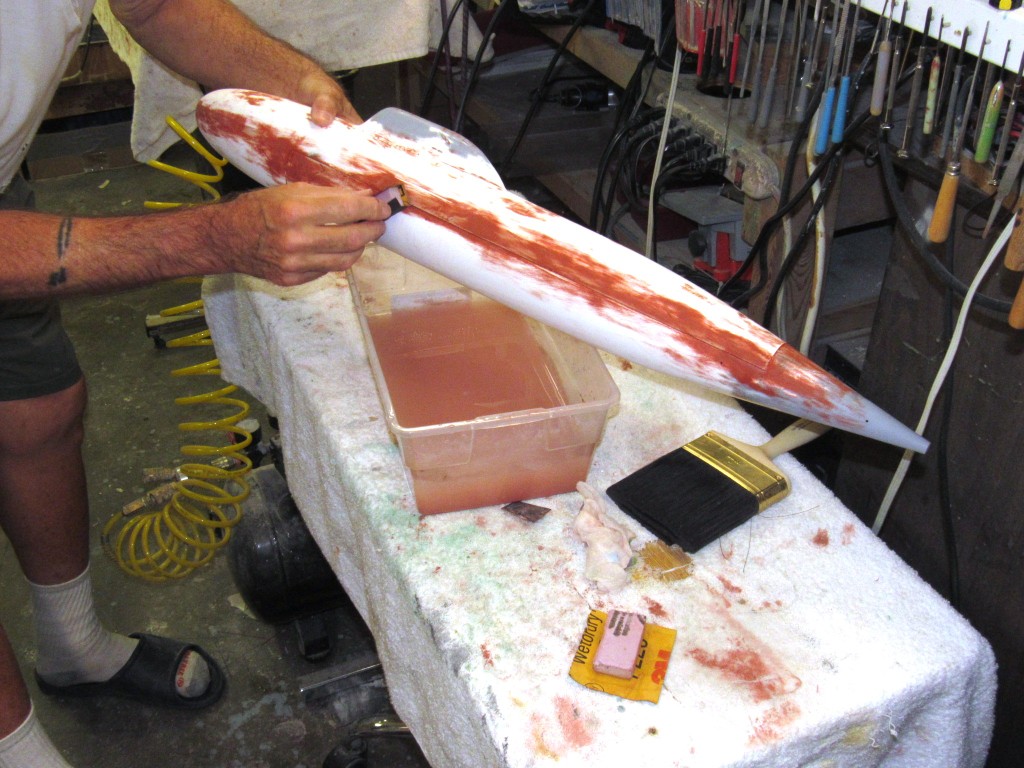
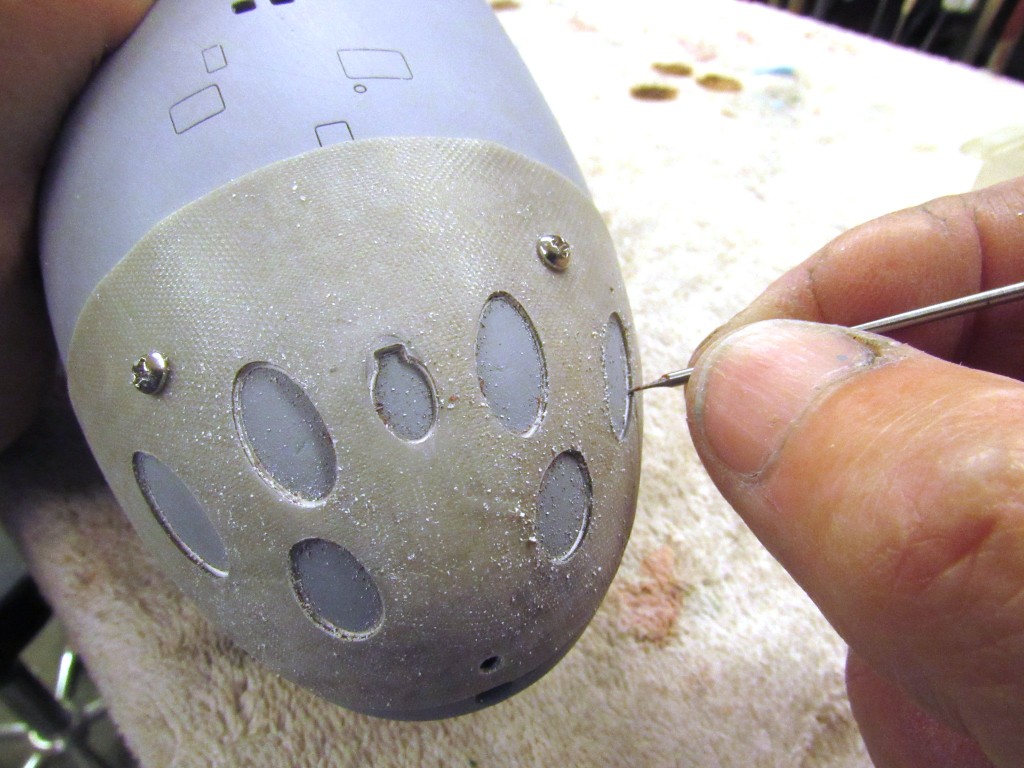
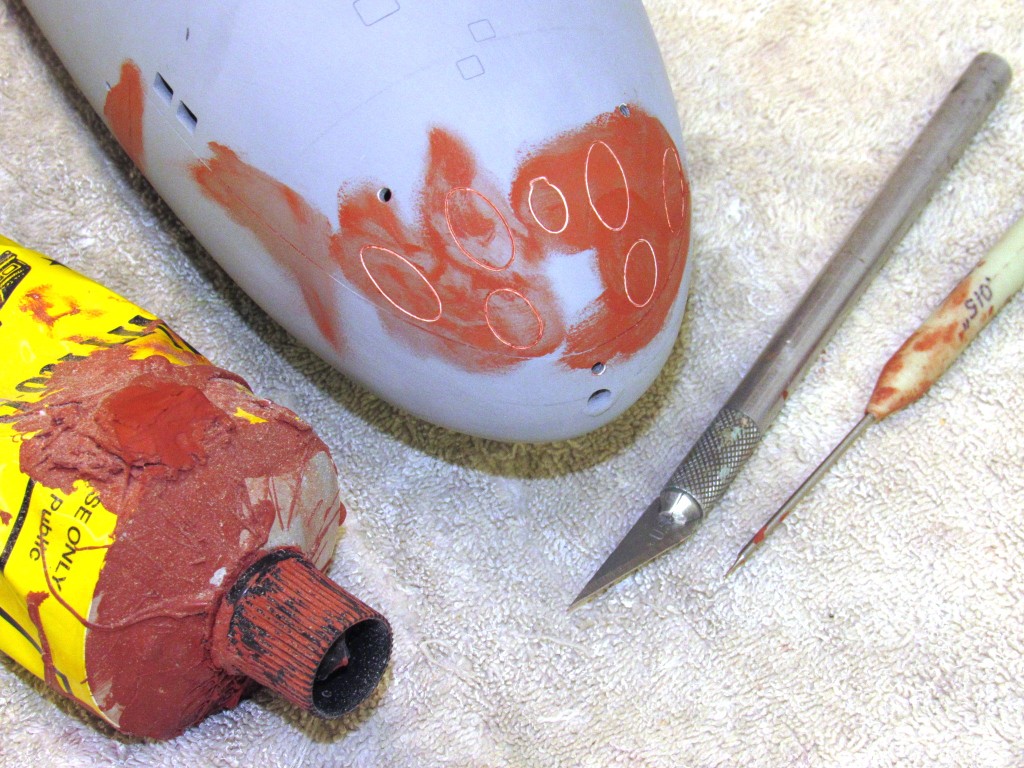
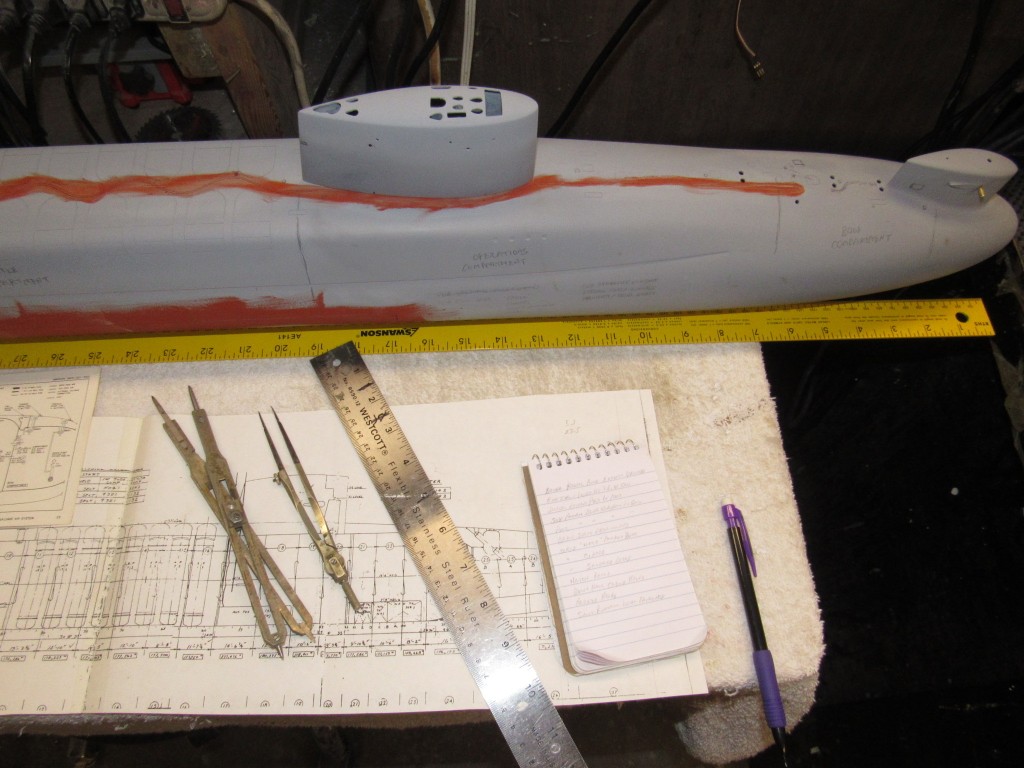
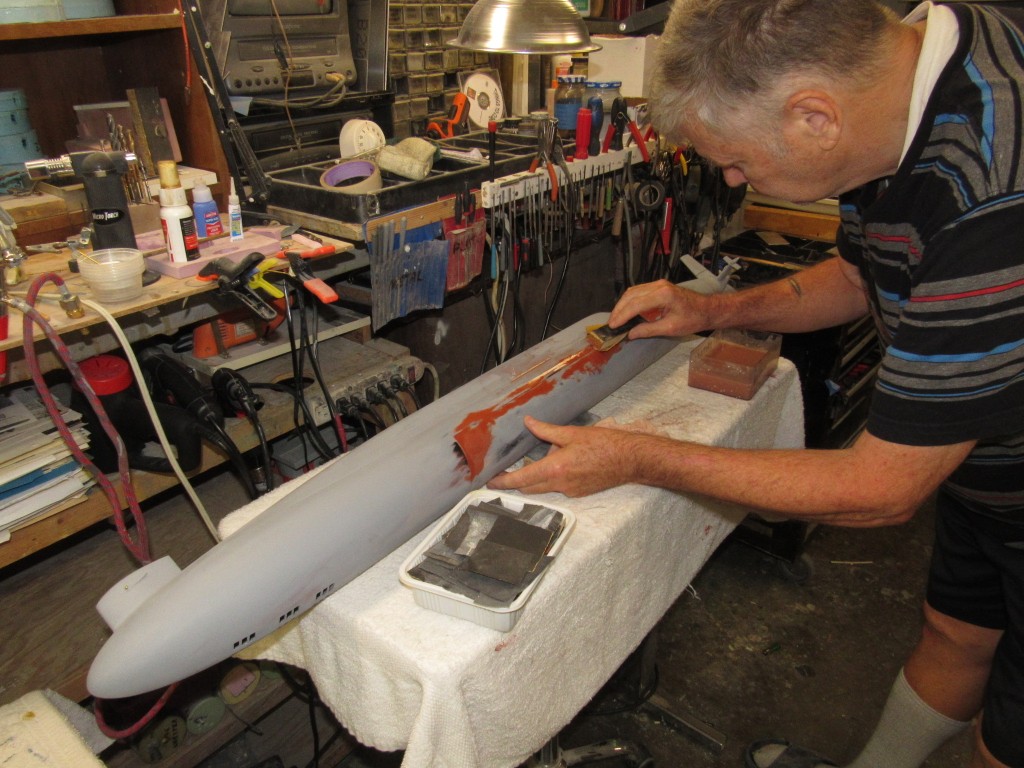
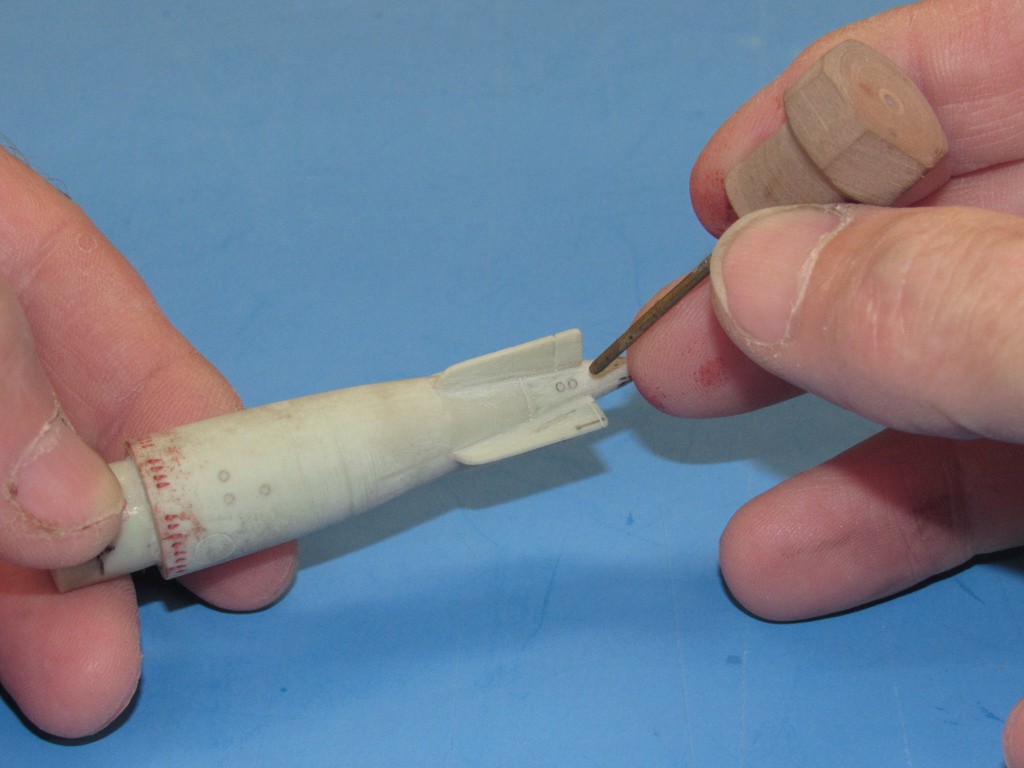
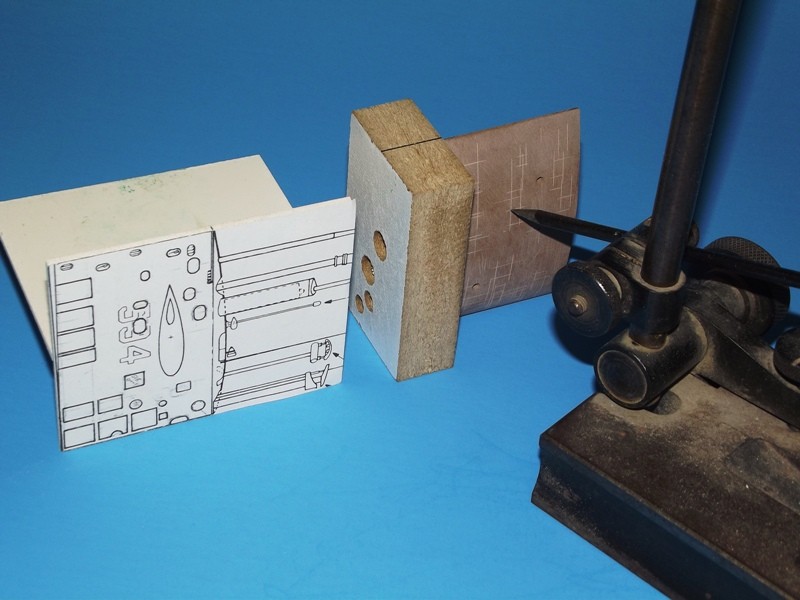
The air-dry putty is Nitro-Stan 2001; sometimes Bondo, used to fill scribing over-strikes and corrections of depth and outline -- you smear the putty into the engraved lines and adjacent area, then chase out the putty with the engraving tool before it hardens, all this to tighten up the engraved channels and fill the adjacent surfaces.
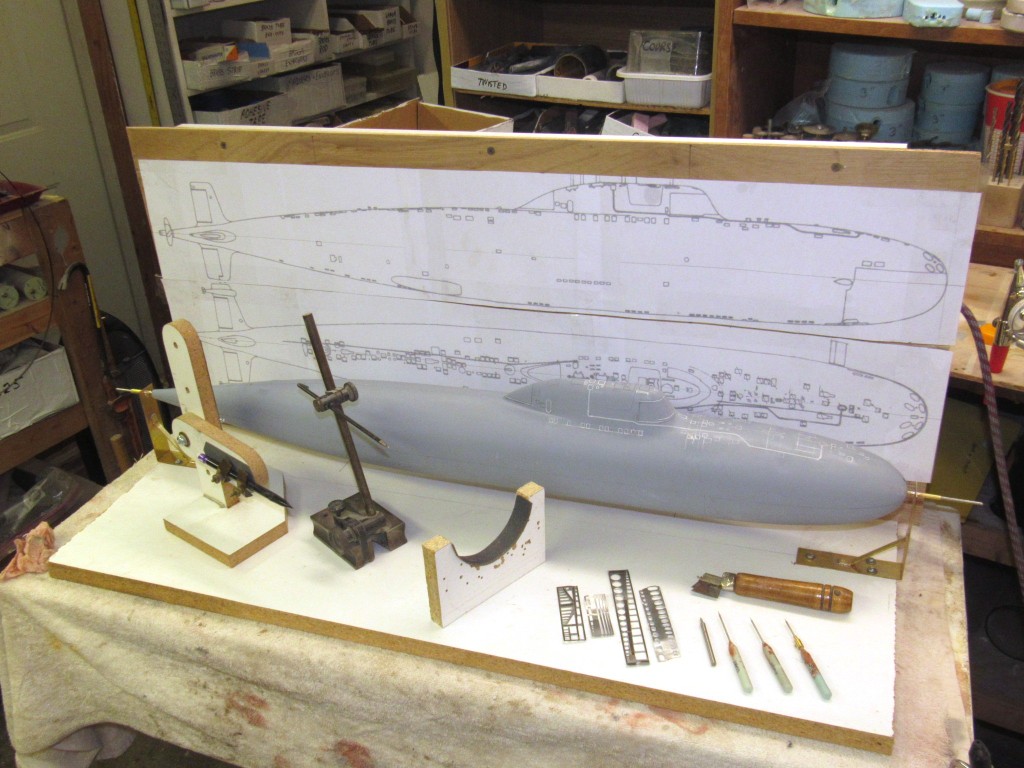
I bought the Scale Shipyard 1/96 ALFA kit. Reasonably accurate shape, but I had to scratch-build all the appendages and engrave the hull. I'm about 80% done with that kit assembly and hope to wrap it up before the next SubFest event.
 Who is John Galt?
Comment
-
Comparision:Comment
-
That Kehrer kit is not too far off the mark. But, GOD!, what's the wall thickness on that GRP hull??? And the manufacturer should have put the fillets at the base of the resin stabilizers, not atop the hull. Yuck!
DavidWho is John Galt?Comment
-
To me, it looks like a victor I - alfa hybrid. Ill most likely make a template from all the scribing of the hull fwd of the sail and grind that deck round. Still zhe sail itself will sit too high. Wall thickness 2-3 mmComment
-
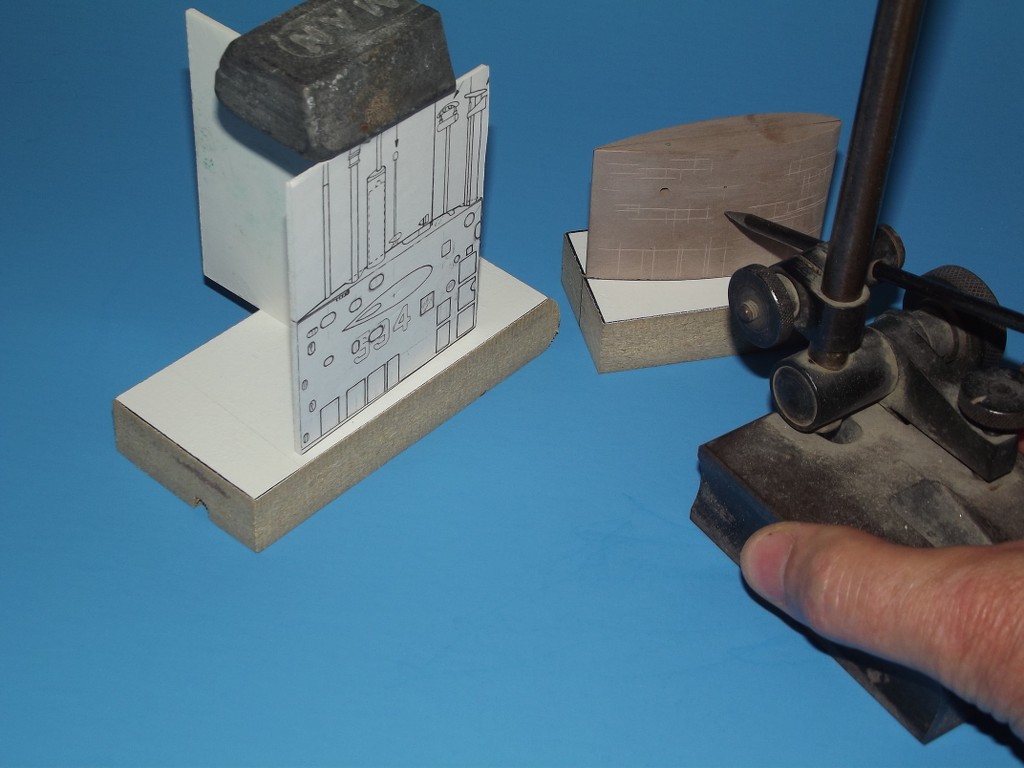
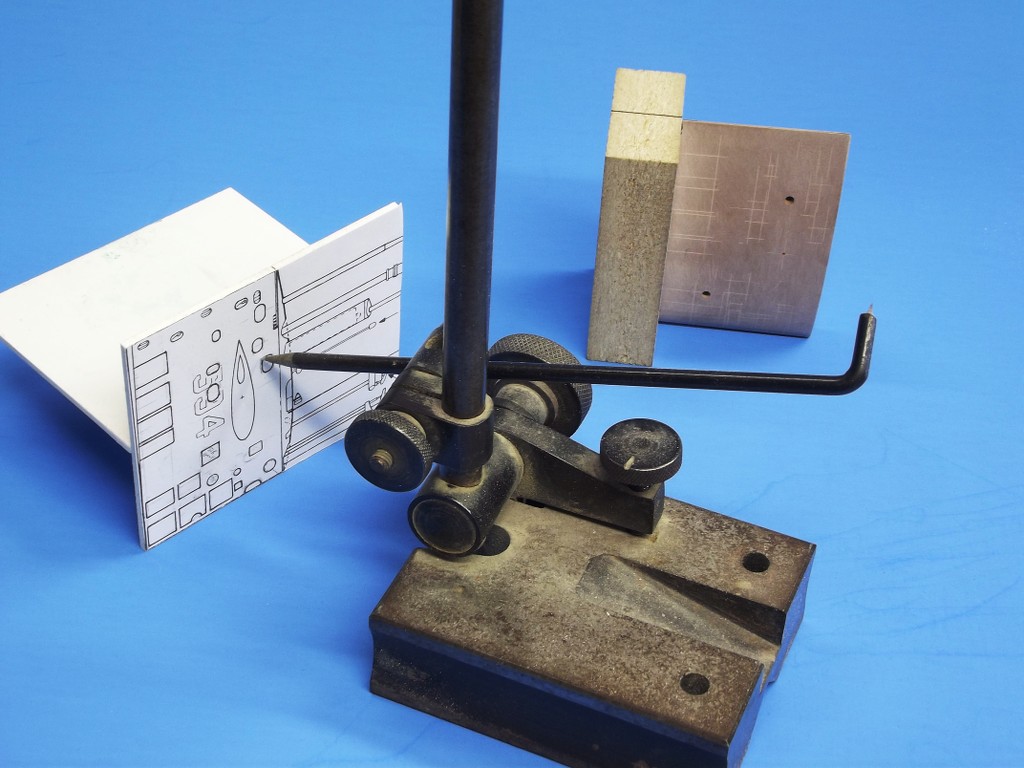
Hello and happy new year! Some more progress: corrected scribing flaws with nitrofiller and assembled a simple jig for painting. A new airbrush is underway.
Comment
-
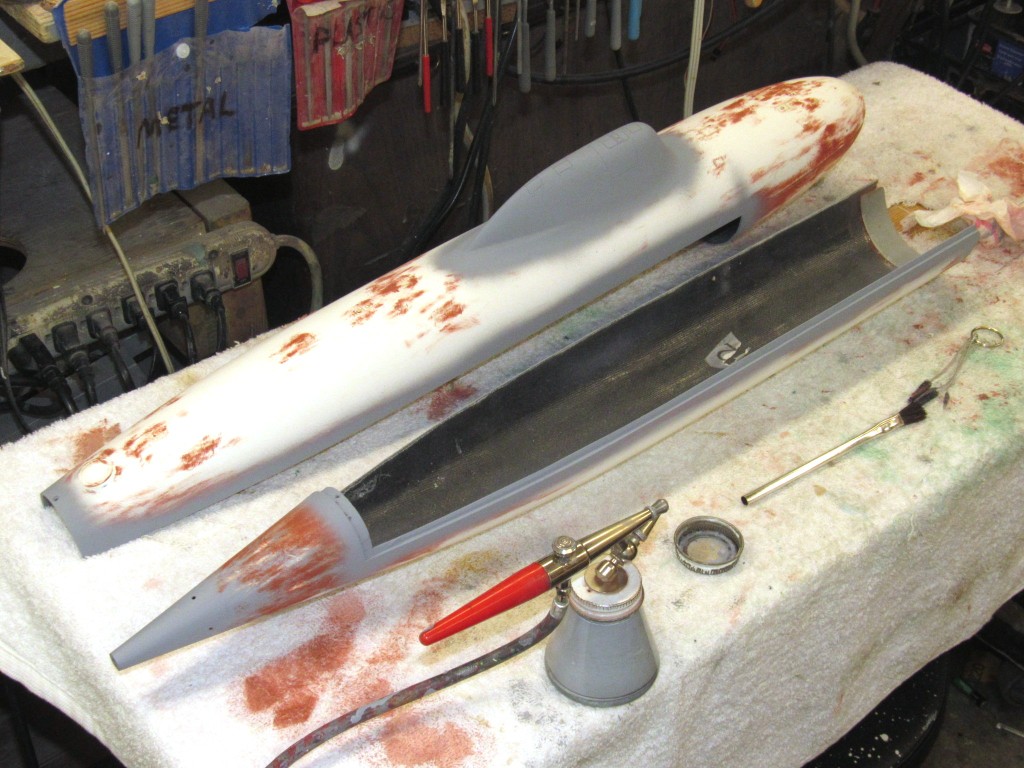
Hello again! Airbrush has arrived and my zb-1 wtc is enroute to Germany. The weather forced me to move into our home's attic for more filling and sanding, mostly on the fillets of the stern planes. I used nitrofiller and ca for those often very shallow scratches and gaps. In my opinion on has to come to a point on which one has to decide whether the hull is fine and fit for painting in order to move on forward with a build, and this one has developed into a slow one not only because of the lack of time to work on my kit. In most cases, my intention not to assemble a stock kit but to add more details and sometimes make changes to the original layout caused delays in progress. Long story short, time for painting. As i am all newbie to Airbrushing, i am first of all tried spraying water on papercard to see how things work and what settings are available with the spray guns. I then filled primer from a rattlecan into a small glass that i then left for the moment to make sure all the gas beeing released before airbrushing. Gave the hull a light sanding with 800' and 1200 grit wet paper, then carefully removed the dust und degreased with alcohol. Loaded the primer into my preferred single-action gun...nothing! Nozzle jammed or whatever... so switched to the siphon-type double action i got as well. Worked.very slowly,but i achieved a nice thin layer, not yet consistant, but allright for priming. Lost no scribing. No surplus paint running along as i knew it from cans. Great! Will need to scrub with steel wool on some spots and fill some residual marks i found but alltogether am pleased with the result. Good to see the boat in a uniform color again. Will do more trial and error with the paint, though, to see how to achieve a thoroughly covering and even paint layer.
Jörg
Last edited by JHapprich; 01-13-2021, 07:39 PM.Comment
-
Nice work Jorg!
now that you are using a proper spray gun you won’t go back. Fun isn’t it?
Dave.Comment
-
Yes! Nice clean working. Only have to learn how to avoid that SeaQuest camo pattern...Comment


Comment