-
Regards Gantu -
Two more photographs that I hhad not seen before. Thanks Gantu.Comment
-
You welcomeRegards GantuComment
-
I'm trial fitting the brass inlay to make sure that it will fit. In the past I have fitted the inlay to the plug and then cast it using silicone rubber to capture all of the detail. This time I'm thinking of making the mould with recesses cast into it and then fitting the brass inlays to the finished hulls. Requires more brass inlays but should produce a cleaner finished product. We'll see.
Comment
-
You don't want to do that.
First, if you outfit your master/pattern/plug (whatever!) with the metal inlays, that's work you won't have to do on the eventual laid-up GRP hull parts. Second, metal and GRP have different coefficients of expansion as a consequence of heat and other environmental factors -- the bonding area between metal and GRP will eventually fail and evidence as a raised or sunken line between inlay and GRP (just ask John Slater about this).
Of course such high draft items would be impossible to capture in a hard-shell type tool. This will only work with a tool of the rubber-glove mother-mold type. Duh!
So. Bite the bullet, stop whining, and do the metal inlay work now .... on the frig'n master!
I have spoken! (crack of thunder sound).
DavidWho is John Galt?Comment
-
Jeeeezz, is there no escaping Zeus? There are thunder clouds over my house as well.Comment
-
Honestly though ...
This is some outstanding work, pal.
What a wonderful addition to your ever growing 1/96 scale fleet. How long a 2.5" cylinder will this thing accommodate? And the same for a 2" cylinder. And when you do that give a little room in the ass-end for running gear and stern control surface linkages.
You know where I'm going with this, right?
DavidWho is John Galt?Comment
-
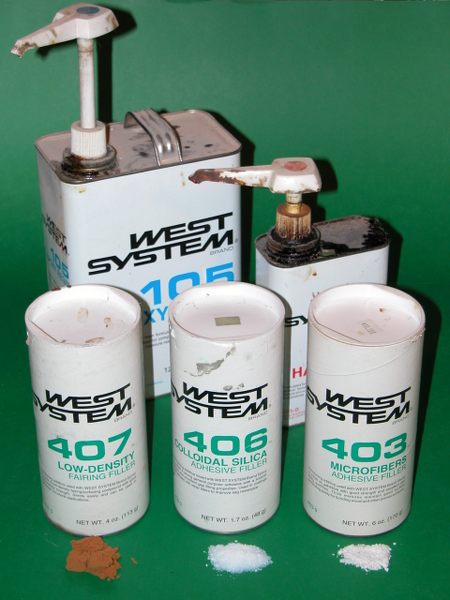
... and when you do the lay-up of the parts, for God's Sake, switch to an epoxy laminating resin; leave the work in the tools a good week before pulling them; and lay up more glass this time -- you're not making an r/c airplane fuselage here!Who is John Galt?Comment
-
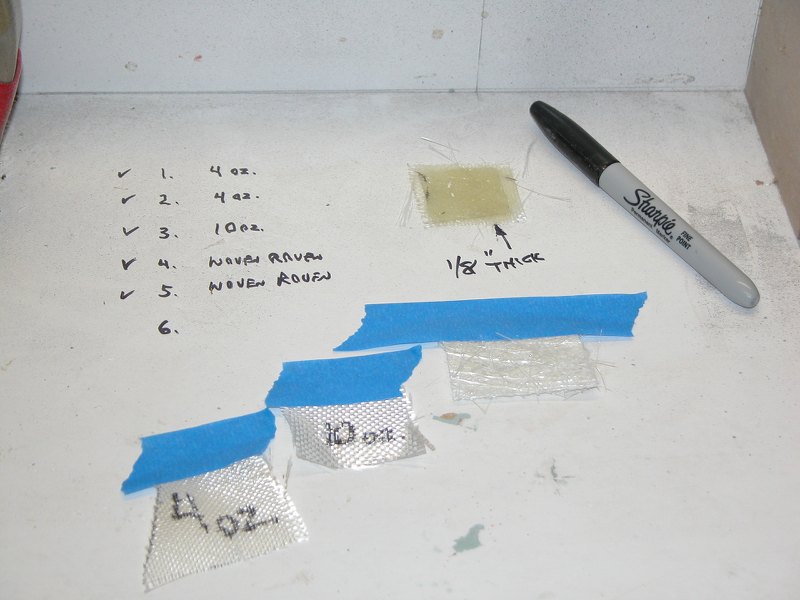
Right... what do you use for a gel coat with epoxy? How many layers of glass and what weight?Comment
-
Excellent scribing, i wish i had that gift in my hands, as for the gel coat, i use a polyester based one, it's using two components, the polyester resin itself and the hardener, the trick will be to add the glass layer when the gel coat is still sticky, this way it will stick well against the epoxy resin, wait too long and the gel coat will rip itself loose from the epoxy.
Use a high quality mold loosener, otherwise you will end up with a permanent mold with your master inside, unless you wish to rebuild the complete master offcourse.
I Always aim to get me a wall thickness of 2 or 3 mm, the amount of layers depents on the glass cloth you will use, with 160 gram cloth it will take about 8 layers, David is right with keeping the master for a week inside the mold, this way everything inside will be cured completely.
Manfred.I went undergroundComment
-
Thanks David and Manfred. I am a complete clutz when dealing with this stuff. All advice gratefully received.Comment
-
So I took a deep breath (and a hammer, chisel and craft knife) and I split the plug at the mid line. It was made in two halves - upper and lower - joined with blue RTV in the middle. I was a not really sure that it would work but with a cut, a wedge and hefty twist it came apart cleanly along the mid line leaving me with an upper and lower hull. Here it is on the mouding board.
Comment
-
Use a single moldingboard for each half, this will give you room to play for laying down the glass cloth.
It will become handy when building up the hull parts, you can switch between both halfs.
Manfred.I went undergroundComment


Comment