I find it not optimal when the caps are plased at the ends of the tube.
It can be made perpendicular on the lathe but in my case I need a steady to support the tube, and that I don't have, so I designed one, the goal set was to make it printable, the purpose is to face the tube in this case this is a low load operation and I guested printing will be ok.
All the parts for the steady
Assembling the base by tapping 4mm rods trough all 3 parts (additional the base parts are glued together)
Assembly of the roller pins (a 12mm bearing is used, kept in place by 4mm shafts)
The 6mm hex nuts were inserted into the provided recess.
The assembled steady
Mounted on the lathe
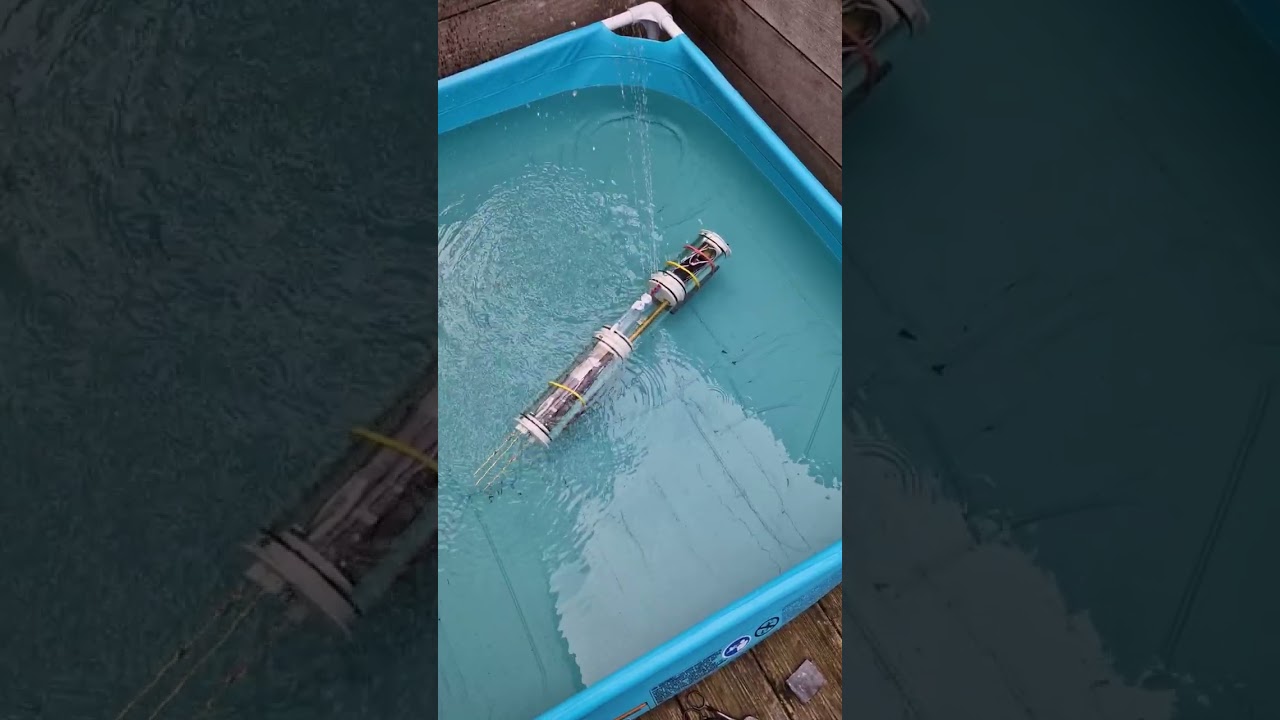
And in use, the steady works fine and is more than sturdy enough to do the job.
Grtz,
Bart

Leave a comment: