
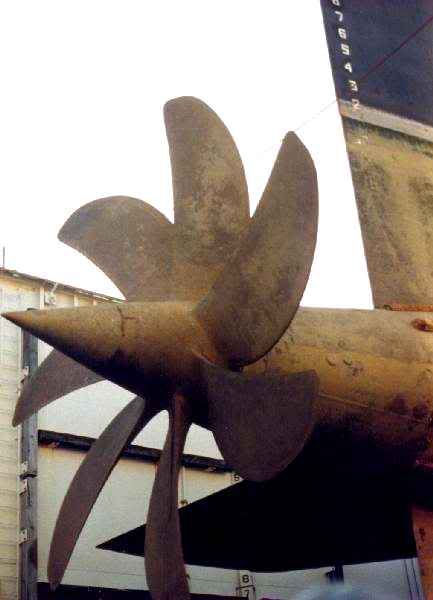
It's the same wheel (or close to it) as you'll find on any boat that used the S5W plant (the early five-bladed propeller of the SKIPJACK's and GEORGE WASHINGTON's an exception). You get this seven-bladed wheel right for one boat with this plant, you have it right for any other boat that used the S5W tea-kettle.
Matt Thor produced an excellent seven-bladed, 1/96 propeller. Check with him.
David,
Matt Thor produced an excellent seven-bladed, 1/96 propeller. Check with him.
David,


Comment