

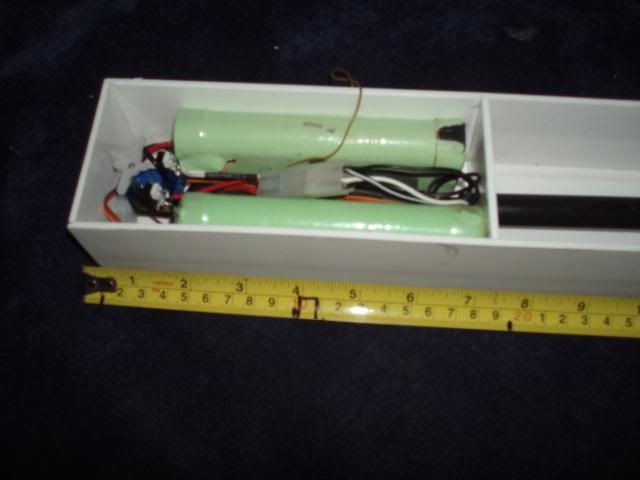
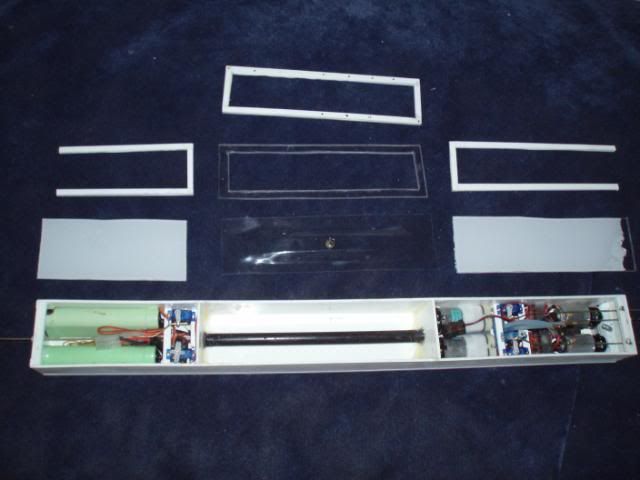
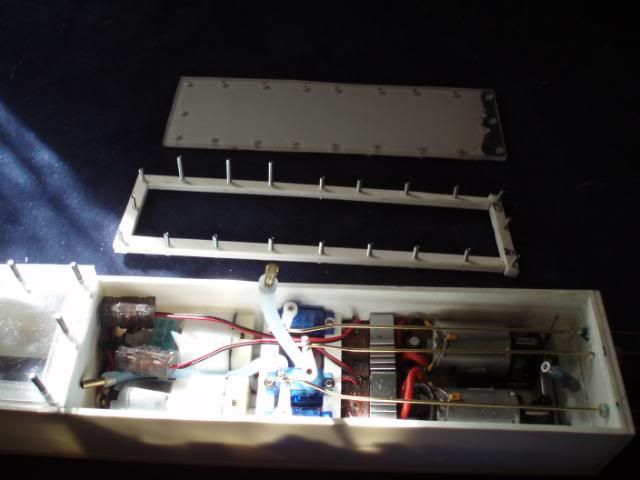
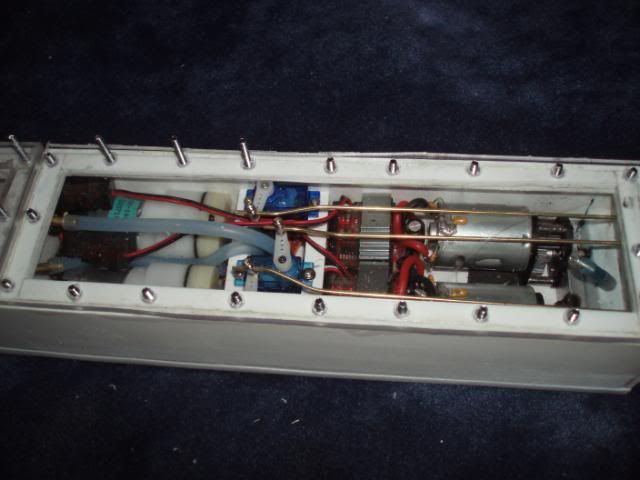
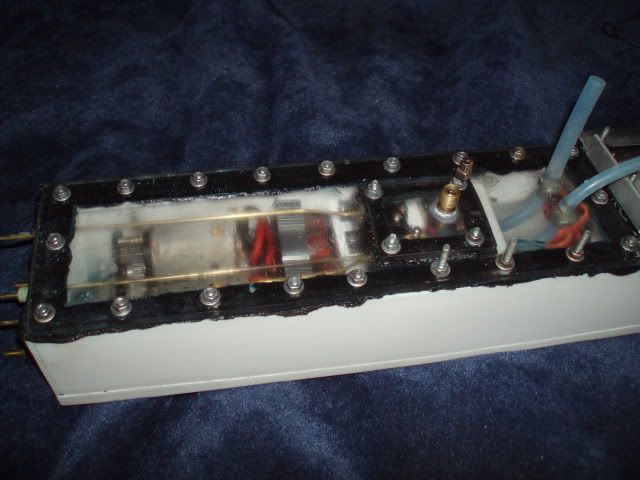
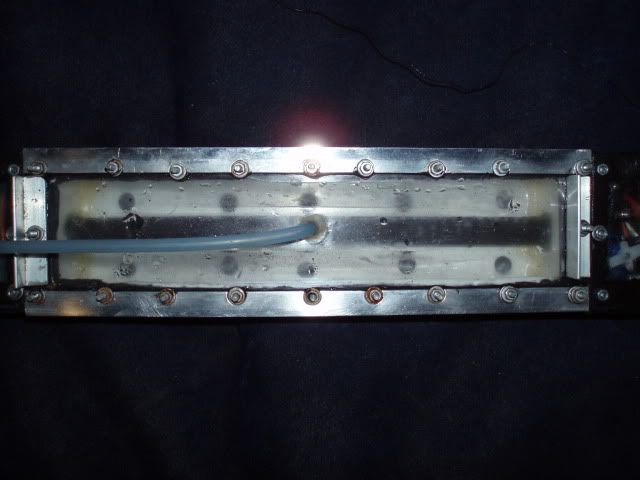
Ok this is what I have got to fit into my dry area.
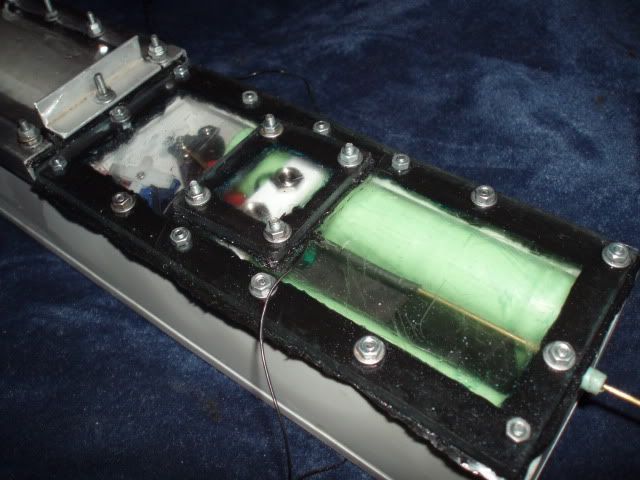
2 x 7.2 stick batteries
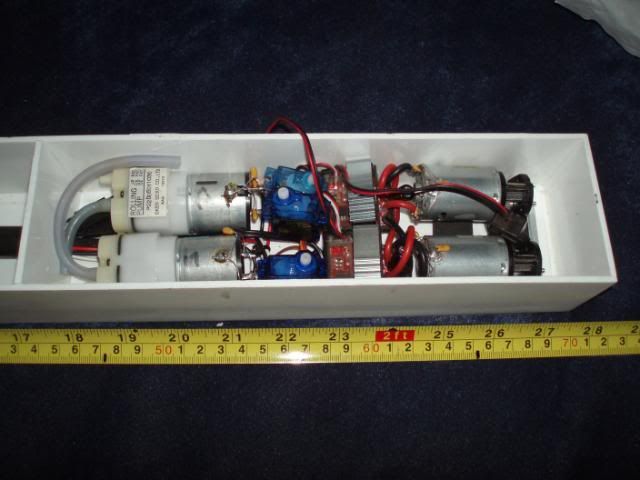
2 x electric motors and gear boxes
2 x ESC's
2 x Air pumps
1 x receiver
4 x servos
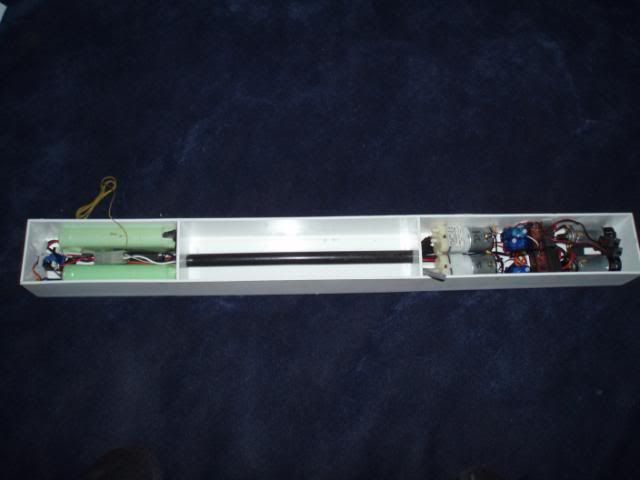
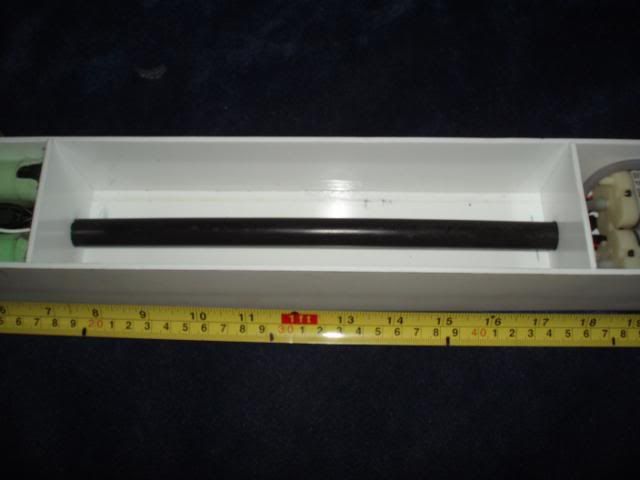
And still leaving enough room fo my ballast tank
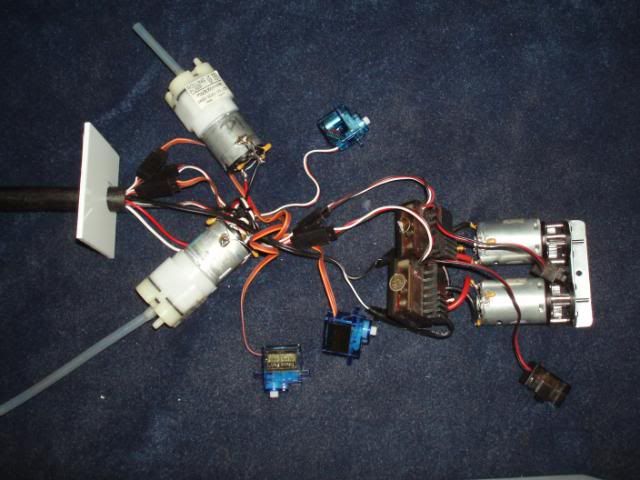
Will it all fit?
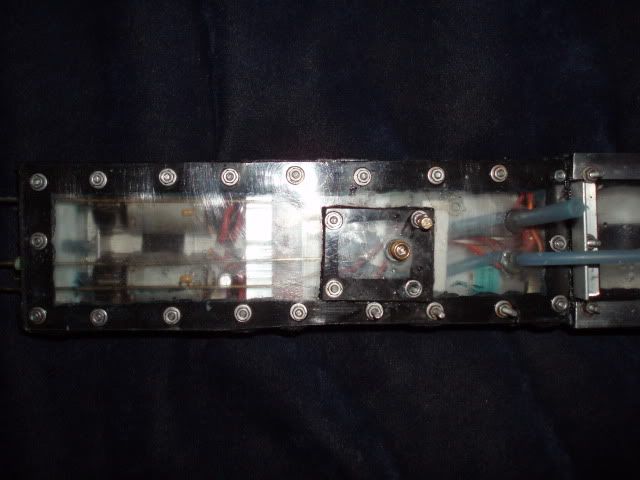
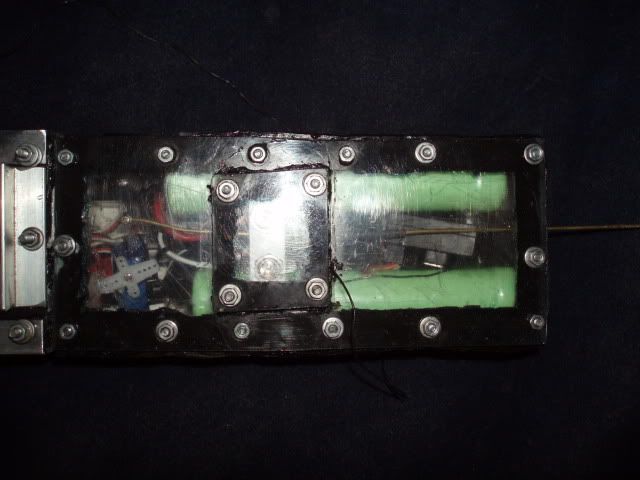
2 x 7.2 stick batteries
2 x electric motors and gear boxes
2 x ESC's
2 x Air pumps
1 x receiver
4 x servos
And still leaving enough room fo my ballast tank
Will it all fit?


Comment