Well, it's taken a lot of patience getting through some major life events, but I'm finally ready to order my own SeaQuest!
My question is that I've watched the how-to video on YouTube a few times, and it mentions that there's a sheet of the bio-skin pattern available to order, but I don't see it listed anywhere on the Nautilus Drydocks store. Is there a link to this somewhere?
And I hope some of those posters are still available! I'm one of the biggest Questies you'll ever meet and I am ready to go all in on this baby!
-
One steerable eyeball in the crotch and use tenticul as a speed brake or 4 small bilge pumps with a flexible tube too each tentcul for a longer moment armLeave a comment:
-
I'm thinking I'm going to use the ole' sandpaper-less technique I employed for the 50th Nautilus boat masters, using laquer thinner (or nail polish remover) nitrostan or other glazing media, a rag, and a brush to get seaming done without removing detail, basically, no sanding requiredLeave a comment:
-
-
Or... I could just send you a bit of the vinyl that we used to create the webbing in the first place... ;)Leave a comment:
-
I have a lot of production and development work ahead of the SEAQUEST vehicle, but I will get to it -- a real challenge to get this beast working credibly in the water. Knowing you were involved in the development of this kit put it over the top in my book, Will ... you're a detail nut of the First Order. And when I get to it I'll be sure to camp out at your door for finishing dope.
Check my reasoning here, Will: I'm going to clobber the bioskin at the seams were I work them with abrasives and fillers. I was thinking of pulling a thin, rubber 'texture pad' off the model and use that to impress (re-establish) the bioskin texture at areas rendered smooth by such work. Make sense?
DavidLast edited by He Who Shall Not Be Named; 03-28-2017, 06:55 AM.Leave a comment:
-
This is a cgi rendering of ilthe dsv, this the colors I always thought were accurateAttached FilesLeave a comment:
-
-
If you look on the outside border of the Seaspeeder,you will see the bioskin webbing pattern and its coloring. Bob, this was a detail I just recently noticed, could help with painting. It may also have dramatic lighting applied for underwater effectAttached FilesLast edited by Wbnemo1; 03-28-2017, 03:35 AM.Leave a comment:
-
-
You can get an idea of the correct color scheme from this screen grabAttached FilesLeave a comment:
-
-
This is the original series Maquette that was scanned, mirrored, and all details realized..Attached FilesLeave a comment:
-
-
Ooo sweet!Dave, I'm glad you got one of these...you're gonna rc it???...where's your build blog, I'll be glued to it....lol. gonna paint it too??? I'll try and help a bit...model was scanned off my series maquette, so shape is dead bolts accurate...we had to do a ton of research on all the details and such to finish up the master set of parts...can't wait to see how you do on this...
Will
Leave a comment:
-
Don’t anyone tell Ellie, but I got a new play-toy.
Yes, it’s the Nautilus Drydocks SEAQUEST submarine from the TV show of the same name.
The show featured awful dialog, touchy-feely Greenpeace horse-****, a smart-ass dolphin (really?!), a COB who doubled as a hatch-plug, an end-of series plot line that made the worst of Irwin Allen’s end-of-series shows look good…
…... And one kick-ass looking ‘futuristic’ submarine.
Though the effects shots were done by geeks on keyboards, the visuals of the submarine were grounded on at least one physical model built for scanning and ‘visualization’ by the production staff. As I understand it this kit was lofted off one of those miniatures. In my book that’s authentication and faithfulness to prototype of the first order!
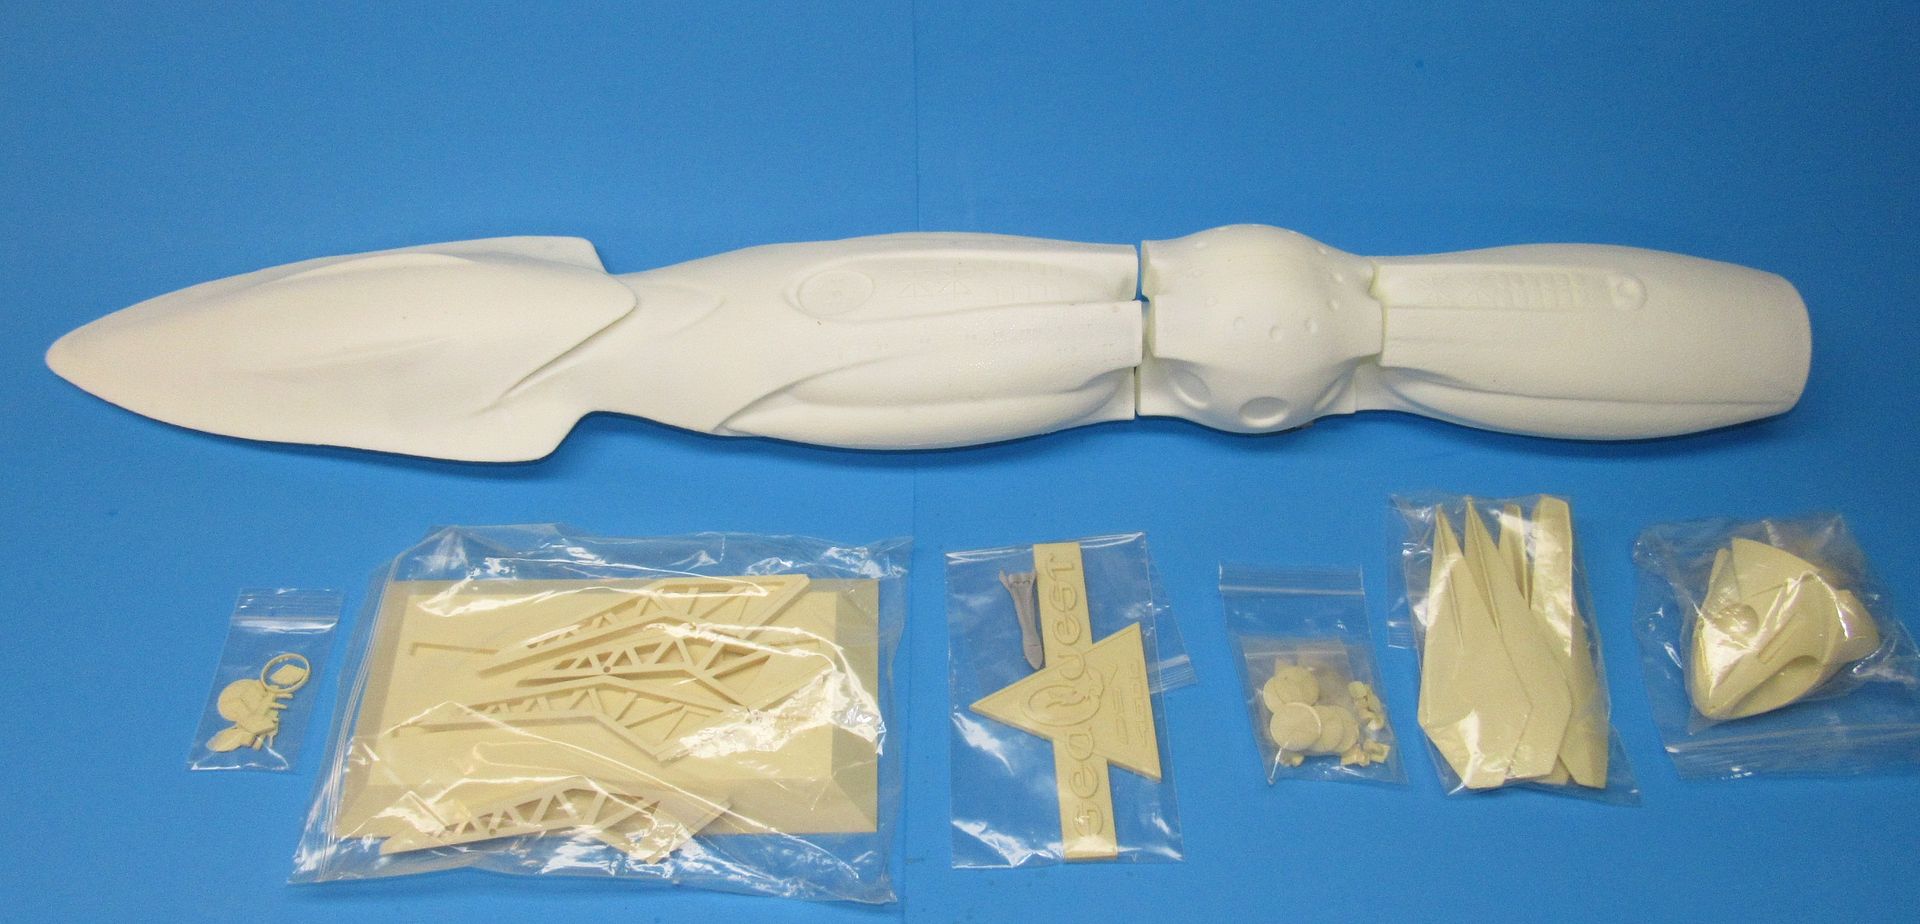
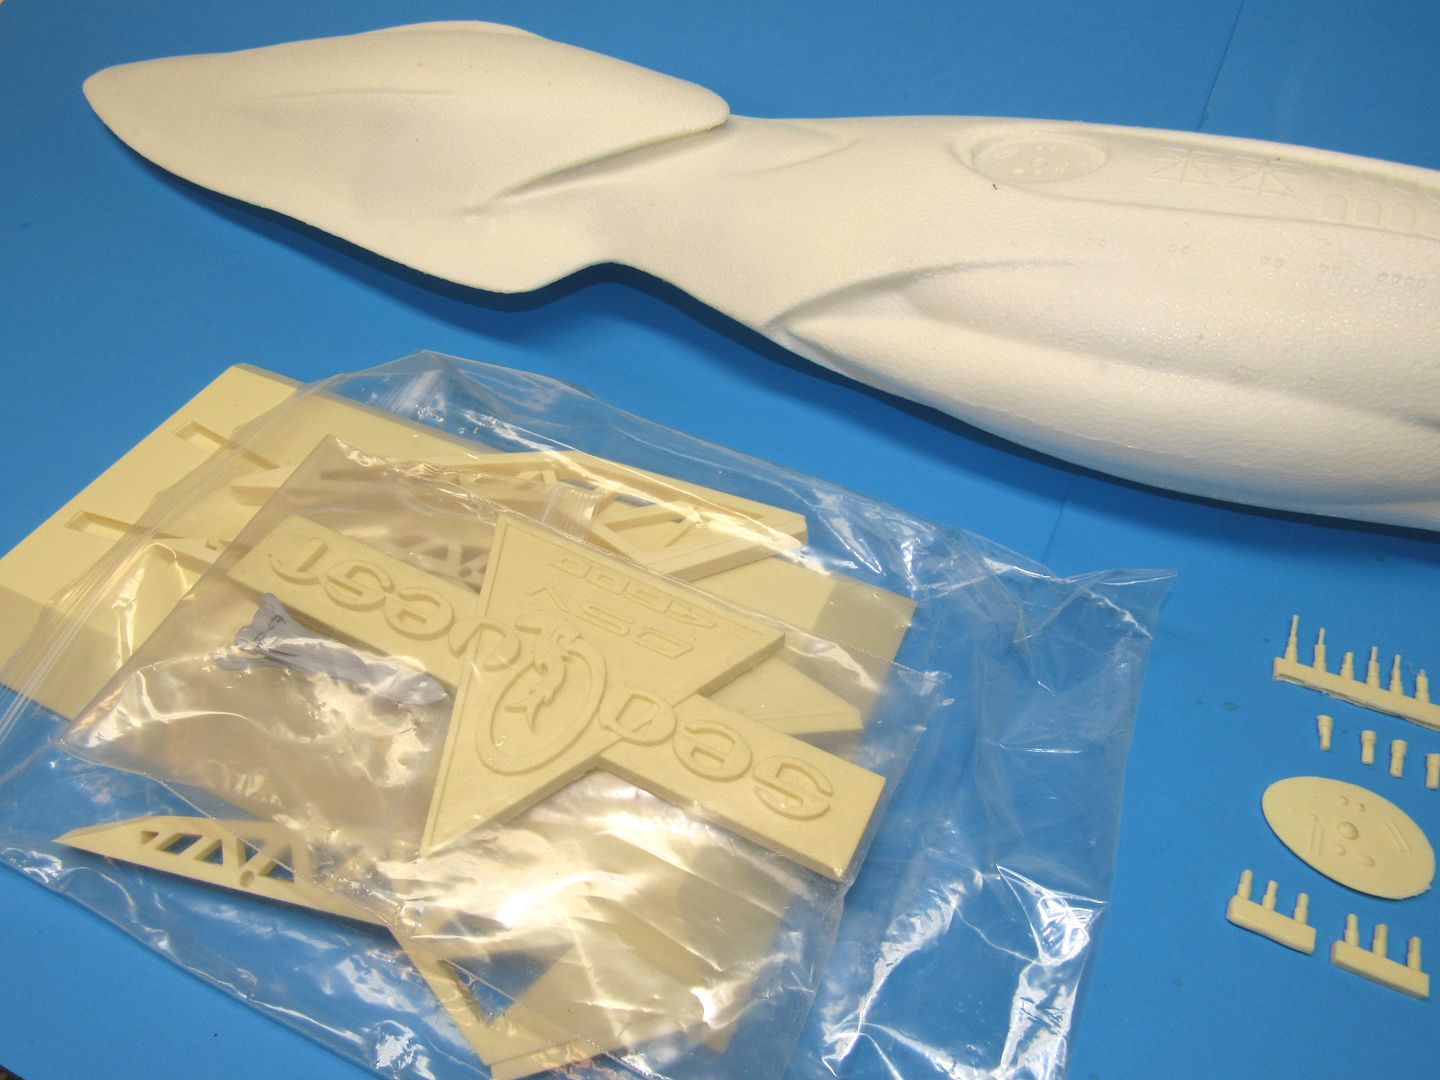
And here’s the kit of the SEAQUEST. The hull appears to be roto-cast, and what flash there is on the three parts is light and at spots that will be easily worked with abrasives and fillers. The solid cast items (the tail-cone and display base are hollow) are bubble free, hard, and richly detailed. A dry fit of the major sub-assemblies indicates good kit engineering and proper selection of materials. This thing is suitable for display and …. gasp …. r/c use.
Packaging of the kit was top-drawer: a spacious box, plenty of bubble-wrap, and the parts bagged as you see in the above photo. Nice. No damage on the sample I got.
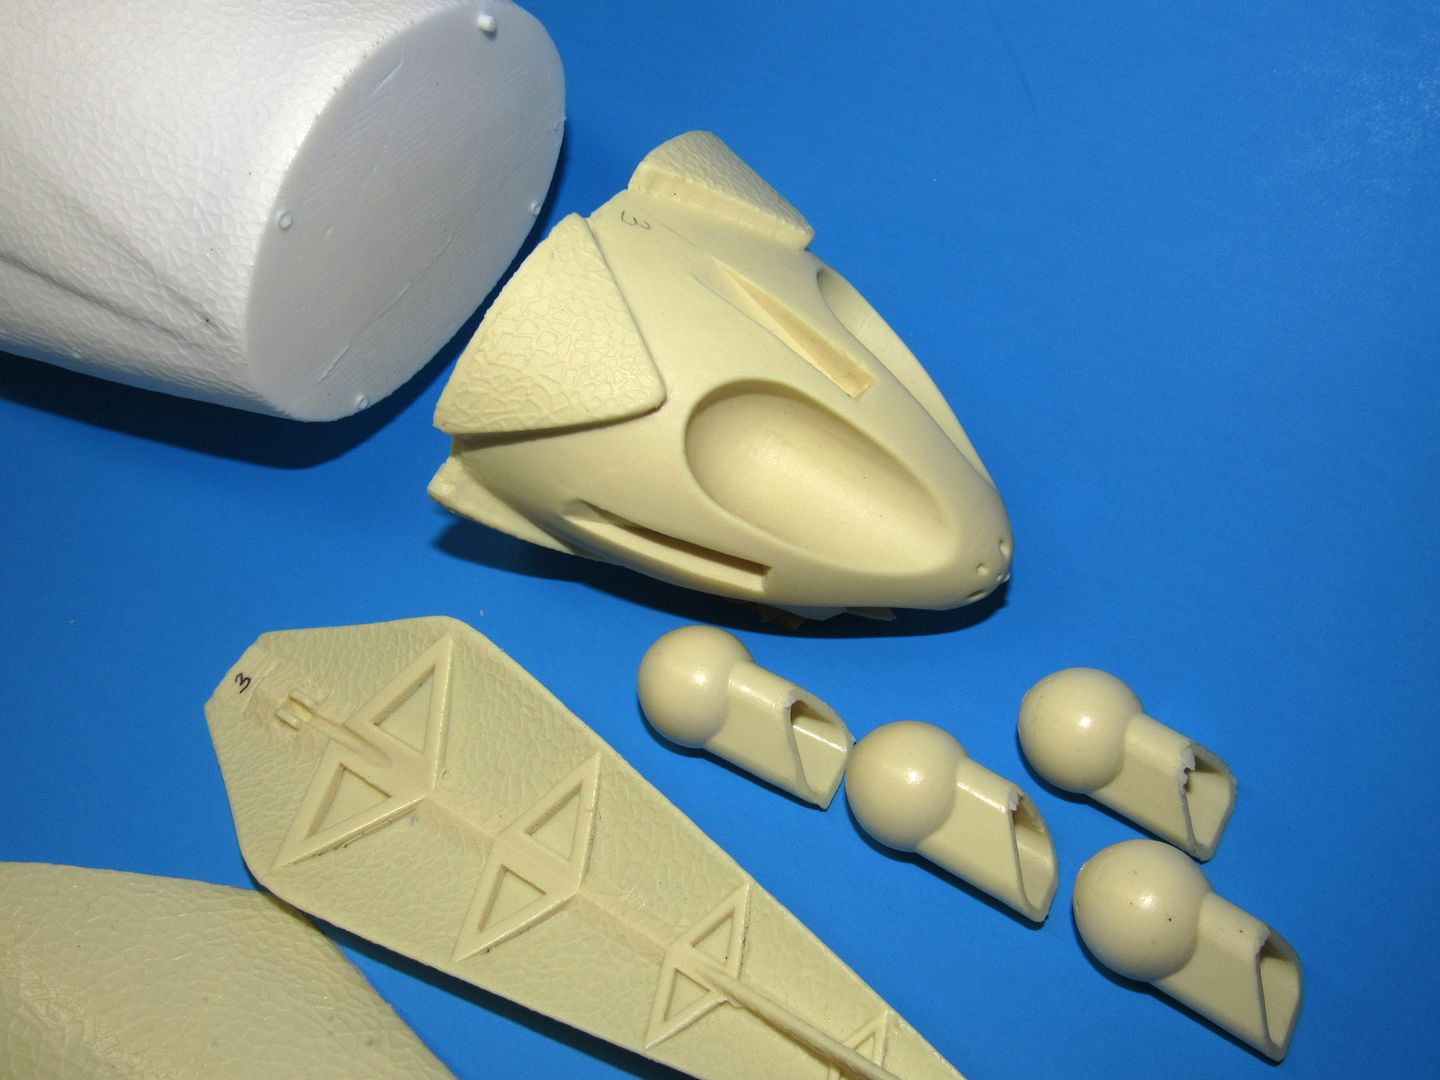
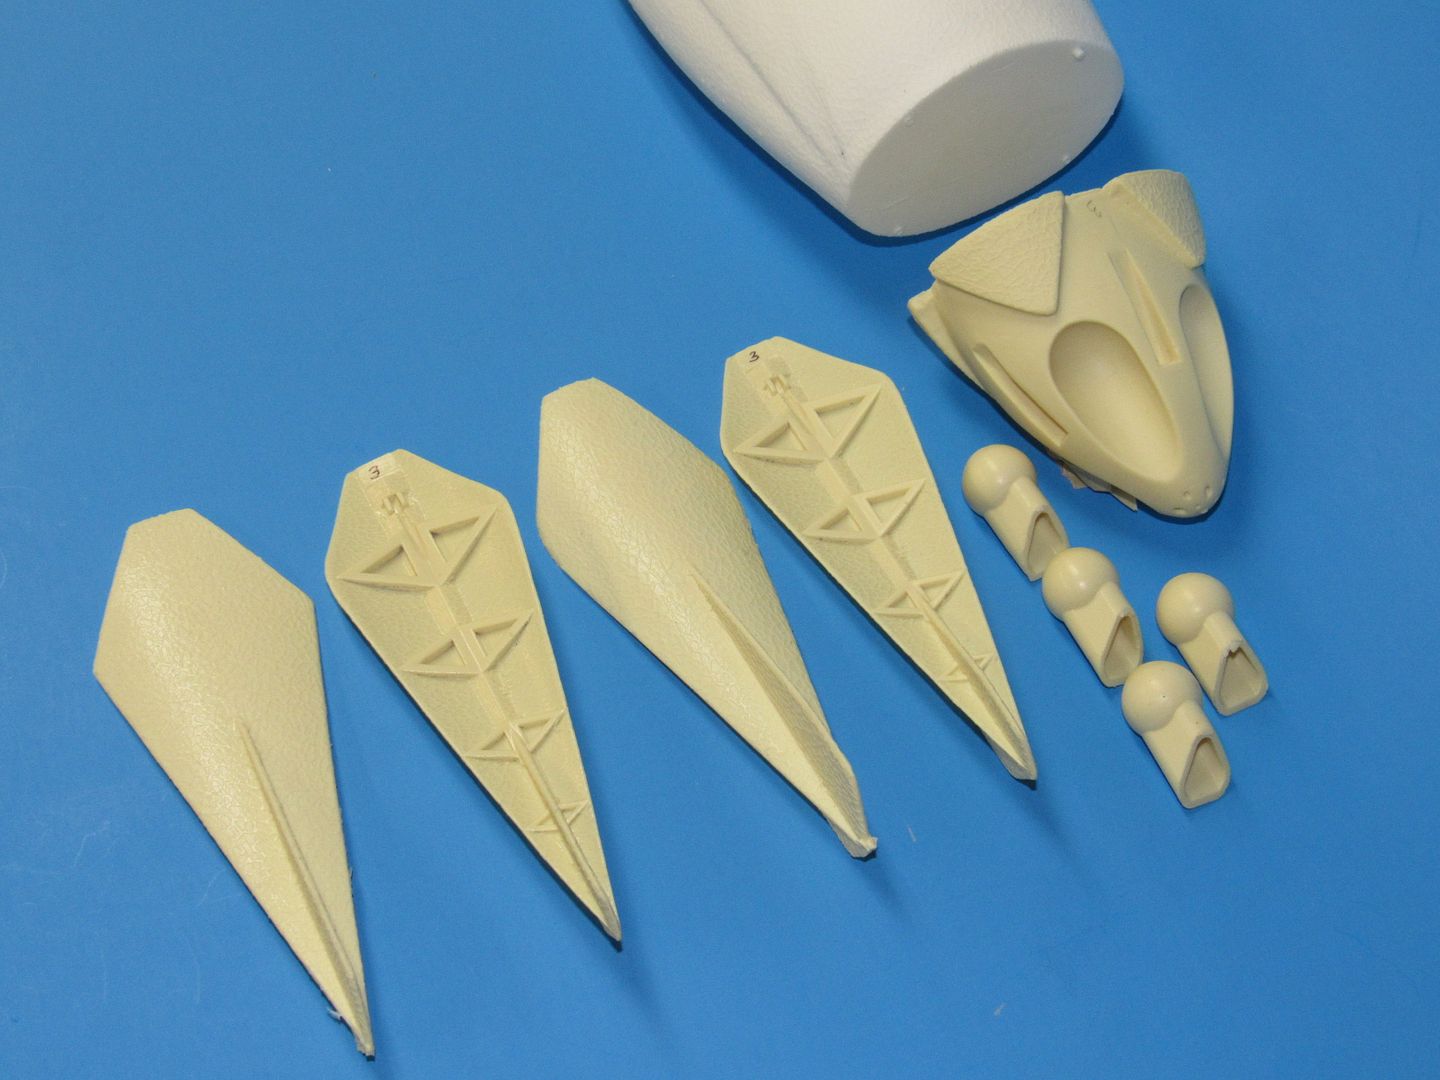
At the ass-end of this vehicle are four articulated ‘squid-fins’. These are hinged to impinge the water flow – working more as Northrop type ‘drag-brakes’ rather than the more traditional foil type control surfaces we’re used to. Obviously, deployment of these big drag-brakes will produce the required yaw and pitch forces needed to control and maneuver this beast – but only if it’s in motion.
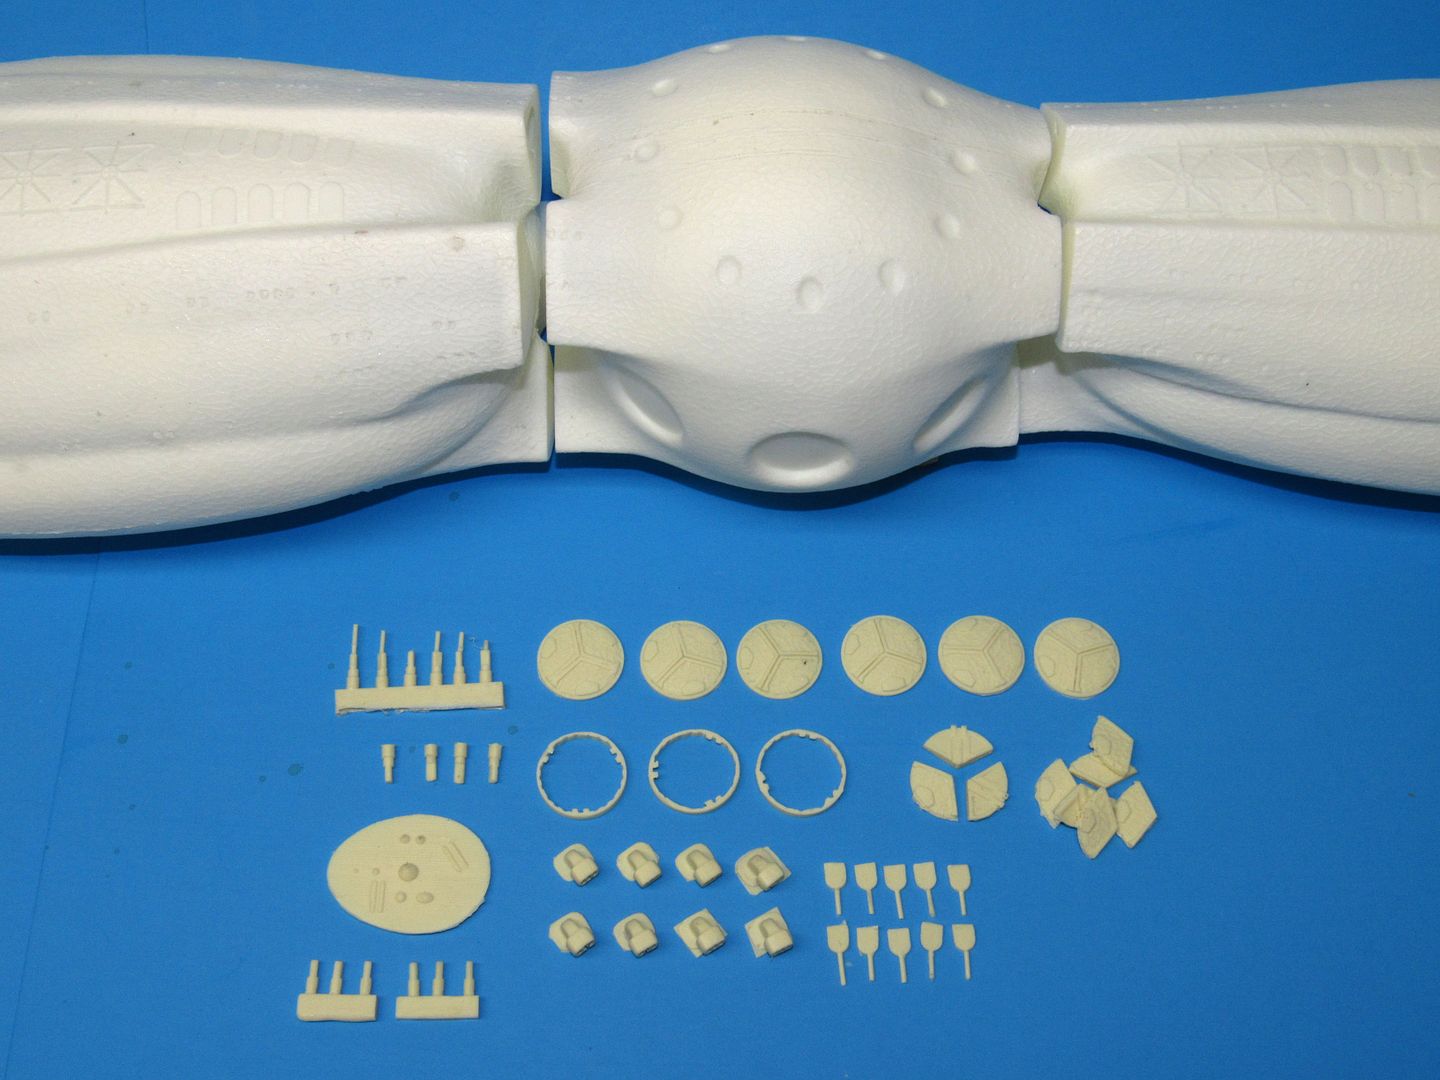
Intake water for the propulsor will come through ‘inlet doors’ (much as you see on some jet engines, forward of the compressor section) – these doors formed by the six scale hatches in the spherical, center portion of the hull. Each hatch will operate as spring loaded poppet-valve. The mechanism of valve operation is simply a slight differential pressure between the inside of the hull and the ambient water pressure – a situation that occurs each time the pump-jets/centrifugal pump takes a suction.
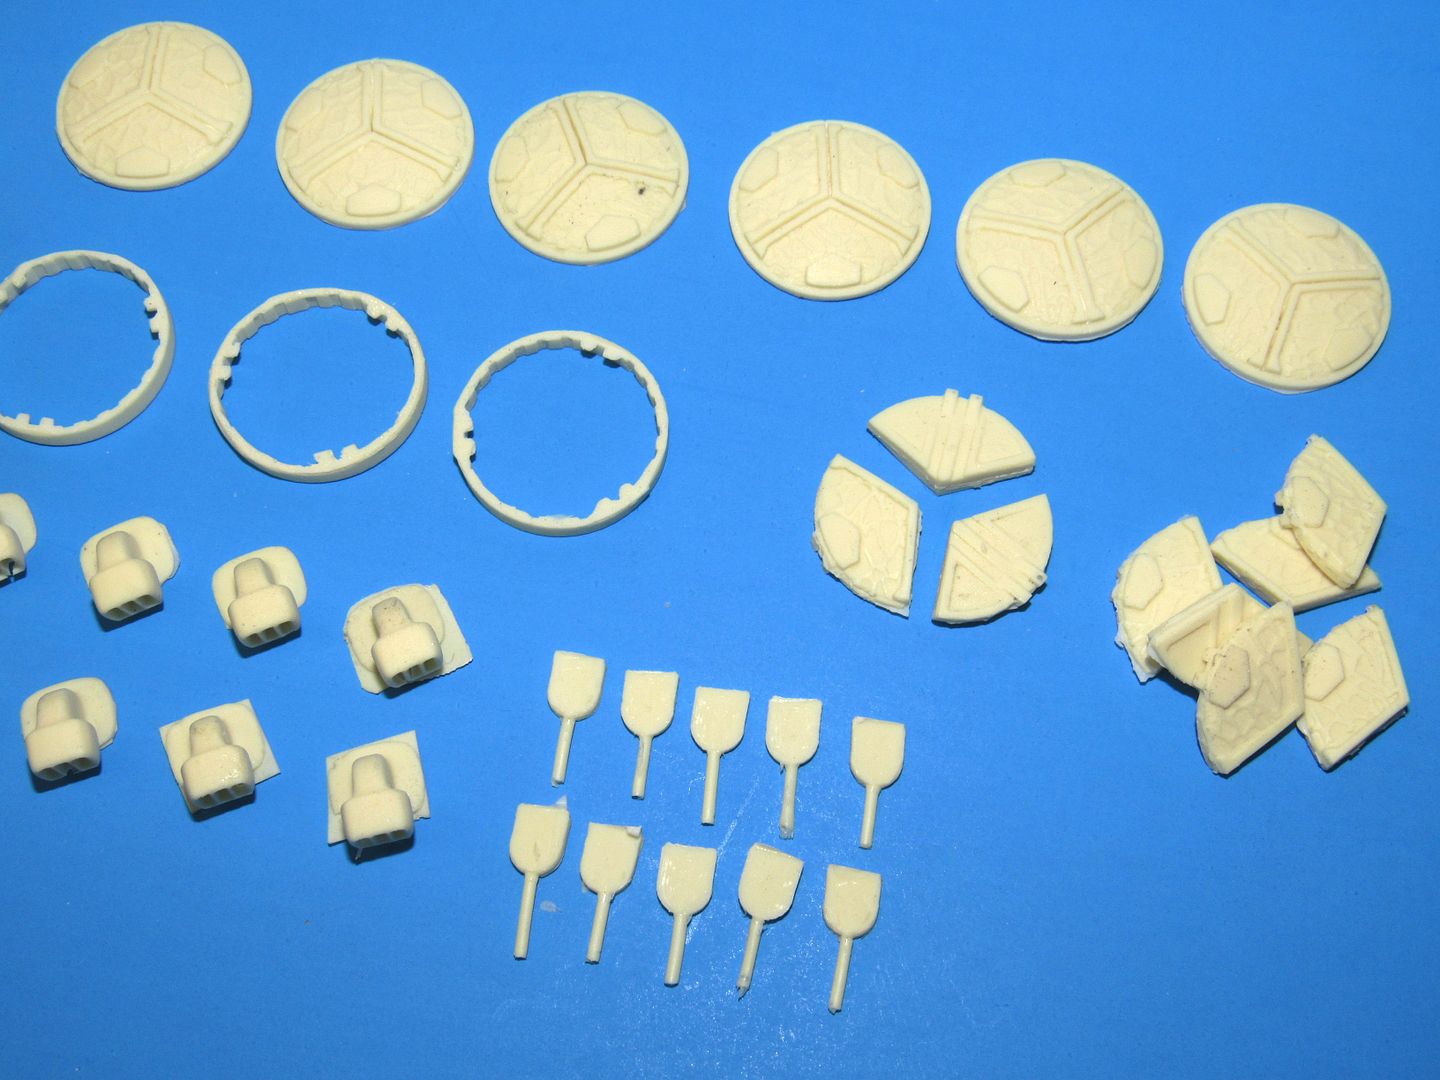
For you display kit assemblers no stone has been left unturned here. You can even display the model with three of the six access doors in the ‘open’ condition.
Alternatively (or in concert) of the four drag-brakes, the four articulated nozzles can be so directed to effect the needed yaw and pitch forces. So, there are choices as to directional control of this model submarine.
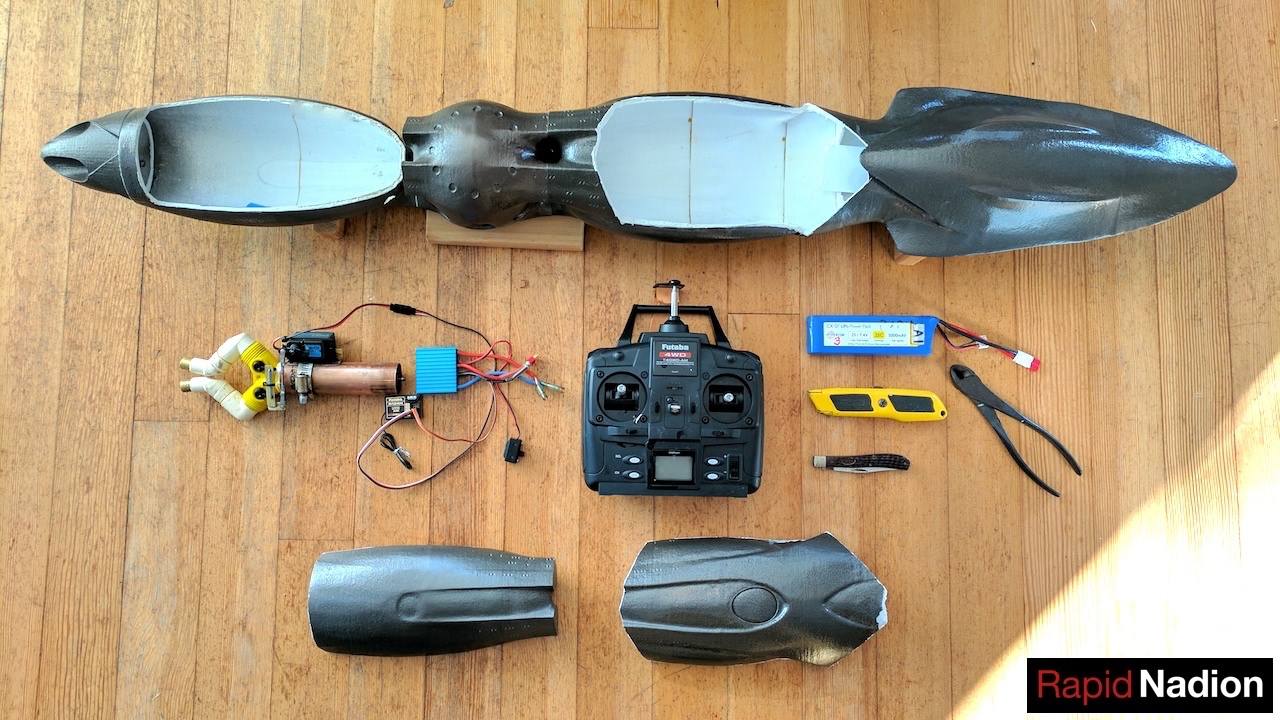
My initial thought was pump-jets, one for each nozzle, accelerating water for each of the four propulsion nozzles. But, now that I think of it, a single, big, kick-ass centrifugal pump -- with valved branches leading off its volute -- might be that way to manage propulsion water. When I get time I’ll look into these issues.
DavidLast edited by He Who Shall Not Be Named; 03-10-2017, 03:18 PM.Leave a comment:
-
Just as a note on that, it's not our production hull, but rather the first prototype. It's about 10" longer than the production boat, and has no surface detail or any of the other detail parts that are going into the final versions.
Those guys are earnest, but their experience is somewhat lacking. They're doing a good job, overall. I'll be interested in seeing what they come up with in their old-school manner.
Great video, though. Well-editted and fun to watch!
BobLeave a comment:
-
And the second:
Leave a comment:

Leave a comment: