Take the cast white-metal 'lever' -- its proper nomenclature is, 'stern plane bell-crank' -- put it on an anvil and smash it with a hammer.
Lightly, though.
This will reduce the size of the square hole in its center. You repeat the terrible hammer blows till the square section stern plane operating shaft is an interferrence fit within the hole. That will take the slop out of the system.
Hammers are our friends!
David
-
built my first set of pushrods... and the brass rods I used are too thin, they are flexing all over the place.. they fit the klikons well, but they flex
and I have to figure out a way to tighten up the lever on the rear planes... it's flopping all over the place :(Leave a comment:
-
finally got the damned module for my radio today :D hope to have the SD powered up for the first time in my possession tonight... .. make sure the servo's are centered, then finally build the pushrods ... so I can trim the beasty and finally get it wet :DLeave a comment:
-
well ... I gots me a new job... start next monday... that's the good news.... the bad news is still haven't received the new module I ordered for the radio I got my hands on .... so I haven't been able to progress on good concious (I don't wanna find out the servo's weren't zero'd and require remaking the pushrods )
so at this moment I'm in a holding pattern... good ole hurry up and wait.. LOLLeave a comment:
-
bah... just realized I have to wait for the new 75mhz FM module for my radio (I hope I ordered the right one.. LOL ) before I can properly do the pushrods (servo's activated in neutral position, etc) , and testing (flooding balast for foam ) and such.... unless I flip out for my 2.4 for the sake of testingLeave a comment:
-
.. I dunno.. think it'll be enough? ... LOL
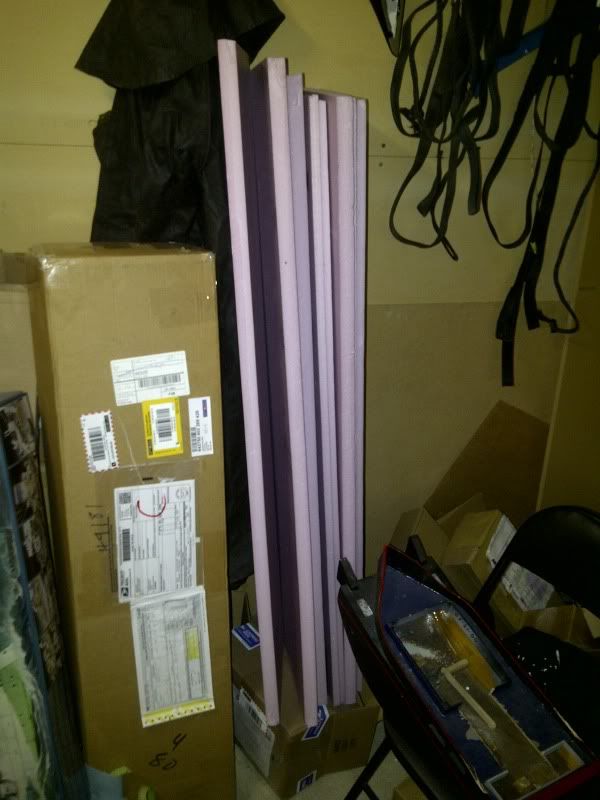
1 full 1/2inch sheet, and 1 full 1inch sheet... each cut into 4 pieces so I could bring em home in the car...
nothing definate newjob wise for the rest of this week ... so.. with ANY luck the sub will hit the domestic test tank for first foam testing by friday...Leave a comment:
-
-
hehe... my friends won't play with me anymore....
haven't quite got the swing of chess yet though ... not enough people still play it around here... and the online stuff thus far sucks.
I had hoped to have the rods done today.. but I had to flash sell my last airsoft gun to make sure kids school payment didn't bounce .. so I've spent the day getting the airsoft gun ready to hand off instead of working on my RC stuff
with any luck I'll find out tommorow I have a new job...Leave a comment:
-
Thinking ahead. I like that. Bet you're good at pool. Keep at it.
DavidLeave a comment:
-
yeah wasn't intending to paint yet... just busy brain while waiting for things to set, etc... trying to keep planned ahead and such. .. that and I don't want a nicely painted underwater war machine... with bright pink showing through the holes and vents.. ha!
either way.. the project marches along as a sorta steady pace... defiantely taking this alot slower then any of my surface boat stuff :DLeave a comment:
-
Nothing indicated on-model as to waterline. Your booklet that comes with the kit indicates it, I think. Use a surface-gauge to mark it off.
But, don't paint anything till you have this thing running right in the pool. Then we'll talk painting.
DavidLeave a comment:
-
okay... lead shot is in and setting... layer of epoxy in the bottom.. fill with shot, and sealed over/through/around with epoxy


SD index'd nicely... once everything is set I'll get the control surface rods built.. and then move on to foam ...
hopefully start new job this week... good for finances .. bad for building time.. LOL
and another "stupid" question... are any of the moulded lines on the hull the water line? or is it between the two moulded lines nearly level with the saddles and the top of the torpedo door?
and what colors should this thing be? I'm researching the colors but I've seen a few different possible options .. I've even seen some simple camo patterns LOL ..Leave a comment:
-
I have found that it is so easy just to use the pink foam cut to a bit oversize than take a course sanding block and reduce to the final shape and then go over with some fine to give a smooth finish. Both sides of my type VII were done in less then an hour! I just finished using the pink foam in my Gato which took a bit longer about 4 hours! Hey it's a lot bigger andneeds quit a bit of foat to bring it up to the qater line.Leave a comment:
-
Great to see a Type7 build thread as we welcome the Revell reissue of the kit!
I will post some pics soon, but would like to throw in some recent experience. I used damaged hull halves from a "spares" kit as molds for making the saddletank foam sections. Material used per Mike Caswell was Alumilite SuperFoam 320.
As David mentioned, placing expanding foam in an already assembled hull is a bit dicey.
An alternative I considered before making the foamies is Dapron foam sheet. You can find it at any R/C aircraft store in a variety of thicknesses. I have used the 3mm in many complex curve areas in other hulls, and am using it in the 7. You could cut strips and "laminate" them longitudinally into the saddletank area. An advantage of this method,which I now appreciate, is that you can perfectly position your uppermost strip even with your desired surfaced waterline. Silicone in this situation is massy and messy. I have had troublefree experience bonding this sheet to both styrene and fiberglass with Dupont Super 77 spray adhesive.
Hope this helps and thanks for starting this thread,
-KerryLast edited by ADDINGTON; 01-28-2012, 10:32 AM.Leave a comment:
Leave a comment: