
Hello David,
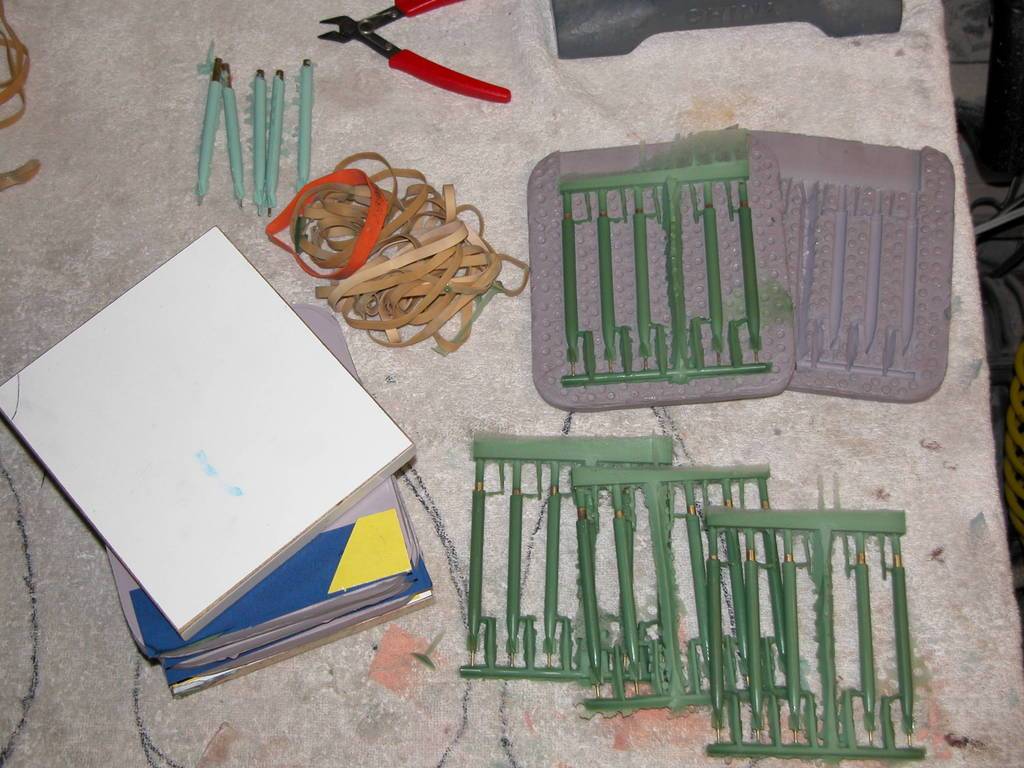
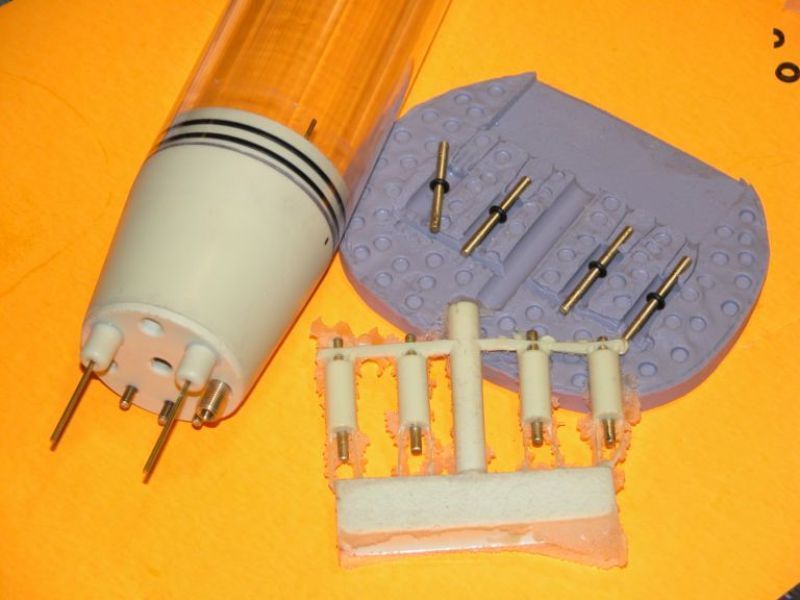
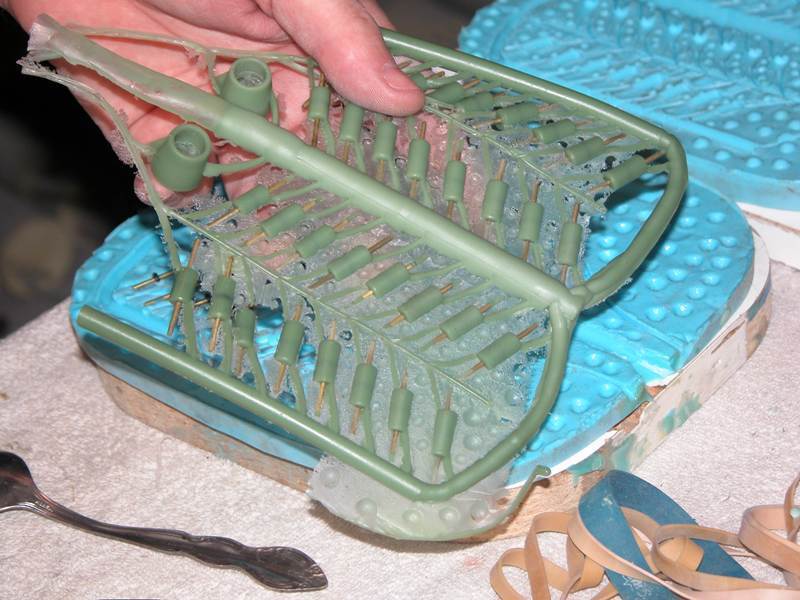
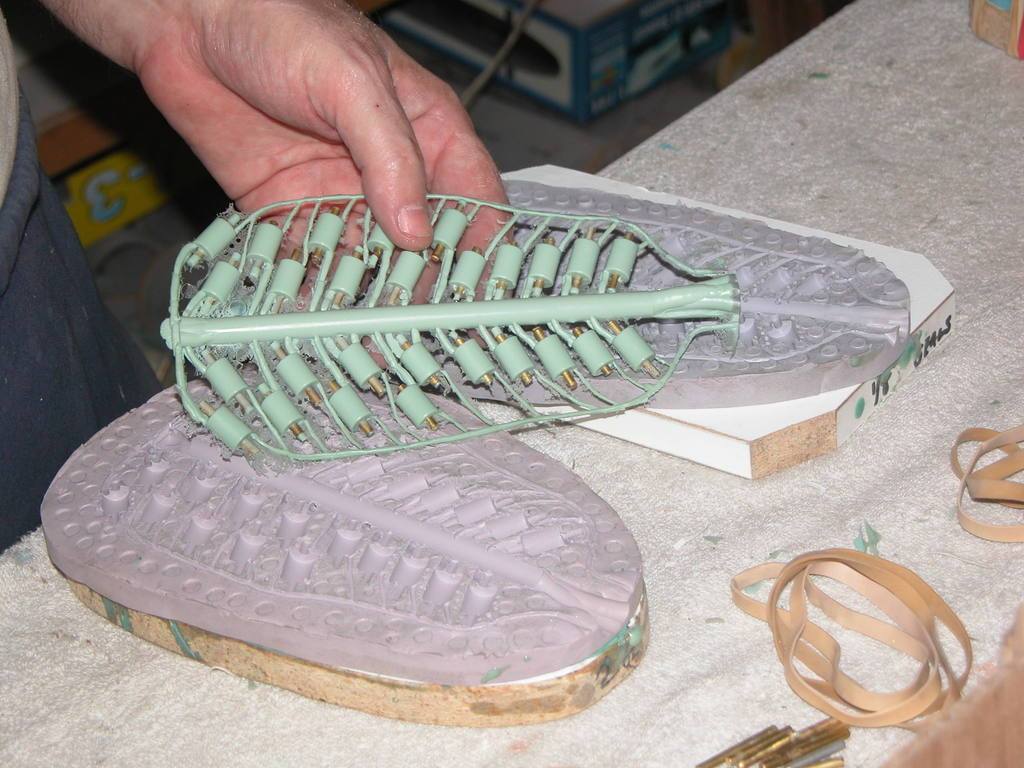
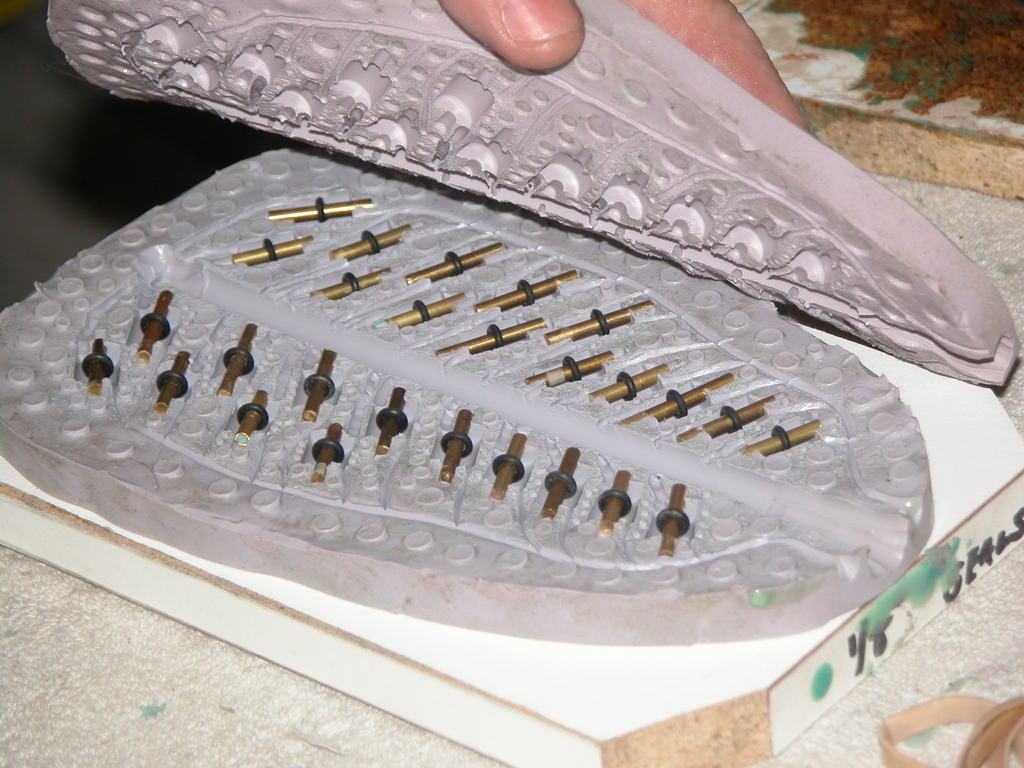
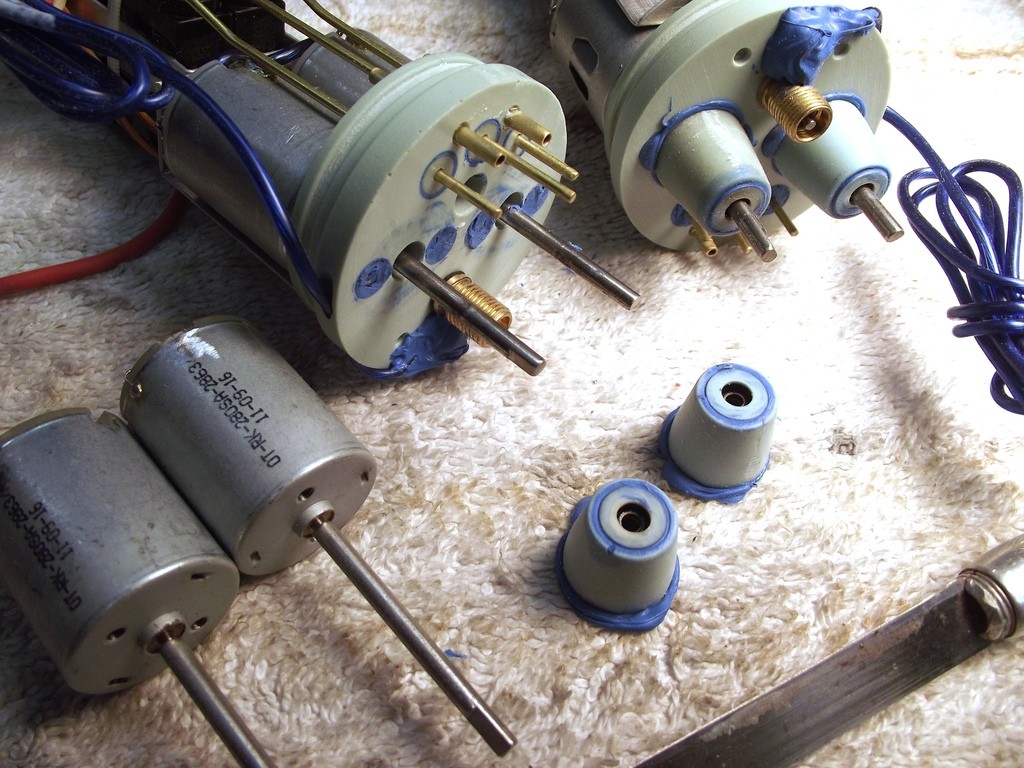
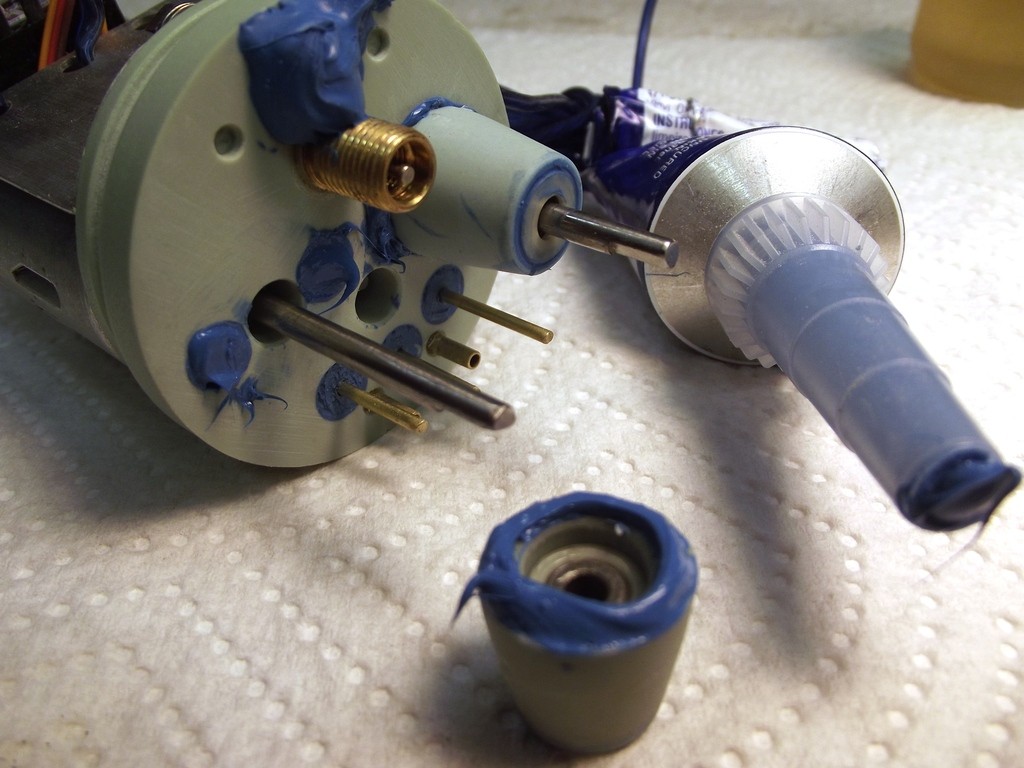
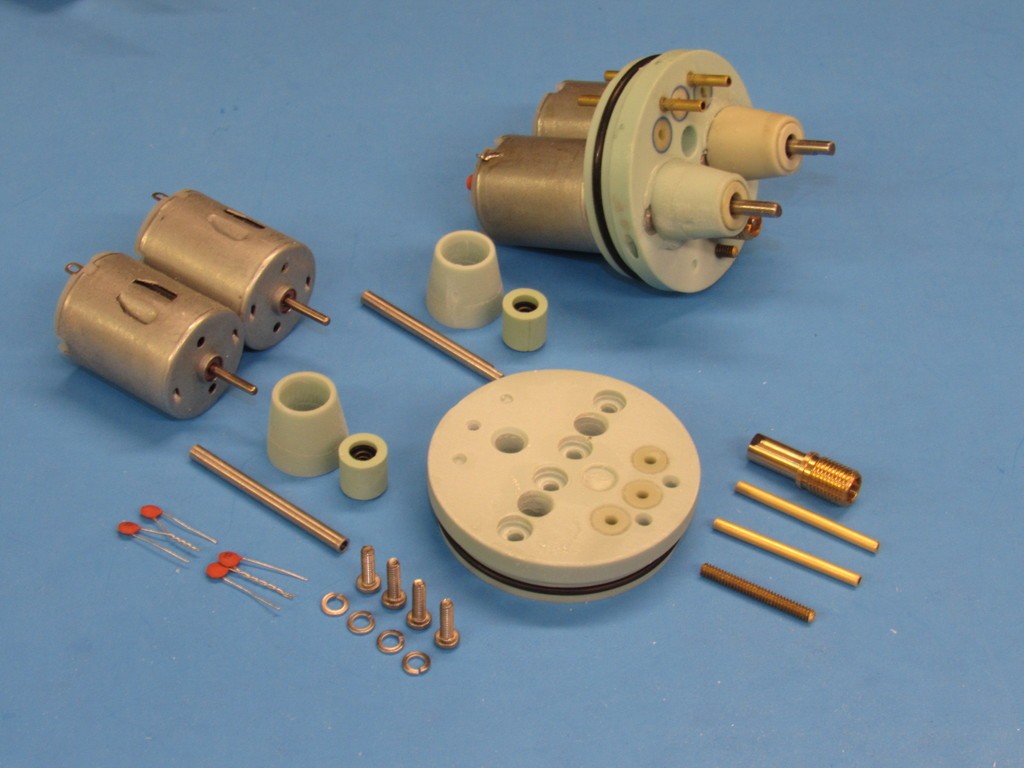
Thanks for getting back so quick. I have pretty much created parts very similar to yours and as you have seen, put them through testing for fit and water tight integrity. They have passed. I will be using this design. However I could really do with you input about my previous post about orientation of parts from molding. The emphasis being on how to mold these parts as accurately as possible, which I am confident I should be able to do.
thanks,
David H


Comment