
I think it was some 12 years ago I started to Build a Sturgeon Class Model with Production in mind. I shelved this project along with a few others I am doing. I have dusted off these Masters, which is about 90% ready for Mold Making. In the Past A Long, Long time ago I made all of my own parts and laid up hulls, the work was not as perfect as I would have liked to do for Production Sales! And with that Said, I am Joining Forces with David Merriman, & Bob Martin for this model to be produced as a kit for R/C or Static Submarine.
David, as we all know, is a Master of many R/C sub-fields, his Casting are the finest I have seen, his Contribution over the Many Many Years has made R/C Submarines in reach of all who wish to Play!
Bob, is more than on his way to be the One-Stop R/C Submarine Shop! He has been in the game as far back as I can remember, and his influence with the Nautilus Drydocks is a Fine Place to have my Products sold.
My Brand is STARK MODELS, and I like to Produce Masters for reproduction, and Detail other people's work that makes good plugs/masters, but Lack the Surface Details, then pass it on to the best-qualified business to copy/produce my work. I am Not the Greatest, that was Ali, but not bad for an Aging Body Man.
Sturgeon Sail;
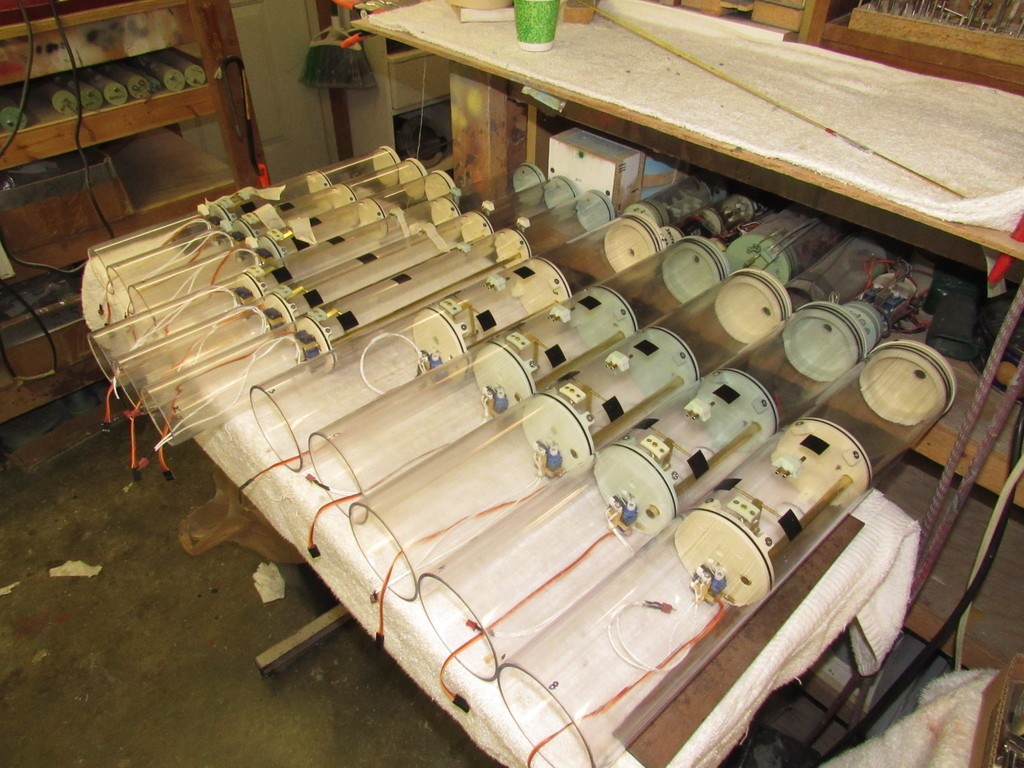
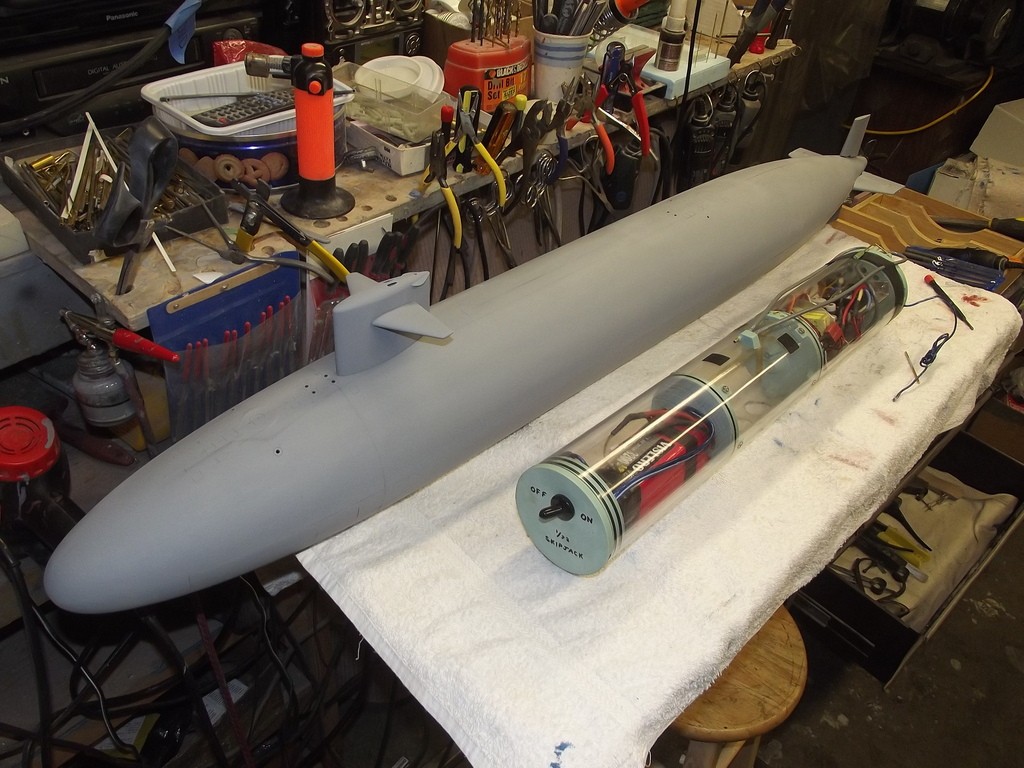
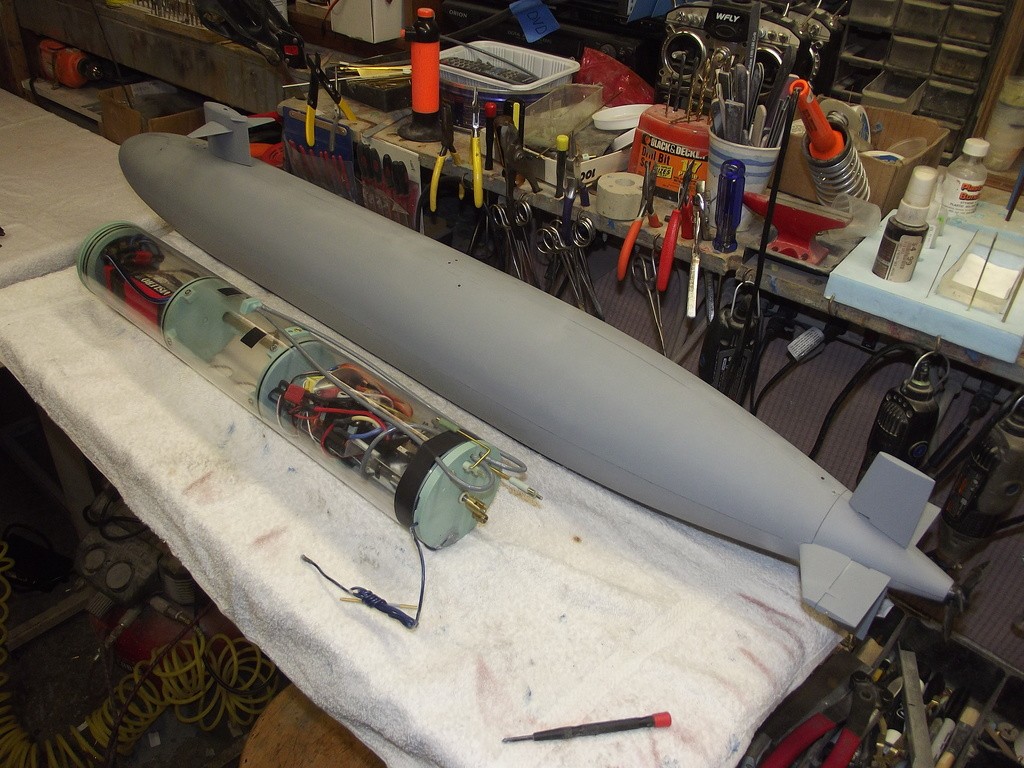
With this sail, I wanted an interior mounting plate for each Scope Housing to hold them in place for a few reasons. The Modeler can remove them at will for transport, replace easily in case of mishaps, or even rig them to move up & down. The sail and housing pieces number in Six Parts including the Planes. Scopes and antenna are some Nine separate pieces.
Recessed Scribed details were copied onto the Master with the help of Greg Sharps Plans, and Photo researching. After the Shape is formed a heavy coat of primer is applied, this Prime acts as the Scribing substraight for me. Aditionational detail can be made with the use of Primer for recessed or raised details, with the use of Tape and primer coats.
Markin out the Details is the First step for proper Placement, I Never scribe in and a Hatch here and there, then move on further down the model to add other details. Execution of Placement is the Key to a finely Scribed Modle where all the Details fit with an Eye view & measurement.
Scribing Patterns that match the desired detail and found with existing templates, or hand Crafted for sheet brass and filed to shape for the Plans.
I Scribe with a simple Fine point Stainless Steel old Dental tool I ground down, I also have an extensive collection of scribe blade that fits into my Exacto knife.
I count my passed for depth when all details are done I clean up with a light sanding. Then I wipe the Scribe with an air-dry Spot putty, Nitro Stain or this Kombi. Than another sanding flush to remove the excess putty. and a pass with the Same Scribe tool will finish up my work. then a final Prime, smooth sand with 800 grit and the part is ready to copy.


Comment