
This might be simple as pie to those who've done it before, but I just got an X-tail mixer from Bob. What is the best way to integrate it into your SD for this boat? You can assume that I've rigged up the control yokes and linkages per David's cabal report instructions.
-
Dead men tell no tales... -
ch-1 (rudder) from receiver to mixer input; ch-2 (stern planes) from receiver to angle-keeper input; angle-keeper output to other input to the mixer; mixer outputs to the two servos. Mix and match mixer inputs and outputs till the thing works right.
DO NOT mix ch-1 and ch-2 at the transmitter.
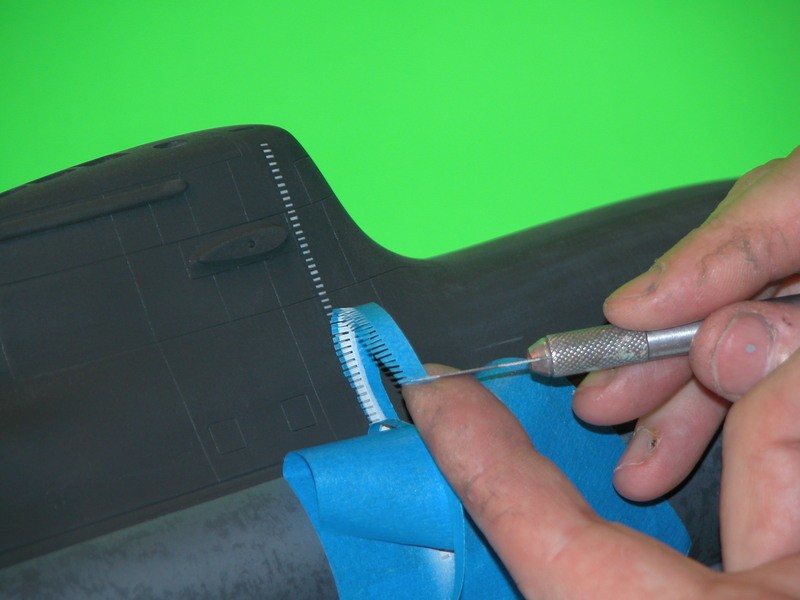
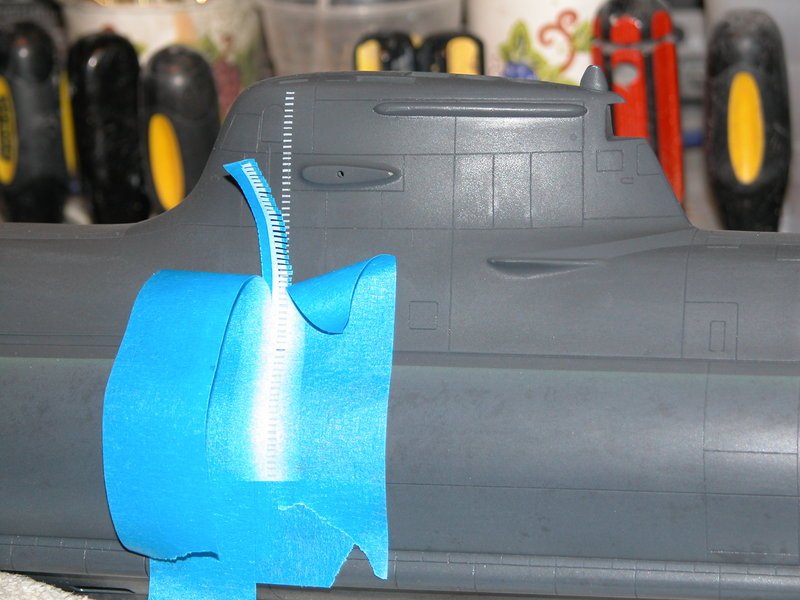
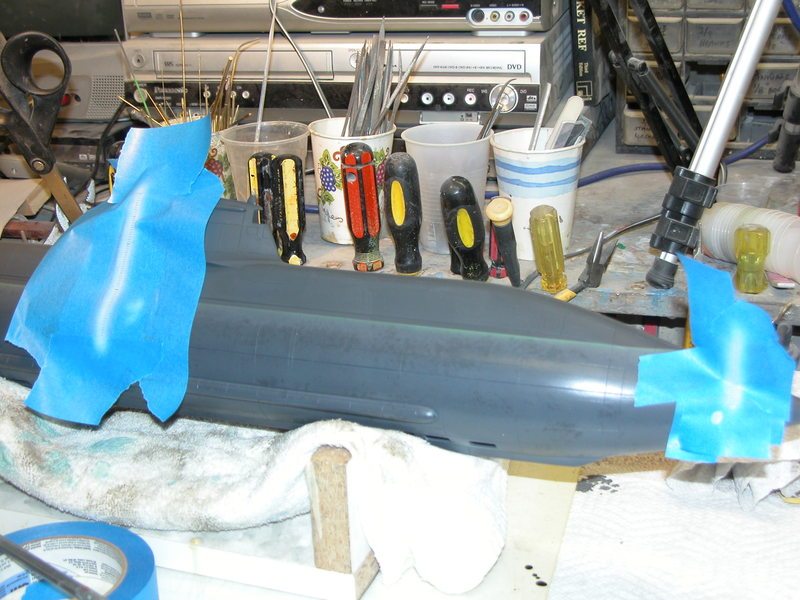
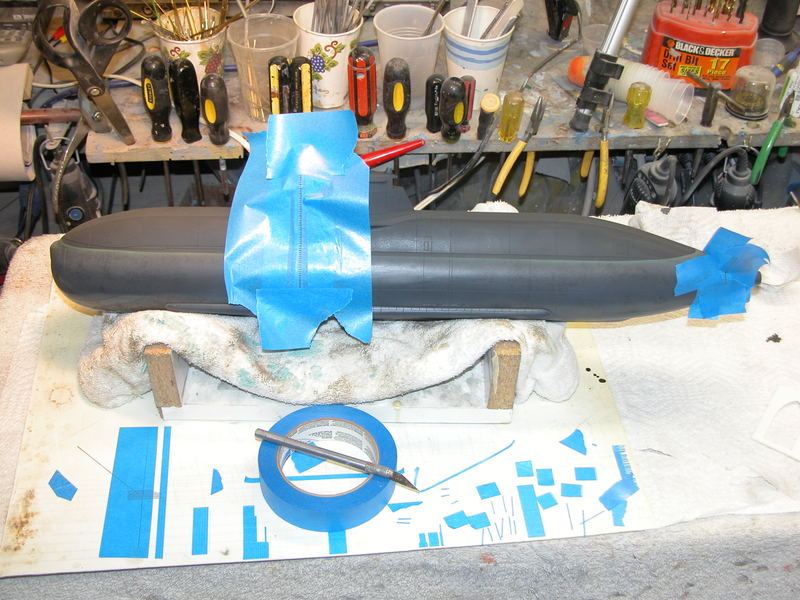
Pictures! Pictures, damnit!
Rotsa Ruck!
DavidLast edited by He Who Shall Not Be Named; 03-21-2019, 05:56 PM.Who is John Galt?Comment
-
Well I've had a bit of a break, but decided to have a crack at this propeller hub last night. I am still no master craftsman like you gentlemen, but I gathered up the materials I had on hand and decided to just jump in. Honestly, I'm rather startled with my end result. Is it perfect? Hardly. But I think it makes a fairly convincing Propeller Boss Vortex Diffuser.
And the real article...
Basically what I did was take the somewhat conical propeller end cap that David provided, drilled the 1/8" opening all the way through, chucked it and made it slightly more of a straight taper, then CA'd some strips of .020 x .040 styrene strip on in a screw pattern. I was going to wrap a loop around the end, but wasn't happy with how that turned out. Then I had an idea and went digging through my spares box. With a little bit of elbow grease, I think a 1/48 P-47 Thunderbolt wheel hub makes a pretty good stand-in for that end piece. It's missing a few vanes and that swirl pattern, but I'll take it. For now anyway...
Dead men tell no tales...Comment
-
Not totally revolting. A fair stand-off-scale item. A shot of gray primer will tell the tale. You're progressing, sir. And a lighter hand with the glue will serve you better on your next project.
DavidWho is John Galt?Comment
-
I'll take not totally revolting any day. That borders on high praise! lol. I know it's shorter and fatter than the real thing. And the shape is totally wrong in pretty much every way, if we're splitting hairs. But it's a journey, is it not?
As for the glue, noted. I was liberal partly because I had no idea how the styrene strips would hold up to rotary sanding / shaping. I expected even a light touch would pretty much obliterate the vanes, and was very surprised to see how well they held up. I'm still working on my watchmaker's precision.
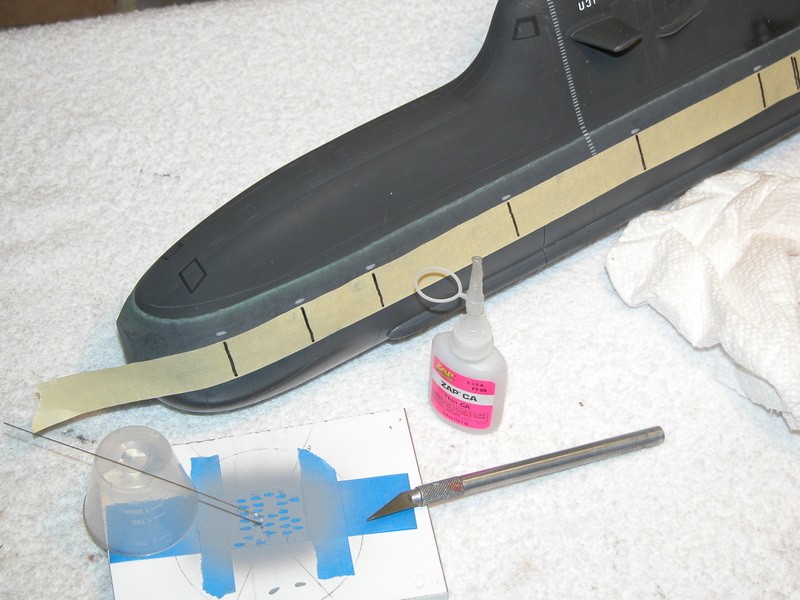
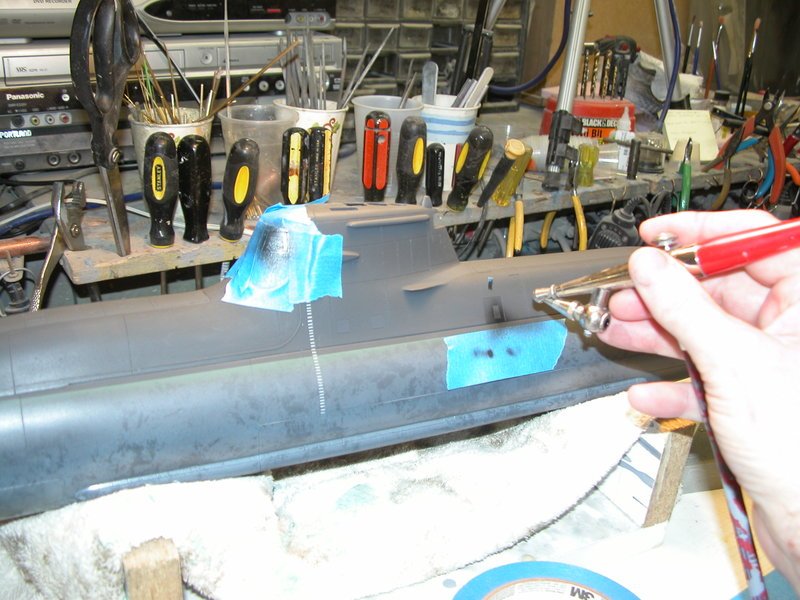
Next step is to try and address a bit of a gap that's around the aft portion of the hull-split. That's actually what I'd bought the styrene strips for. Then foam & weight, and figuring out how to set up the X-tail.
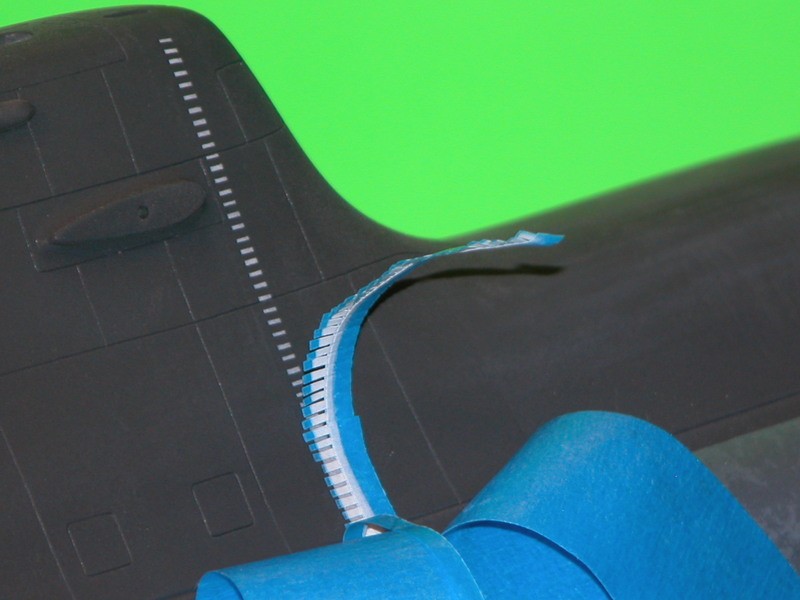
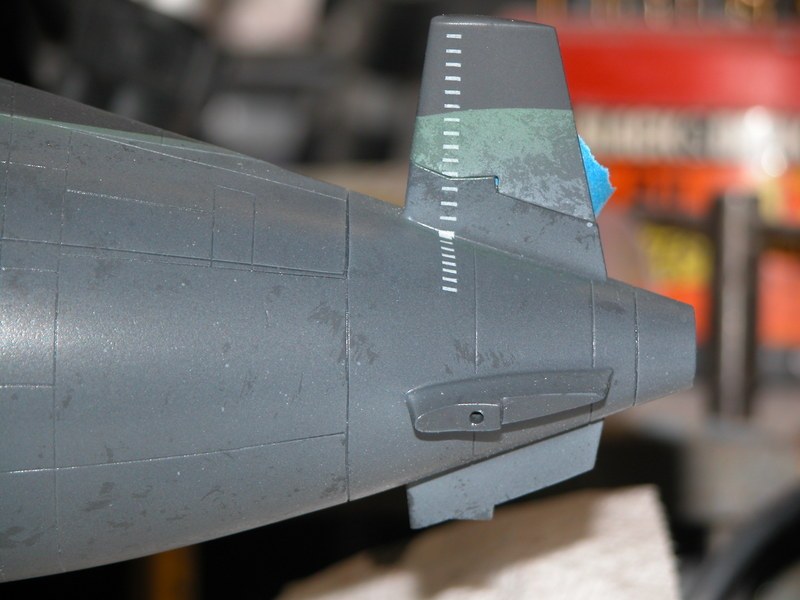
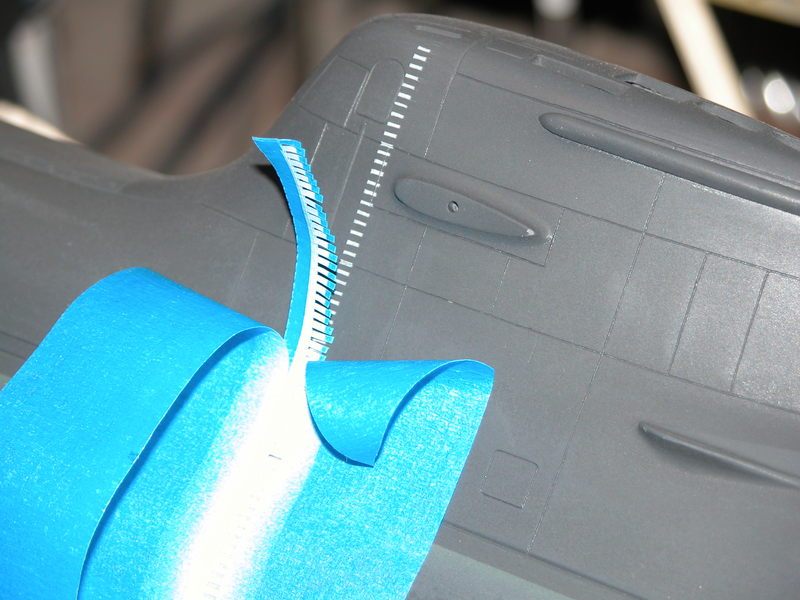
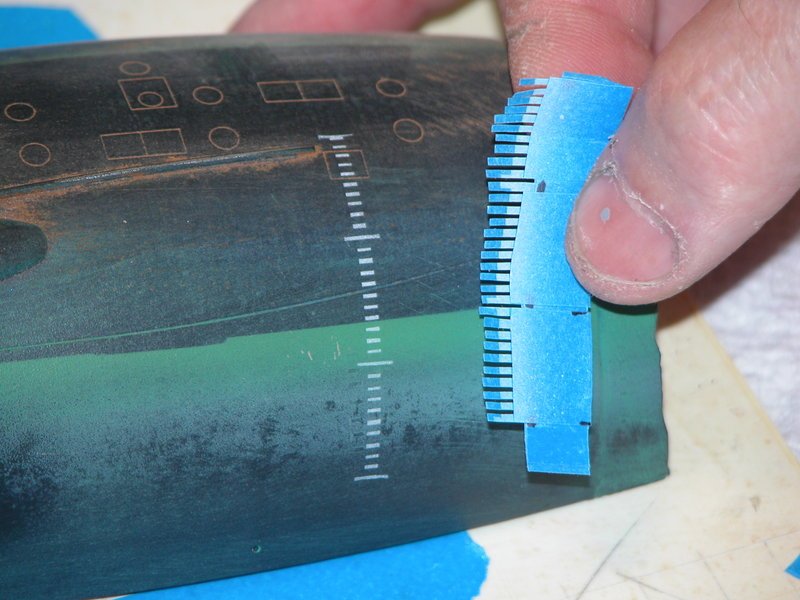
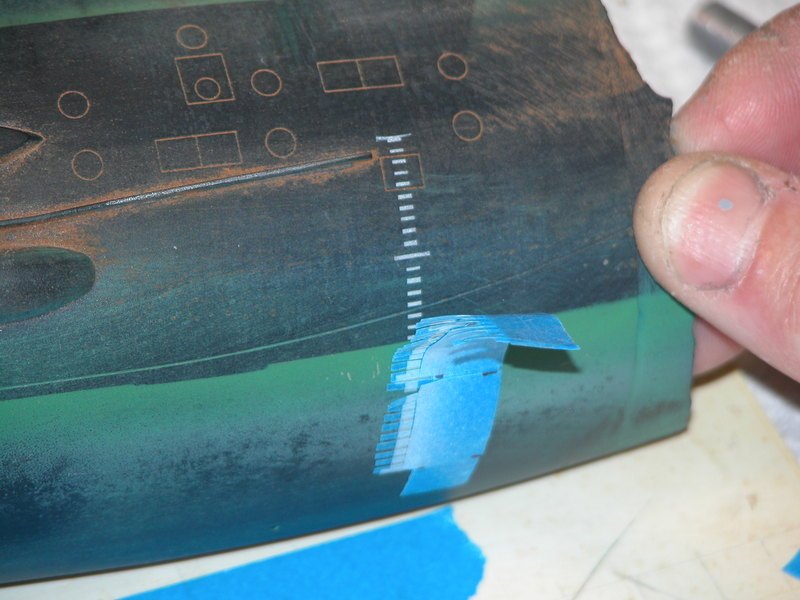
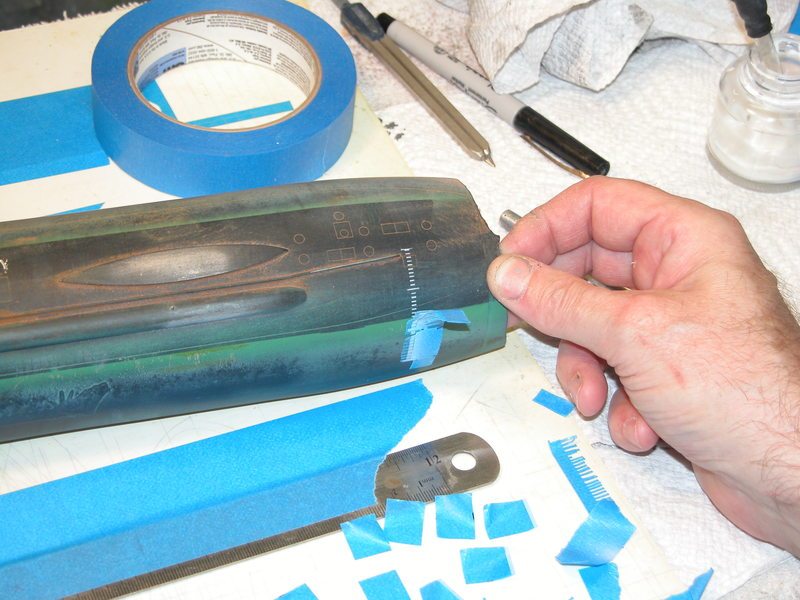
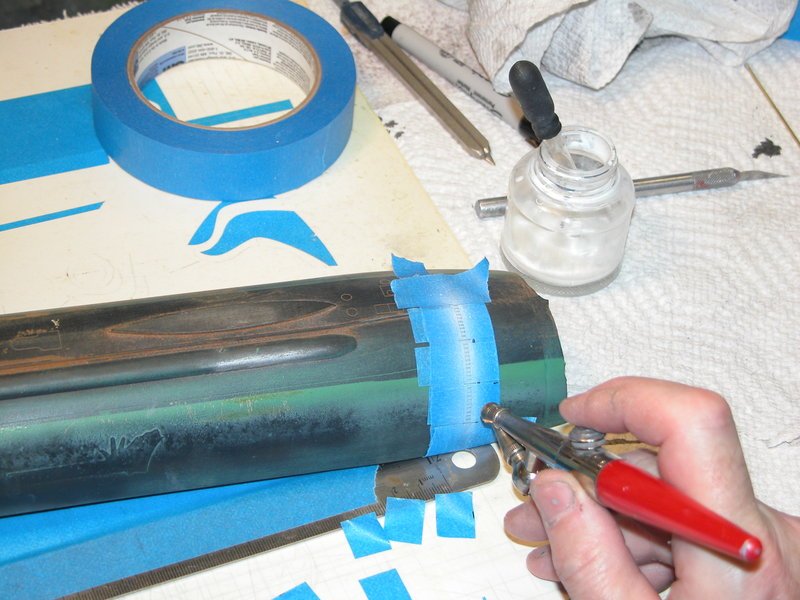
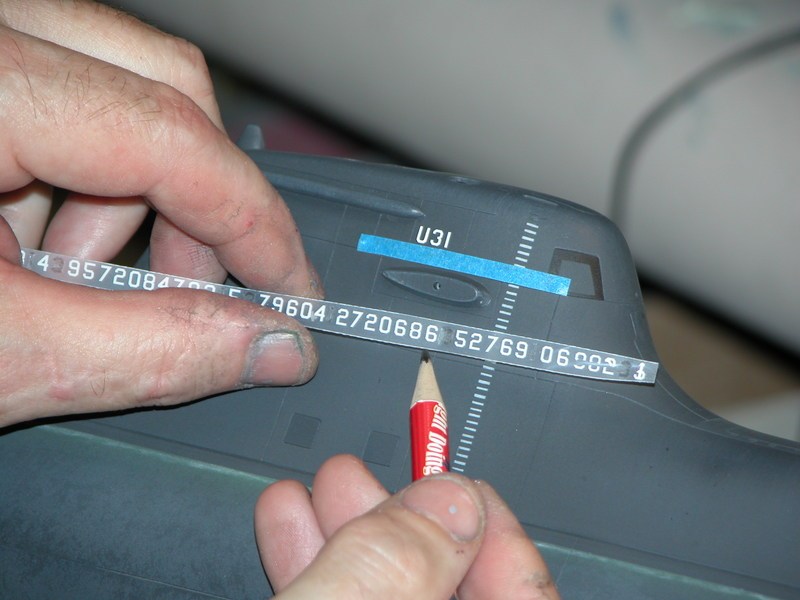
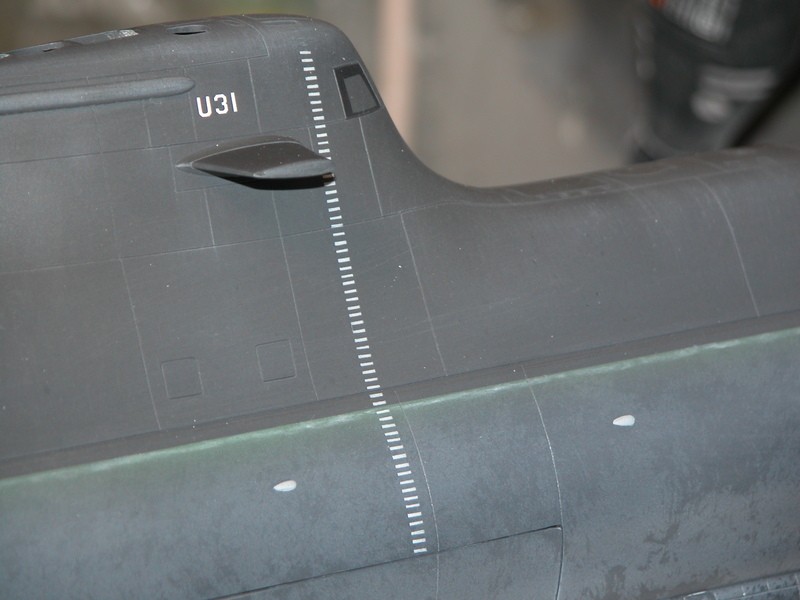
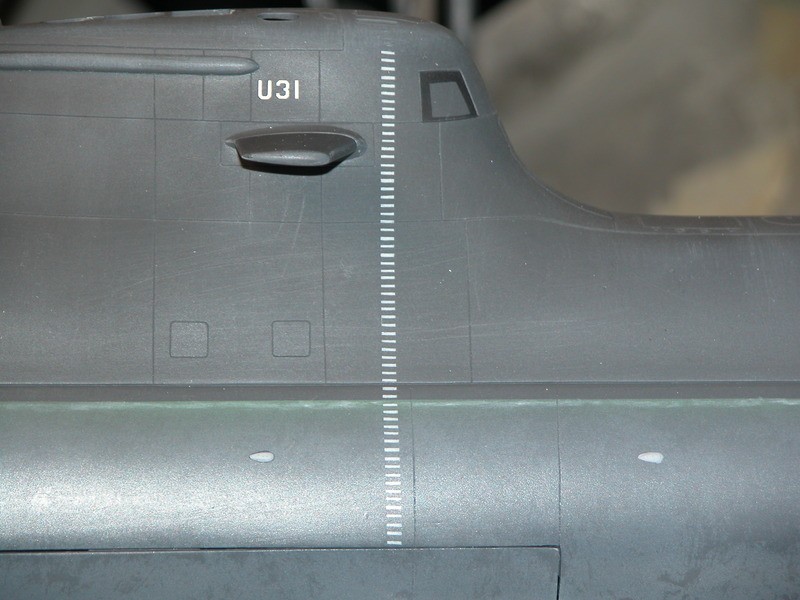
EDIT - Anyone got a line on some draft markings for this little schnitzel?
-BradyLast edited by DMTNT; 03-27-2019, 01:00 PM.Dead men tell no tales...Comment
-
 Who is John Galt?
Comment
-
 Who is John Galt?
Comment
-
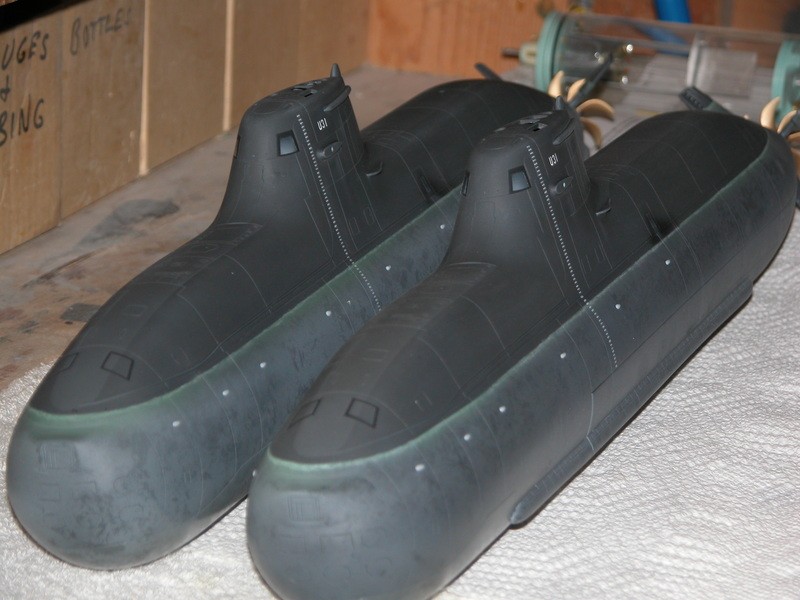
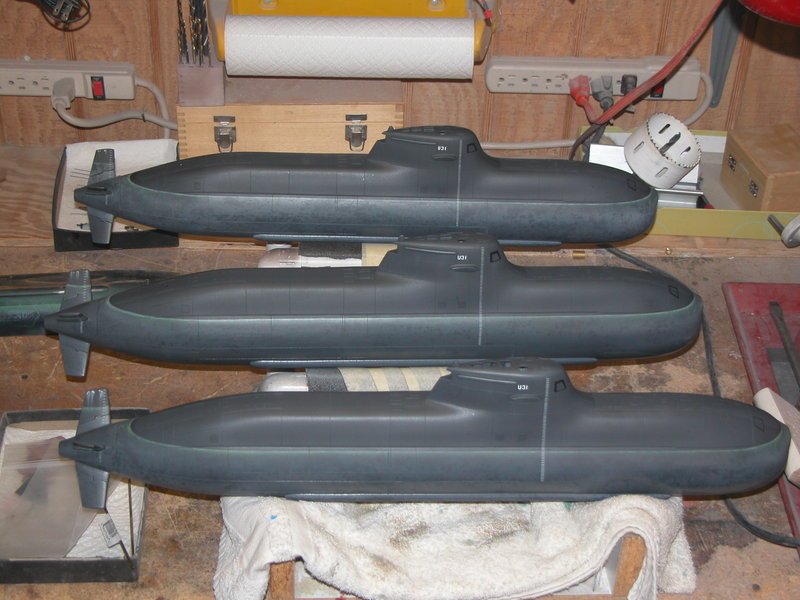
I keep saving your pictures because invariably someone will ask how to do something and I use you as an example. Although I do not show pictures of your weathered subs with bright shiny props.....ducking.If you can cut, drill, saw, hit things and swear a lot, you're well on the way to building a working model sub.Comment
-
Of course you did it all by hand. Let me just pick my jaw back up off the floor and sulk back to my corner...
Nice work, old man.Dead men tell no tales...Comment


Comment