Scratch Build Soviet Project 667 BDRM Delta IV SSBN K-18 "Karelia" Scale 1/140

Collapse
X
 
  • Time
  • Show
Clear All
new posts

  • Davidh
    replied
    Hello all,

    The moulds for the scoops have produced a really nice part. They have popped out after their time in the pressure cooker and have no bubbles. Nice.
    I have gone into a phase of working my way through creating all the moulds for the appendages. After the scoop mould I started the construction of the form box for the stern horizontal planes. Once again cutting and scraping out the profile for the individual parts. The movable horizontal piece and the fixed plane. Initially I was concerned about the movable plane. These both feature wide end plates on the inside and the outside of the movable surface. I was concerned that these flat surfaces could attract bubbles as these thin surfaces move distinctly away from the mould part plane. Would I need further vent lines to deal with this?

    Click image for larger version

Name:	IMG_1987.JPG
Views:	235
Size:	617.2 KB
ID:	133244

    Click image for larger version

Name:	IMG_1996.JPG
Views:	222
Size:	139.4 KB
ID:	133245
    I work out the layout of the parts, then the positioning of the sprues. (pouring channels) , vent lines and finally the registration holes that go into the surface about 3-4 mm. These are different sizes as some of them need to squeeze in between vent lines and the like. Here I have placed the movable surfaces with the plates pointed upwards. Initially I though that the bubbles could concentrate at the top of the plane and move upwards. This would make sense however it means that the pouring sprue would be right next to the brass shaft insert, possibly disrupting the flow of resin as it moves downwards. This is different in that I usually have the brass rod vertical and out of the way as the sprue joins at the side of the piece, a little more out of the way rather than on the front leading edge of the movable surface. I tossed this up for a long time. I finally decided to arrange the movable surface in the normal way and hope that bubbles would not be a problem...


    Click image for larger version

Name:	IMG_2002.JPG
Views:	227
Size:	139.6 KB
ID:	133246


    Click image for larger version

Name:	IMG_2003.JPG
Views:	218
Size:	145.7 KB
ID:	133247

    Once all piece laid down then I go around once again and do the 'playdoh' thing. Sealing and creating a nice level surface around the surface. Before I laid the pieces down I worked out how the sides would fit. Drilling holes for self tapping screws two per side to hold the four sides of the box together. Then before the sides go on I then cut lengths of paper clip and cut to size following the vent lines marked out. Often several lines would join and then meet up at the top as far away from the sprue funnel that I would shape out of playdoh.


    Click image for larger version

Name:	IMG_2006.JPG
Views:	215
Size:	139.2 KB
ID:	133249

    I've always looked at the layout and tried to anticipate where the bubbles would be trapped. As them move upwards if there are any features that could trap a bubble then that is where I have placed vent lines. This is usually things like the brackets as hinges along the length of the fixed plane and also the very tip where the end plate extrudes outward for the open area left where the movable surface meets the hinge.


    Click image for larger version

Name:	IMG_2018.JPG
Views:	214
Size:	147.6 KB
ID:	133248


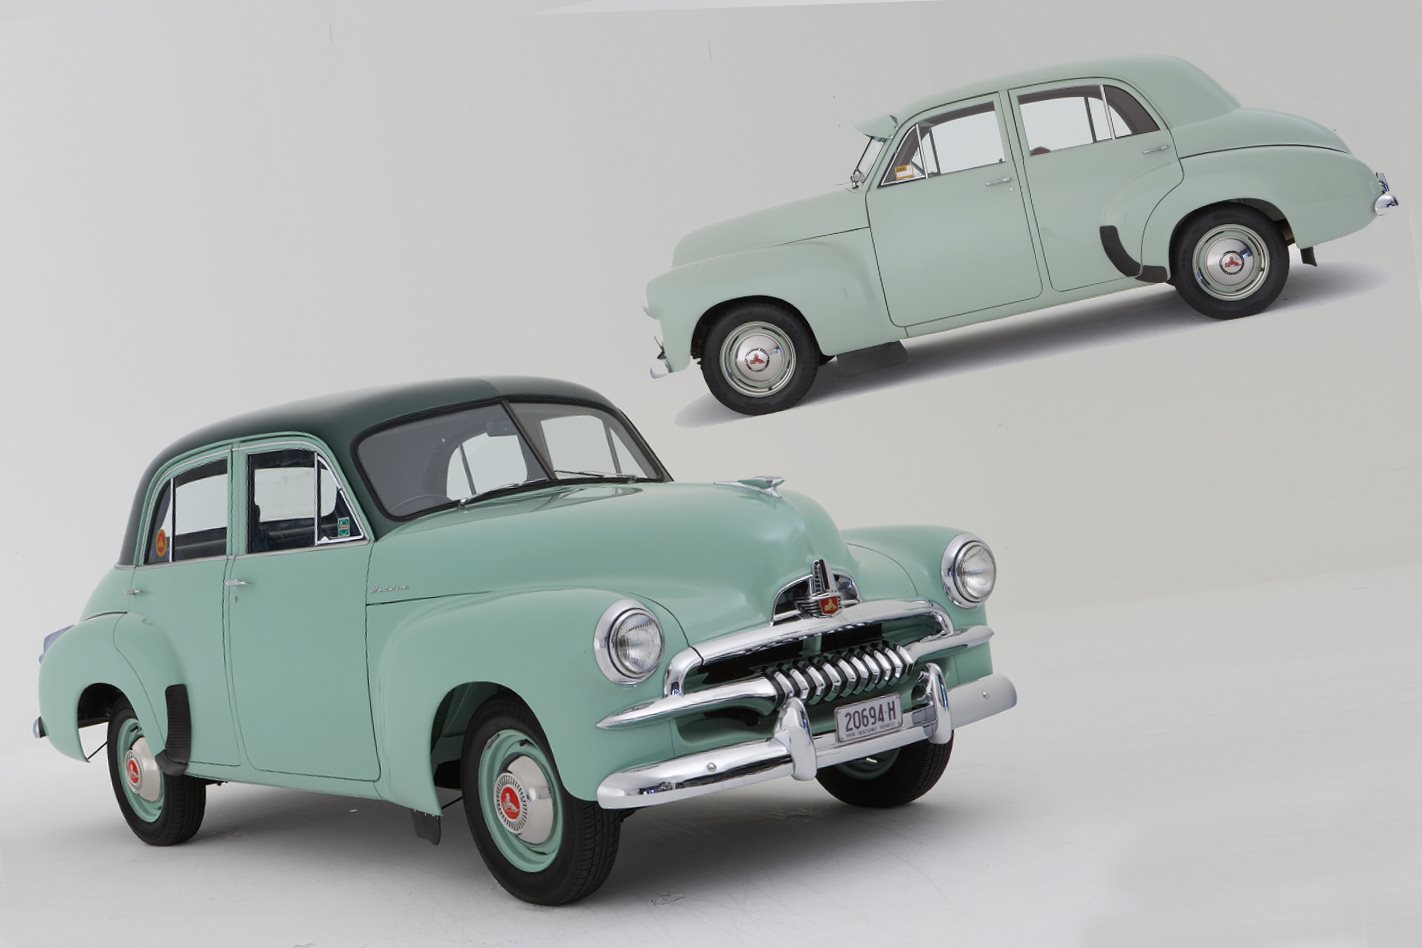
    I really like the 1950's shade of green. It's almost FJ Holden green. Australia's first postwar designed car..


    I really need to get photos of the finished parts. The gamble paid off. The side plates on the movable surfaces have turned out well. To some extent the bubbles and vents are negated by pressure casting that pulls the bubble down in size and holds them there. The reservoir created by the play doh, acts as a store for resin that can move down as the shrinking bubble create more space for resin to drop. After this I will start work on the vertical surfaces at the rear.

    Ideas, comments, thoughts,


    David H

    Leave a comment:


  • Davidh
    replied
    Hello all,

    Of late I haven'd done too much on the hull but have started working on the moulds. I am at a stage where the appendage parts can't really be improved upon so It is time to break out the RTV silicon. First I started off with of all things the reactor coolant scoops. These were 3D printed pieces that have been sanded and filled and sanded until consistent and uniform. Then once again I go through the process of creating the mould boxes that I use. I mark out the profile of the parts and where they sit on the board. i then work out the arrangement of vents and pouring sprues for the resin then start drilling holes for the register points around the rest of the piece.


    Click image for larger version

Name:	IMG_1943.JPG
Views:	224
Size:	549.0 KB
ID:	133123


    Click image for larger version

Name:	IMG_1944.JPG
Views:	202
Size:	608.5 KB
ID:	133124


    Click image for larger version

Name:	IMG_1966.JPG
Views:	250
Size:	128.3 KB
ID:	133125


    After some thought I decided to machine up some small round brass pieces to glue onto the flat surface of the scoops. This will then fit in a hole drilled into the side of the hull where the scoop outline will be. This is so that the scoop can be glued more securely to the underside of the hull. Wear and tear can easily break these parts off but if they have a section pushed into the hull this is less likely.
    The scoops are angled on the base to allow the resin to flow down towards the front of the scoop. The air escaping along the sides of the flat surface through a series of vents. I make my air vents out of paperclips, these make neat little air tunnels in the silicon.


    Click image for larger version

Name:	IMG_1994.JPG
Views:	210
Size:	143.1 KB
ID:	133126


    Click image for larger version

Name:	IMG_1995.JPG
Views:	222
Size:	144.7 KB
ID:	133127


    The sprues are made of Balsa and the purple material is playdoh that is used to make the funnel that will allow material is reservoir as it awaits being pulled down by the collapsing bubbles when under pressure. I also use a little around the sides to make sure that the silicon doesn't seep out the sides. This photo shows the first mould done and then the set up for the second mould. A layer of release agent is crucial as silcon will only stick to silison so make sure that you have used some. The sprues are placed back in and some lanolin is squeezed into the channels created for the air vents by the paper clips. I rub lanolin all over the whole mold as the release agent. You could easily use the Urethane release agent by Stoners. after this another pour of lovely 1950's green silicon awaits...

    Click image for larger version

Name:	IMG_1997.JPG
Views:	209
Size:	83.3 KB
ID:	133128


    David H


    Leave a comment:


  • Davidh
    replied
    Hello Jorg

    I hope your getting enough sleep. I will be fixing my foreplanes however there will be plenty of room for you to make them movable. I,m happy with progress. I have almost completed the third set of silicon moulds.


    take care,

    great to to hear from you

    dave

    Leave a comment:


  • JHapprich
    replied
    I really like the sail, David.do you intend to make the bowplanes working or static?

    Jörg

    Leave a comment:


  • Davidh
    replied
    Thank you Brady,

    Appreciate the feedback. I'm with you. You can only go so far with regards to the application of detail before it becomes to muddled, crowded and over the top. As HWSNBN has mentioned before, if you couldnt see it from about 30 meters away then you should'nt see it on the model. And yes, He has seen the light and realizes that metric is so much better. (Awaiting tirade)

    It has been a busy week. I have been occupied with orders and completely re-doing the twin shaft rear endcap for the Papa. So I havent spent as much time on the 667 as I should have however I have made some progress by starting the creation of appendage moulds so the first finished parts have come into existence Yay!

    Getting back to the previous work on the sail. After scribing most of the detail around the sides of the fin I then started looking at the hatches and mast recesses on 667. I have decided to do a one piece mould for the entire sail, fin. This is a deviation for me. I usually do three pieces. So this means that the top section and sides will be one piece which means that the detail that slopes down the sides will not be interrupted by being along the split line of the three pieces. The 667 has a fair bit going on along the top of the fin.


    Click image for larger version

Name:	IMG_0233.JPG
Views:	302
Size:	64.8 KB
ID:	132998


    I really like this photo even though it's a Delta-3. I really like the unusual light Blue colour inside the hatches and the like. This is also applied to the BDRM. I would like to do it on my finished model however I think this blue has only appeared after the latest refits where the entire hull is painted in black. No anti-foul red. I like the Anti-foul red colour scheme from the Soviet era but I can't find any evidence that the Blue was used with the earlier schemes, I want to use both..
    (first world problem).

    I spent some time looking over the top arrangement of fin and then marked out where the mast locations are. I also marked out where the main crew hatch is positioned. I have decided to recess this in and create a shallow dug out section where this is. Judging by photos taken of the fin several of the masts fitted into recessed round housings. So for these I will drill into the Renshape.


    Click image for larger version

Name:	IMG_1941.JPG
Views:	237
Size:	136.9 KB
ID:	132999


    Click image for larger version

Name:	IMG_1932.JPG
Views:	211
Size:	570.4 KB
ID:	133000

    Click image for larger version

Name:	IMG_1930.JPG
Views:	203
Size:	593.4 KB
ID:	133001

    I am happy with how the angled recess at the side of the hatch has turned out. This is the hole with the uneven surface as the cut occurs over the slope down the side of the fin. I have spent a bit of time looking over the large hatch towards the rear. This large pivoting hatch looks like a missile door but as far as I can see It is for the Satellite navigation mast that is quite large. I am trying to get detailed photos of this hatch arrangement. This hatch has been hard to find detail on so if anyone has any good pics I would greatly appreciate it. I will be moulding the fin with the hatch in place. I am then considering making a hatch as an extra feature and people can cut of the profile and stick the hatch on in the open position if desired.


    Click image for larger version

Name:	IMG_1931.JPG
Views:	202
Size:	139.0 KB
ID:	133002


    The forward planes have only a thin layer of spray putty. I have since sprayed several more layers to thicken it up. This has also allowed the surface to smooth out and thicken up a bit. I will need to re-drill the holes through the side of the fin for the planes as they are slightly angled to the center line.

    More later,


    David H


    Leave a comment:


  • DMTNT
    replied
    Personally, I would leave the anechoic coating damage up to the builder. I think it could be replicated easily enough by a decently competent modeler, and if done on the master end 1.) Locks you in to that specific pattern and 2.) My gut tells me it could end up being overdone.

    Personally I've always been fascinated by the surface of these steel beasts when you see it up close. They’re never “pretty” or uniform. Great to see you working so hard to capture all the angles of this just right.
    Last edited by DMTNT; 07-09-2019, 02:05 PM.

    Leave a comment:


  • Davidh
    replied
    Thanks Brady, appreciated..


    The following photo shows the filleted section of the missile deck as it transitions into the vertical flat surface of the fin on one of the full size 667's. Alot of information can be gleaned when the sunlight hits the surfaces at just the right angle and you can see the undulations of the oil canning and uneven features that you would otherwise not see, especially in shadow. I suspect that frost or extreme cold on the surface of the metal may also produce a similar effect

    Click image for larger version

Name:	IMG_1059.JPG
Views:	253
Size:	156.8 KB
ID:	132950


    After looking at the pic I don't know if I want to go the whole way and cut big square chucks out of the hull where anechoic tiles once were...

    After gluing the fillets on I had to start sanding them back. I started mainly in the corners with 180 then 360 grit , finally working 600 then 800 and finally with 1200 hundred and a few goes of filler in between to get the transition just right. Careful checking either side and underneath to make sure that once again the whole operation was symmetrical. Once IO was pretty happy with the outcome I started looking at the interface where this fillets widened rear section of the fin would butt up against the Missile deck and how that transition would be affected. Currently as it stands the missile deck front slopes towards the rear, this would have to change as the butted surface would have to be vertical or near vertical. This made me start thinking however about the practicality of the moulds with very little draft angel to work with, granted this is much easier since this top mould will be a silicon one.


    Click image for larger version

Name:	IMG_1725.JPG
Views:	237
Size:	624.0 KB
ID:	132951


    I decided to make the bulk of the structure a cunningly fashioned piece of Renshape. The curves on this little thing took a bit of sanding and thinking through as it curved and wrapped around a shape that was a little intricate but also had to mate up nicely against the rear of the fin and its widened rear end. Once it was reasonable I simply super glued into position on both sides. As before I made both at the same time.


    Click image for larger version

Name:	IMG_1726.JPG
Views:	223
Size:	607.1 KB
ID:	132952

    Click image for larger version

Name:	IMG_1730.JPG
Views:	206
Size:	140.1 KB
ID:	132953


    Click image for larger version

Name:	IMG_1901.JPG
Views:	179
Size:	548.0 KB
ID:	132954


    Click image for larger version

Name:	IMG_1905.JPG
Views:	206
Size:	529.0 KB
ID:	132955I deliberated over the configuration of the sail in terms of how to best build it with regards to moulding. Should I do a three piece mould like I am used to or a two piece or a one piece.
    i have been looking at HWSNBN write up on the making of the Sail/ Fin for Scott's 627 November and really like the idea of taking the plunge and doing a one piece mould. Part of my reason for doing this is that there is a fair amount of window detail and other small effects right up near where the part line would be for a top piece like I have traditionally done, A one piece mould would eliminate the loos of potential detail here, would reduce the lay up effectively to one step and produce less work with more accuracy for the builder. Win /win...


    Click image for larger version

Name:	IMG_1910.JPG
Views:	202
Size:	149.8 KB
ID:	132956

    As can be seen the windows in particular are right where I would have intended to put the part line. As can be seen the 667 has quite a wide radius in the curve of the vertical sides up the the flat section atop the fin. Since doing the scribe work seen here I have adjusted the scribes I have been using along with HWSNBN advice and toned down the depth of the scribe line in the Renshape.


    Click image for larger version

Name:	IMG_1911.JPG
Views:	205
Size:	540.3 KB
ID:	132958

    Once again, thought and comments appreciated...


    David H


    Attached Files

    Leave a comment:


  • DMTNT
    replied
    Solid work. You’re hacking away at it one bit at a time.

    Leave a comment:


  • Davidh
    replied
    Hello all,

    Thanks Brady for the comments. I am happy with the way she's looking. I think the proportions are looking realistic.

    I have started looking at the Fin. I haven't really done anything with it except cut out the overall shape in Renshape and sand it back to get the right profile. A couple of weeks ago I saw a picture of HWSNBN using a movable profile tool that looked really good. It allows you to capture the profile any shape that you press it up against. I therefore used this against the side of the sail to then check for symmetry. This profile device is fantastic to help show the inconsistencies from one side to another.

    The fin has turned out to be reasonably symmetrical and balanced. It really needed only a limited amount of sanding. What I did find was that compared to the original drawings that I am working off, It's a bit high and would need to be taken down probably about 5mm.

    Click image for larger version

Name:	IMG_1705.JPG
Views:	227
Size:	572.8 KB
ID:	132864


    Click image for larger version

Name:	IMG_1707.JPG
Views:	192
Size:	112.9 KB
ID:	132865

    Click image for larger version

Name:	IMG_1710.JPG
Views:	182
Size:	85.2 KB
ID:	132866

    I have spent a bit of time thinking about how I would interface the fin into the front of the Missile deck. The side of the missile deck angle inwards to meet the parallel sides of the missile deck. However in doing so they converge and join with a distinctive crease that curves down at a slight angle. This occurs where the curved profile of the missile side surface gradually transitions to the flat deck above it. This surface having a curve needs to blend in to a vertical flat surface, hence the curved "crease" where it does so. This is prominent in some pictures over others especially when the lighting is just right. I have decided to create a fillet section on either side of the rear lower section of the fin to curve outwards and meet this profile as it blends into the front of the missile deck.

    Click image for larger version

Name:	IMG_1713.JPG
Views:	214
Size:	130.6 KB
ID:	132867


    Click image for larger version

Name:	IMG_1715.JPG
Views:	226
Size:	620.0 KB
ID:	132868

    I cut out two small pieces of Renshape and sanded them down to the right shape for the gradual transition on either side. I sanded them down together in order to get symmetry for as soon as they are glued on you will loose the accuracy that having them right next to each other will give. Once they were right I glued them on. At this point I have yet to reconstruct the front end of the missile deck. At the moment it is sloping downwards as it meets the forward deck. This requires a Renshape fillet that would create a near vertical surface where the filleted rear surface of the sail will but up against. This means that there will
    be a break line that runs vertically from the back of the sail where the lower corner of the sail connects to the forward top edge at the front of the missile deck. Once this is in place it can be filleted over to create a seamless transition between the two.


    Enough for now.

    Any ideas and comments appreciated..


    David H

    Leave a comment:


  • DMTNT
    replied
    That certainly looks like a Delta IV. Nice work, sir. Excited to see this one continue to come together.

    Leave a comment:


  • Davidh
    replied
    Hello all,

    The brass collect acting as a depth keeper for the scribing tool is pretty slick.

    Once again some limited work done of late due to orders coming in. I have spent a little bit of time going over the scoops once again and just getting them absolutely schmicko. I am going to create a small round protrusion from the base of the scoops to fit into a hole in the underside of the hull where the profile of the scoops will be moulded in.

    I have also made a start on the stern guide rails that run the length of the boat from the front of the Missile deck to back down and ending just before the Rudders. On the full size these rails are recessed when the boat is submerged and can be raised up out of their housing when on the surface. Well, that's the way I interpret it from the pictures. They are also round in profile. I have decided to continue with the fine square profile that I have been using. I have decided to keep it consistent but at the same time if I were to make it round then I would also have to make it finer and I think that the detail would probably be lost in the moulding or easily break off the part.


    Click image for larger version

Name:	IMG_1681.JPG
Views:	233
Size:	489.5 KB
ID:	132795

    This pic shows the scoops stuck on with Blu-tack. The profiles are slightly larger than the overall profile of the scoop. These will be cut and sanded back to the right size. I have also yet to design, print and mark out the templates for the rear facing outlets. Two per side. As can also be seen I have deepened the drainage slots on the side of the missile deck. The base of these being a little rough. I have a cunning plan as to how I am going to flatten and level the base of these drainage holes. A little technique that I am confident will work very nicely on the silicon mouild once it is made. Stay tuned.

    Click image for larger version

Name:	IMG_1683.JPG
Views:	222
Size:	431.1 KB
ID:	132796

    Click image for larger version

Name:	IMG_1692.JPG
Views:	199
Size:	492.2 KB
ID:	132797

    I drew a series of pencil lines along the hull. Making sure that the distance between the rails is consistent and then dribbling a tiny amount of super glue down the thin styrene strip and laying it down over the top of the line. I used a steel rule to make sure that the strip was absolutely straight. It is interesting looking at the photos of these rails on the full size. From the rear they look like they are a bit crazed, deviating from straight in numerous places. Then again the hull of 667 looks like it has numerous undulations over the hull. It may be just the way the light captures the hull. The port side of the rail extends further towards the rudder than the Starboard side.

    Click image for larger version

Name:	IMG_1697.JPG
Views:	215
Size:	593.5 KB
ID:	132798

    Click image for larger version

Name:	IMG_1698.JPG
Views:	227
Size:	94.7 KB
ID:	132799


    Click image for larger version

Name:	IMG_1703.JPG
Views:	238
Size:	588.6 KB
ID:	132800


    I will soon be at the stage where I will be spending a fair bit of time just going over the whole hull and fixing tiny imperfections. I will probably add tiny amounts of filler here and there and sand and finely file away where needed. Needless to say I am pretty happy with how she is looking. The next major section to be worked on will be the fin/sail. I have yet to really touch this. I do not know If I will make this as one piece mould or go ahead with my usual three part mould. I have been taking inspiration from Yannis.


    David H

    Leave a comment:


  • He Who Shall Not Be Named
    replied
    Originally posted by bwi 971

    I'm gona steel that for sure.
    Grtz,
    Bart
    Fair enough, Bart. The last couple of projects, I've been stealing from you!

    David
    Shameless And Proud of it

    Leave a comment:


  • He Who Shall Not Be Named
    replied
    Originally posted by Subculture
    So what bar are you using for the scribing tools, silver steel, tungsten carbide?
    High carbon steel (tooling steel in some circles). Brittle, but won't bend under high shear stress. A good source are old jeweler's rat-tail files. I prefer to start with round stock rather than bar, Andy.

    David

    Leave a comment:


  • bwi 971
    replied
    Originally posted by He Who Shall Not Be Named

    Thanks, Andy. Used 'em for years. Just never thought to include the device in past illustrations and photos. Duh!

    David
    I'm gona steel that for sure.
    Grtz,
    Bart

    Leave a comment:


  • Subculture
    replied
    So what bar are you using for the scribing tools, silver steel, tungsten carbide?

    Leave a comment:

Working...