Welcome to our forums. For the best in R/C submarine kits, components and accessories, be sure to visit the Nautilus Drydocks
If this is your first visit, be sure to
check out the FAQ by clicking the
link above. You may have to register
before you can post: click the register link above to proceed. To start viewing messages,
select the forum that you want to visit from the selection below.
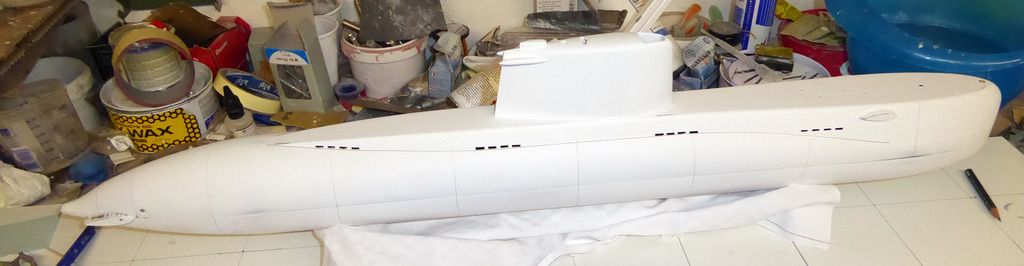
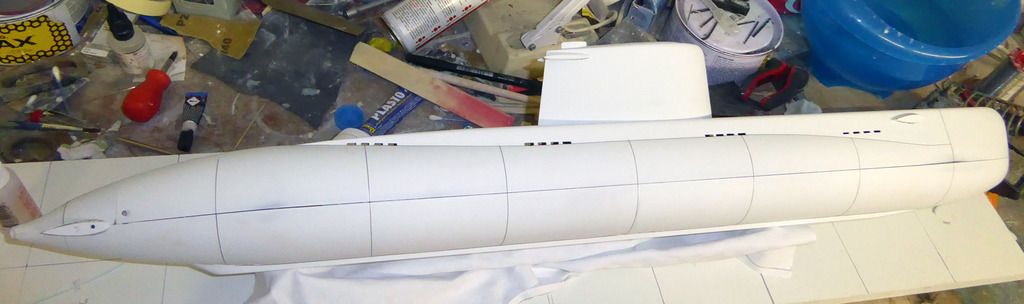
After a few months break I used the warm weather to put 2 component primer on the boat. Wet grinding with 600 grade sandpaper and now I'm adding weldlines using Archer Fine transfer surface details. I'll also add some scribed lines and hatches.
You are right. The rough dimensions were taken from this plan: http://www.heiszwolf.com/subs/plans/Preveze_class.jpg
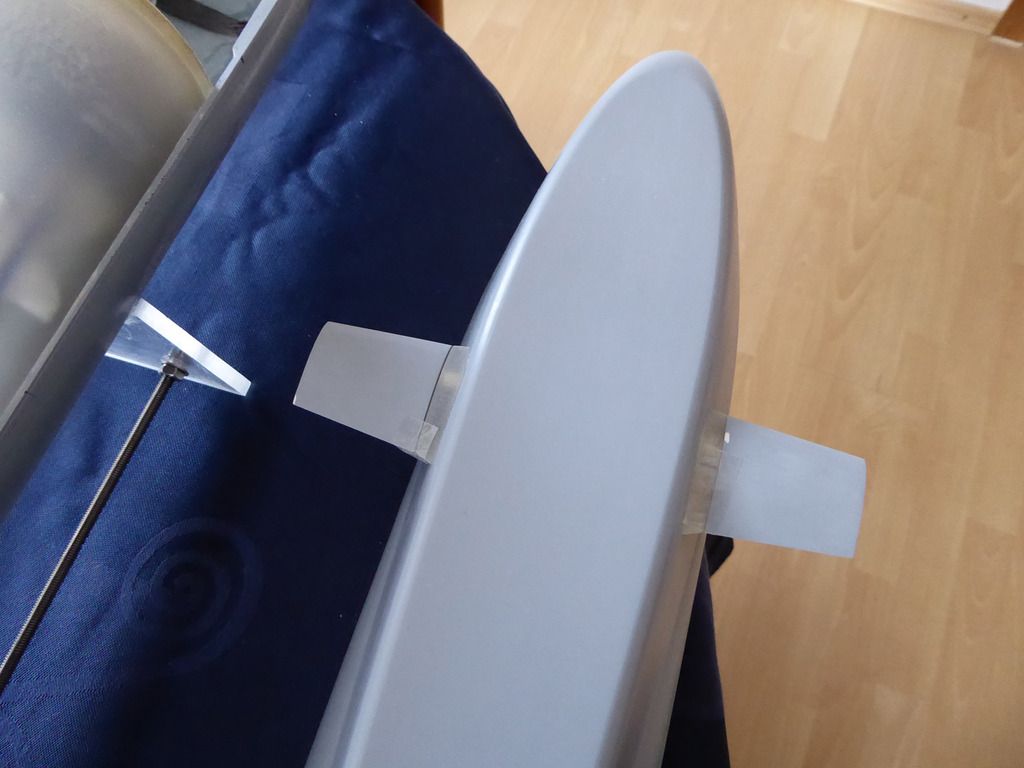
Stern planes with stabilizers.....I guess I went for simplicity here. I also skipped the stabilizer or guard on the lower rudder.
What do you mean about "full flying stern planes"? And with respect to the servo....well, I did some research on the net and found some good feedback on SAVOX servos. So I'll give it an try.
On full-scale, combat submarines you just don't see entire surfaces dedicated to pitch control (other than X-tails). Convention is a split between fixed stabilizer and movable stern plane. A variation is the Nautilus where you see the fixed horizontal stabilizers integrated into the stern tubes, with the stern planes just aft of the screws.
But, this is a 'fantasy' submarine, so it's your call, Andreas.
What do you mean about "full flying stern planes"? And with respect to the servo....well, I did some research on the net and found some good feedback on SAVOX servos. So I'll give it an try.
A good, sound design. And executed with your usual precision and rational. Don't know about the full-flying stern planes -- a bit much, me thinks. And it's been my experience that those 'water-tight' servos ... ain't!
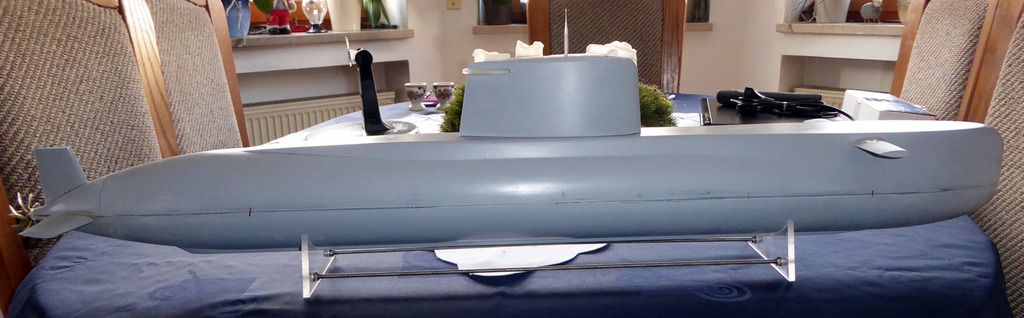
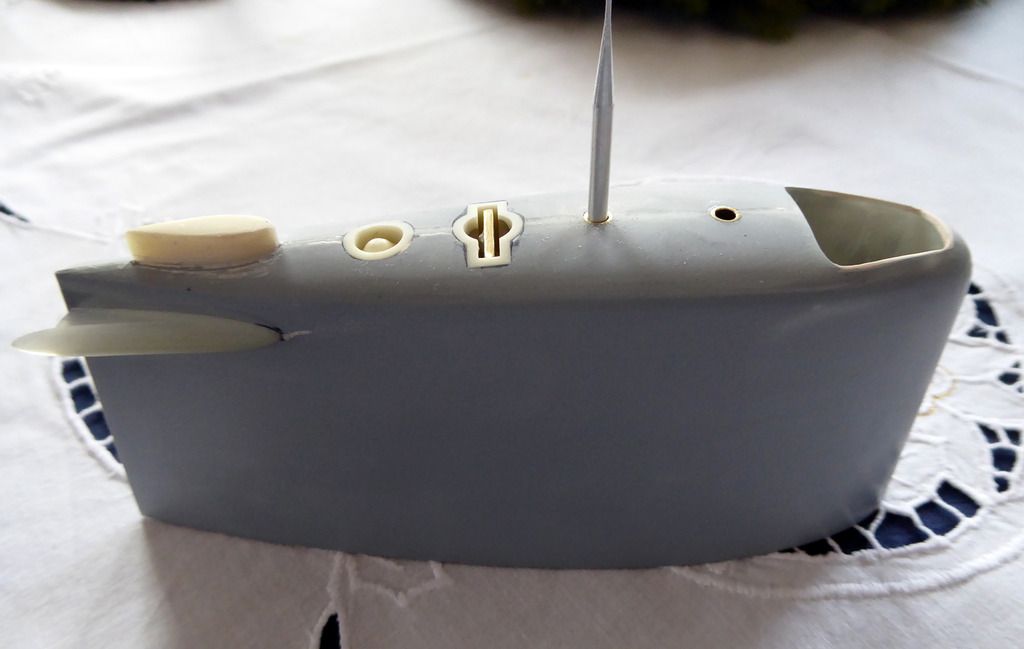
I haven�t been lazy building, just lazy making photos of the build. Therefore, without many intermediate steps the current status of the Neptun build, my little fantasy boat.
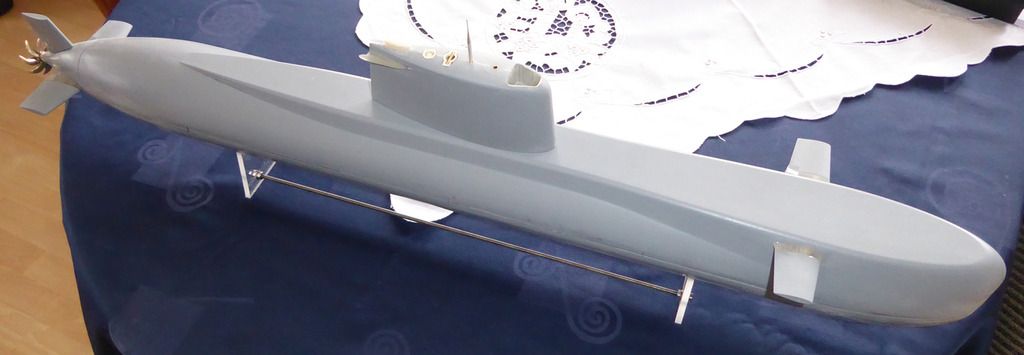
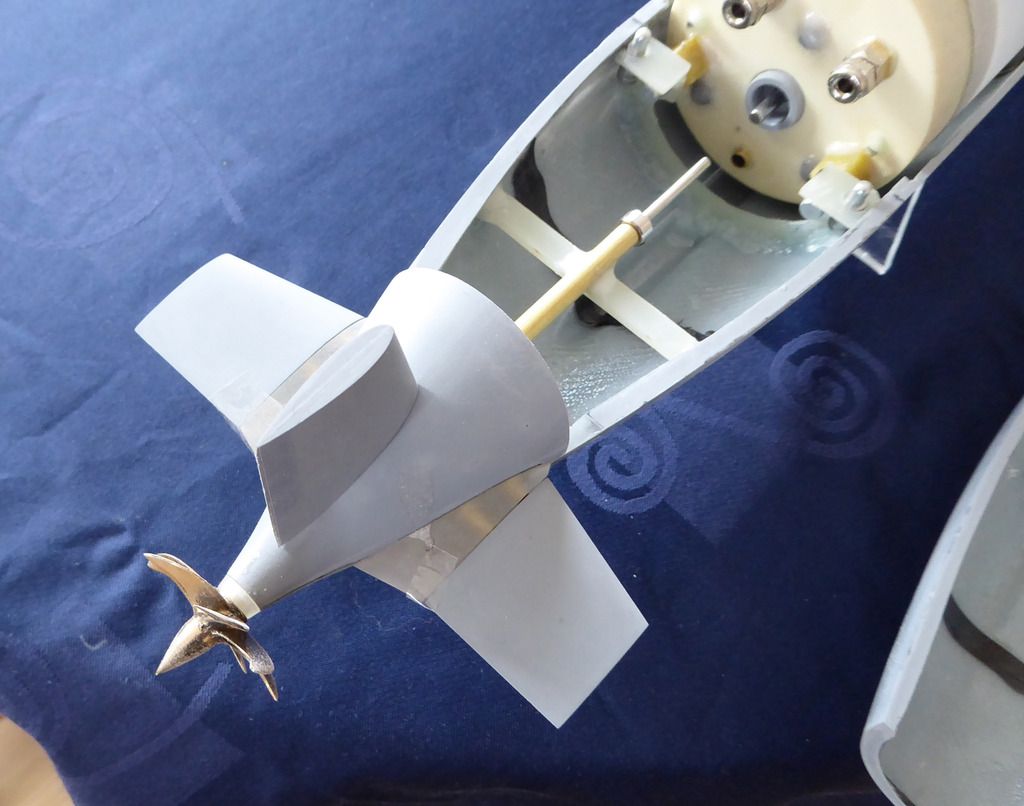
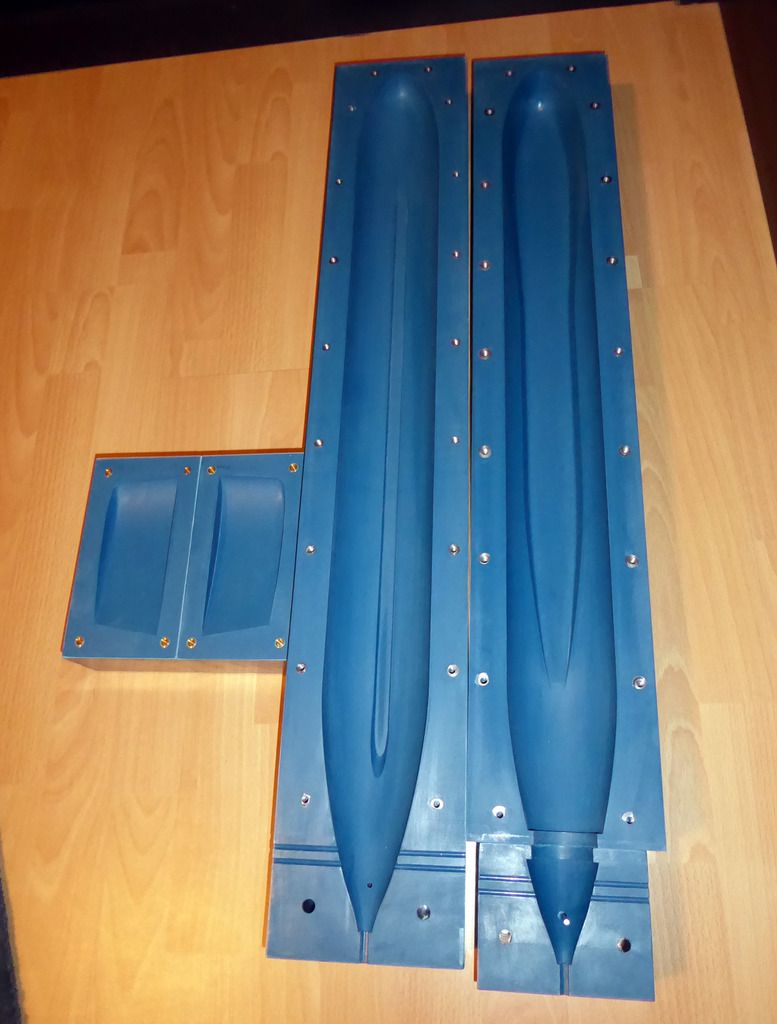
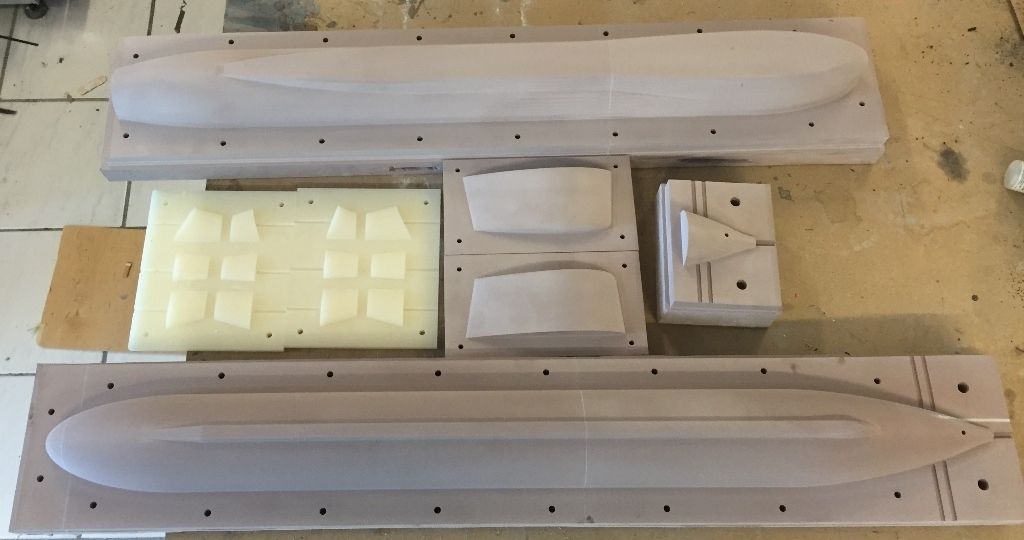
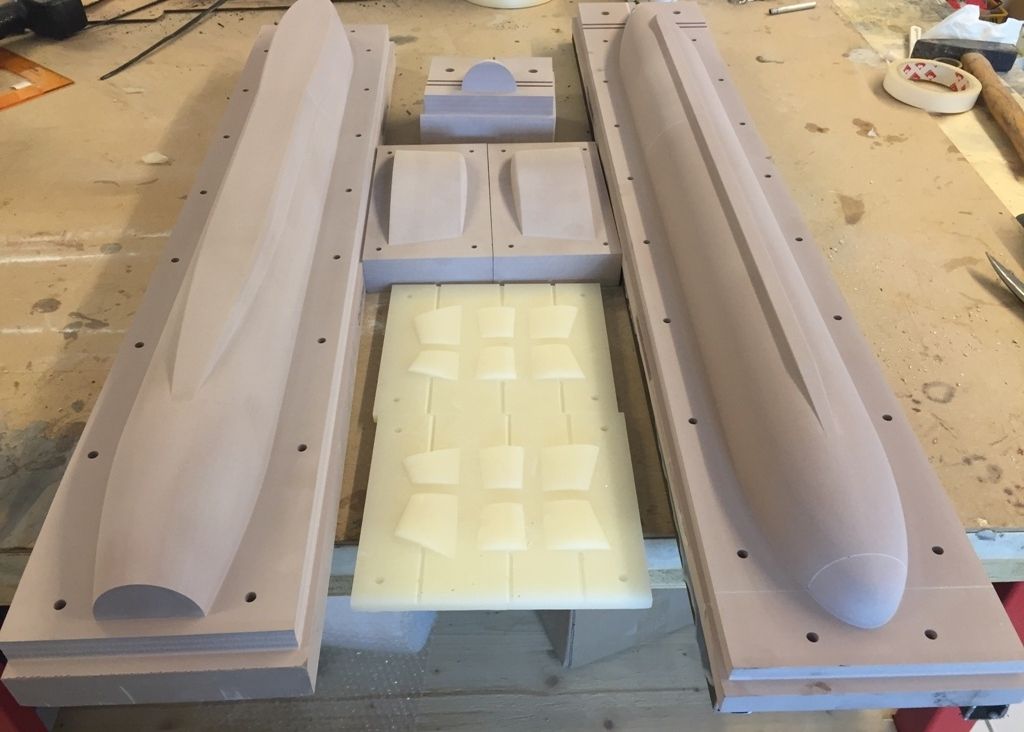
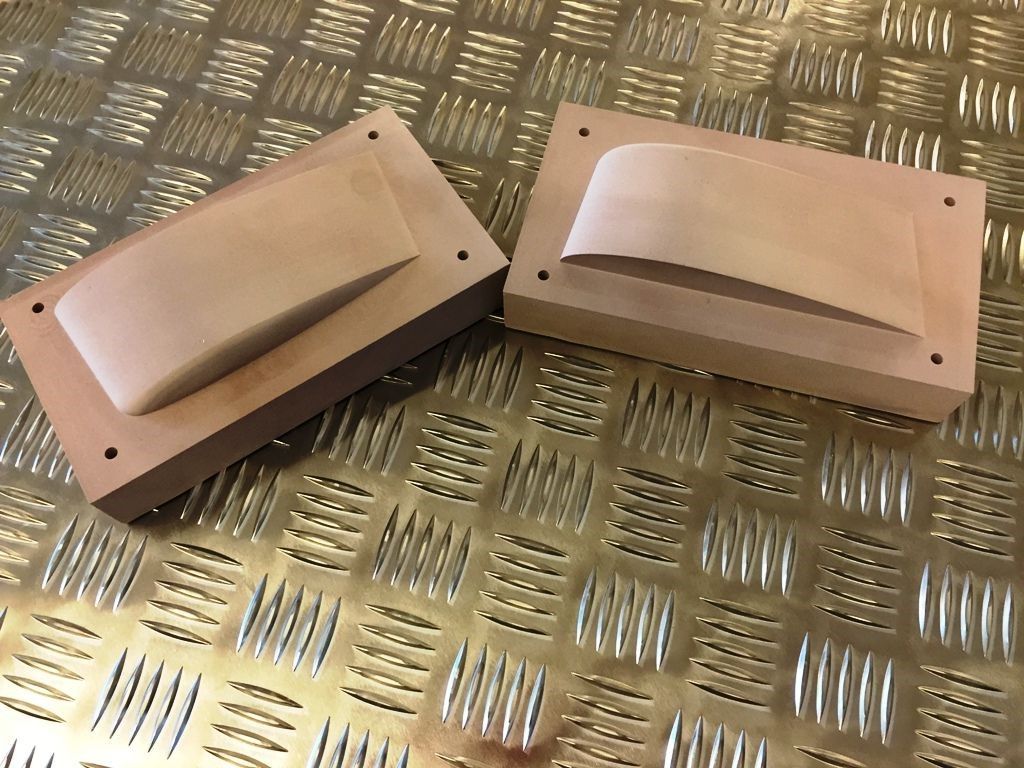
The moulds are done and I laminated the first set of grp parts from the first boat. The rest is a bit of resin and 3D-printed parts. The prop is from the Prop Shop:
Neat little boat. Just the lower rudder is missing in the pictures.
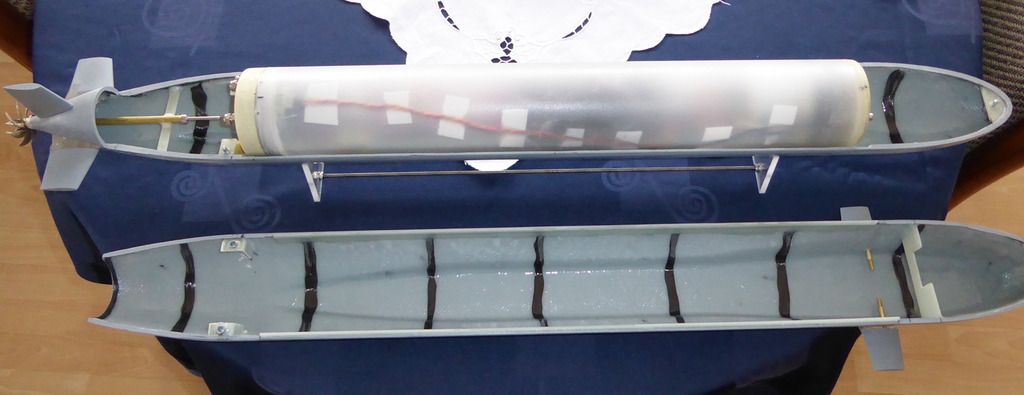
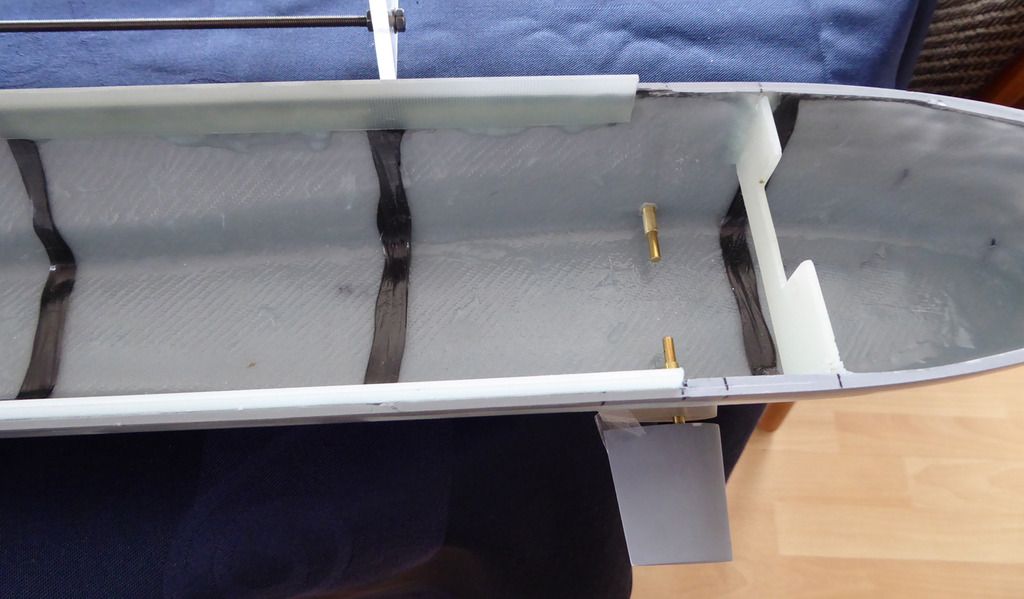
The deck is removable. The WTC ha progresses quite far:
The rear part of the WTC is locked into two horizontal pins, which are glued into a grp bulkhead. Similar but vertical pins lock the deck into place:
The bow section of the WTC is secured with a single M$ screw. Right in the front an additional vertical pin for the deck positioning:
The stern tube was installed within 5 minutes:
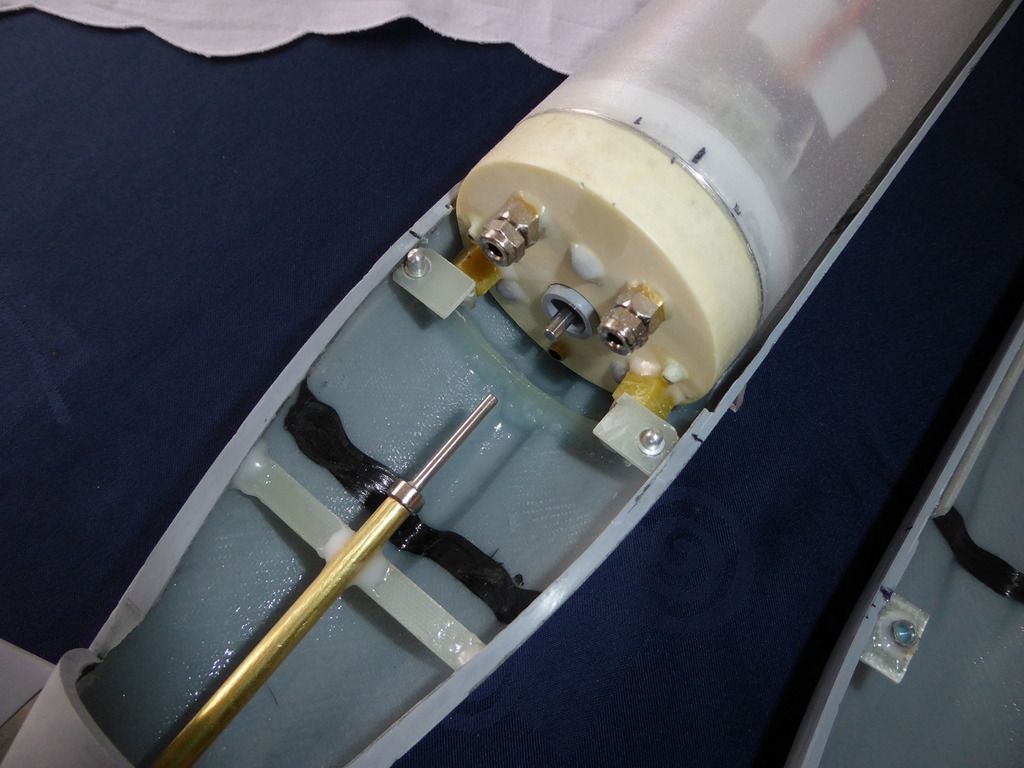
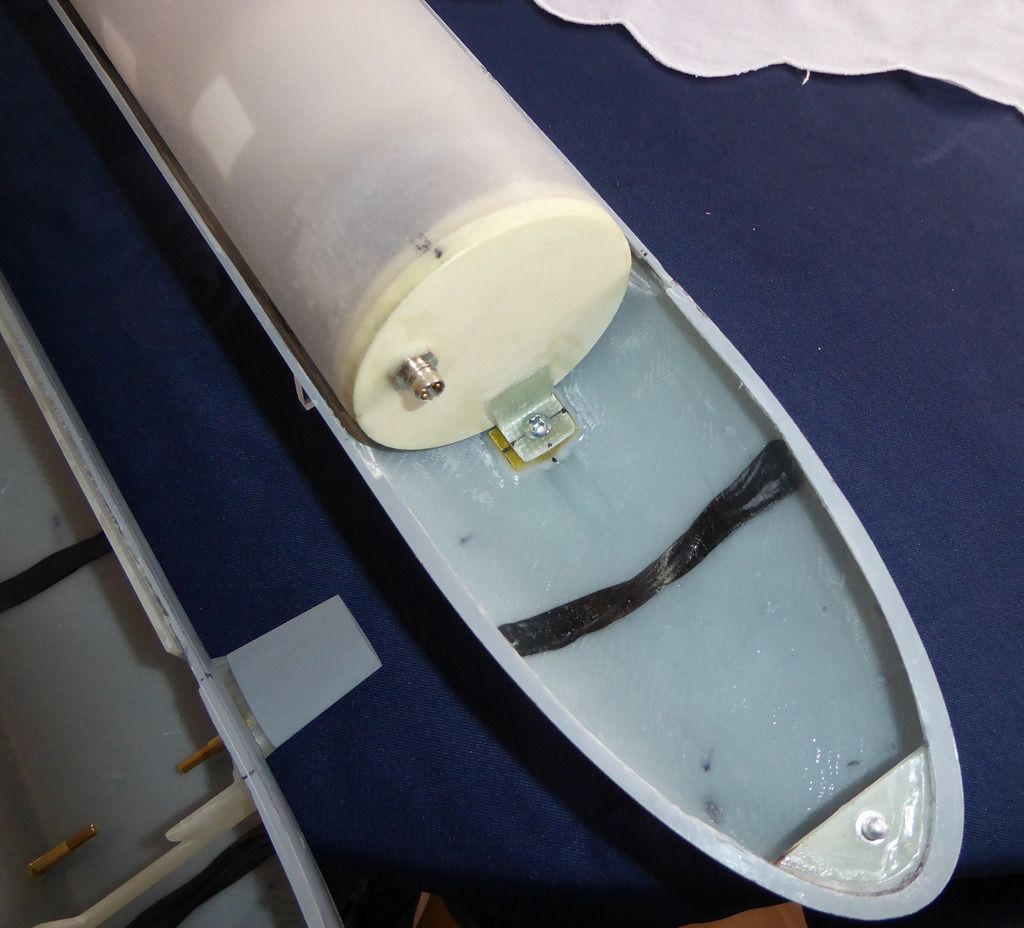
1,5 mm thick grp sheets provide additional alignment of the deck. The bulkhead in the bow section will hold the watertight servo for the bow planes:
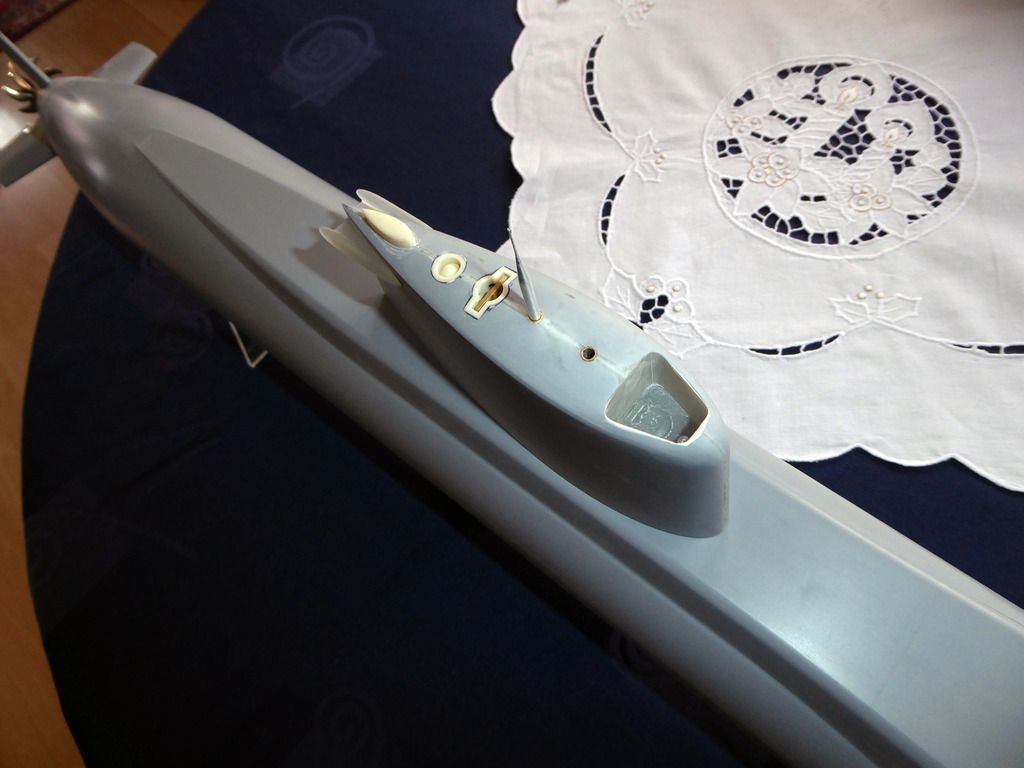
Thanks to 3d-printed parts from Shapeways the interfaces between the planes and the hull are perfect without the need for filling and grinding:
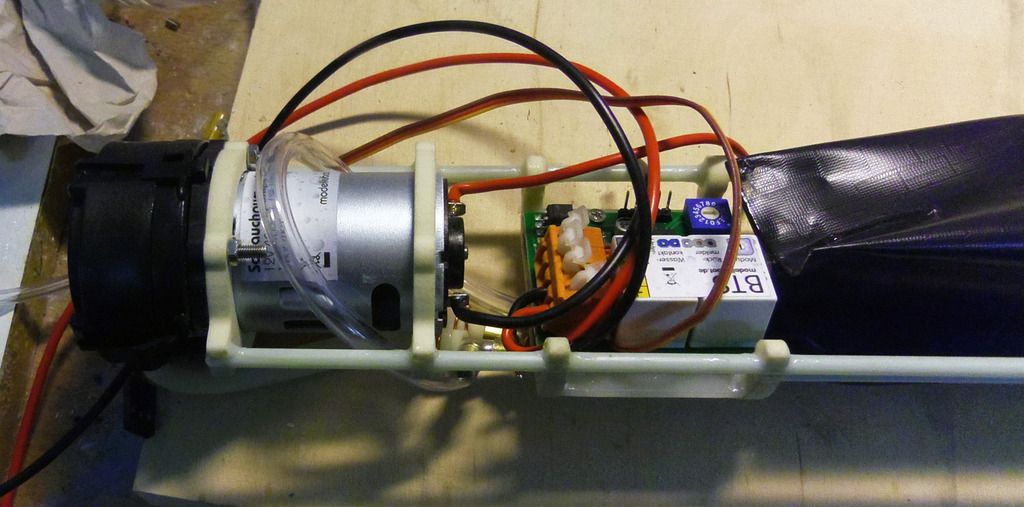
The electronics is comparable to the Engel BTS but I got it from Norbert Br�ggen (http://modelluboot.de/) together with the whole ballast system. The switch I got from a German online electronic vendor called Conrad Electronics, because the Br�ggen one was too big for my purposes.
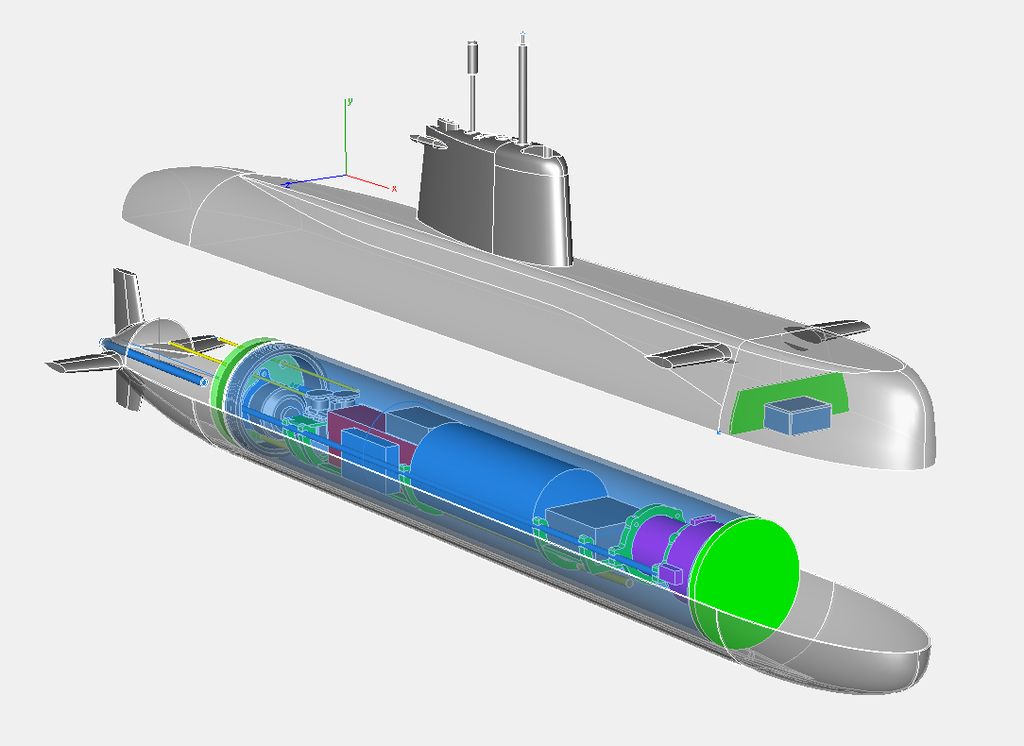
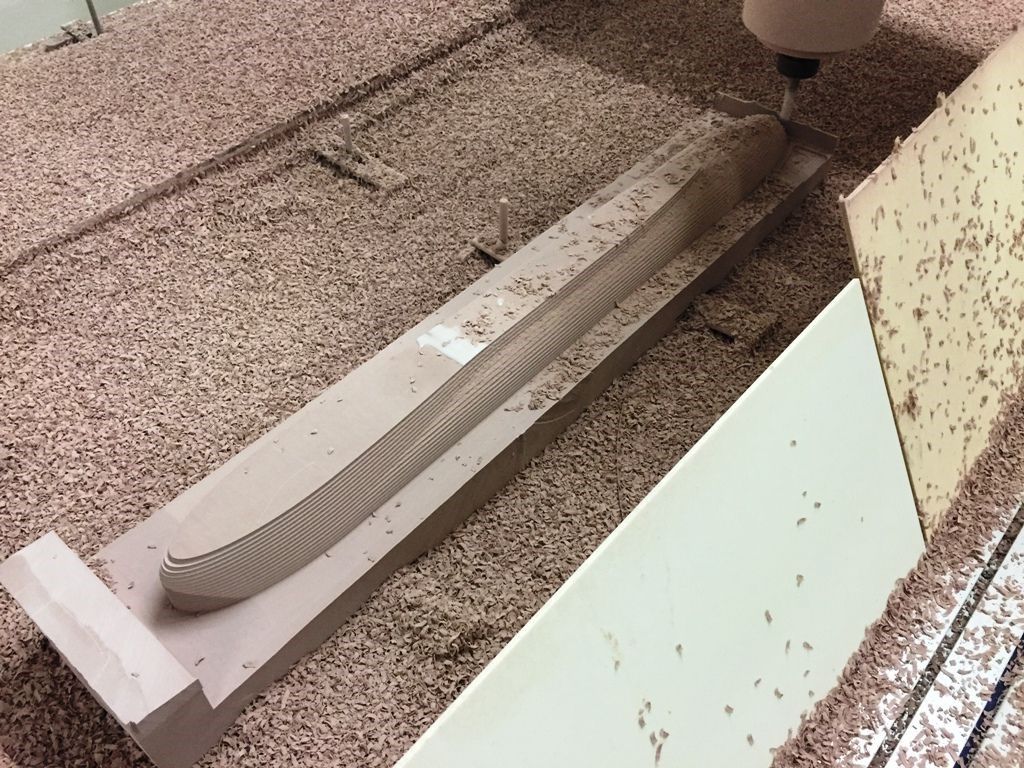
Well, as the guy who milled the masters for my other boats doesn't have the capacity to mill the masters for this boat, I looked and found a new one and will give him a try. I'll be wiser in a few weeks. The final result should look somewhat like that:
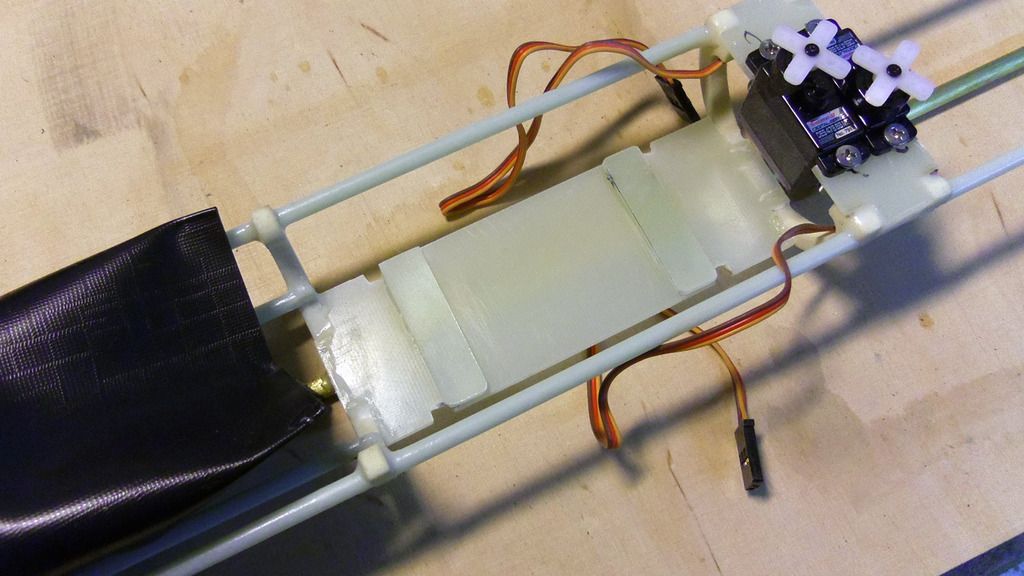
Slowly everything falls into place. The dive controller is screwed in place and I started wiring the whole thing:
The hoses are hooked up. The overpressure switch is new, not the one I got with the controller, as latter was too big. The new one fits tightly into place below the dive controller. The hose to the pressure switch starts in a T nipple and is routed over the pump motor to ensure that no water reaches the switch. And it looks cool....
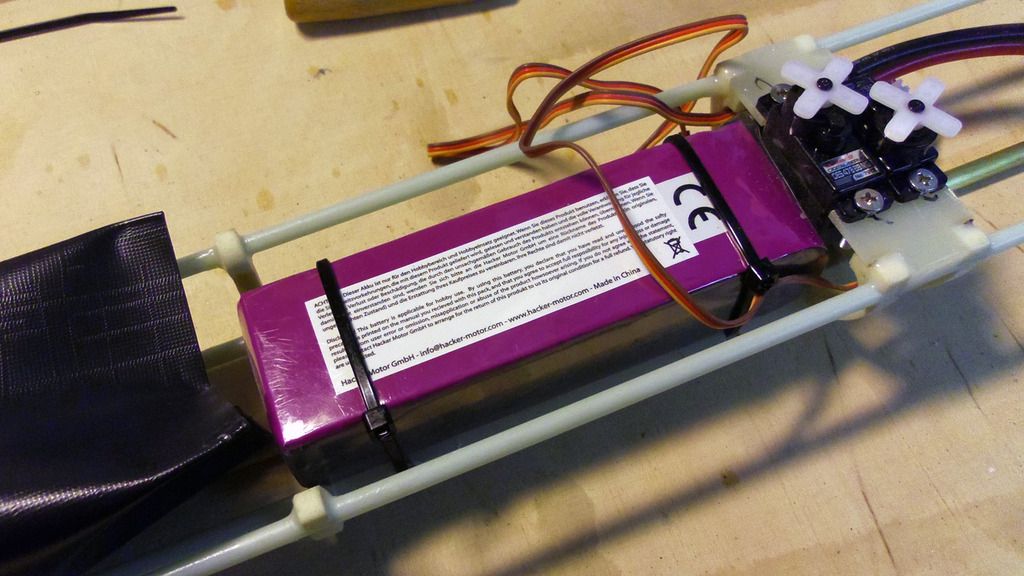
The battery rest on two 2 mm thick GRP planks:
This way the battery can easily be fixed with cable ties:
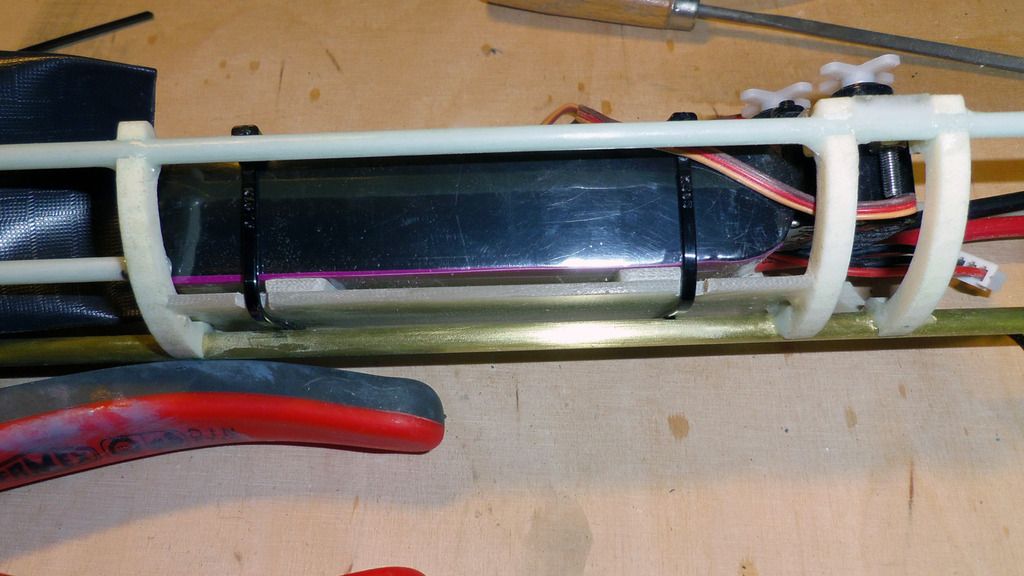
The gap between battery the GRP deck has the advantage, that in case anything gets wet, the battery can easily dry. And the gap is well suited to route cable ties to fix additional gear:
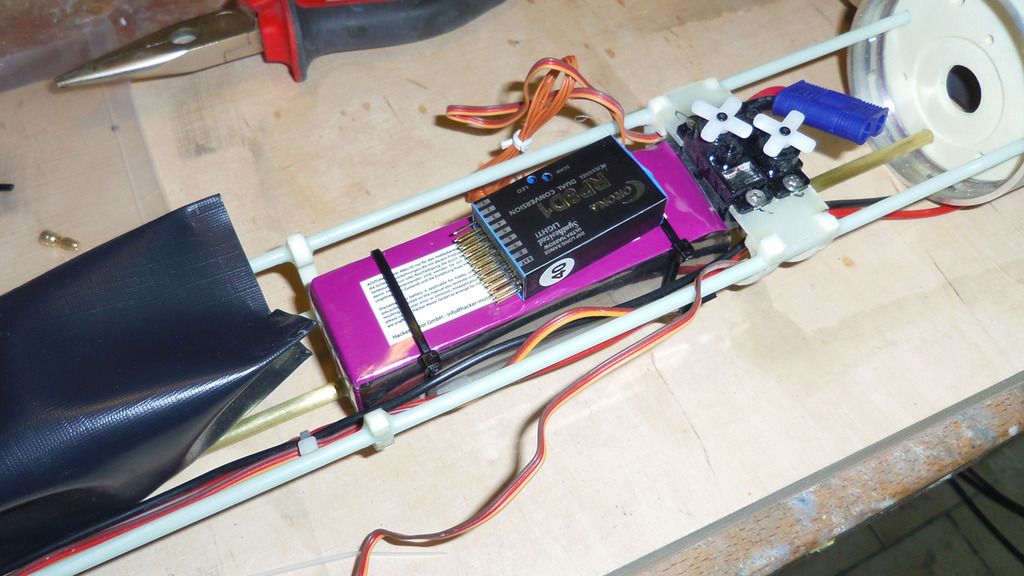
e.g. the receiver. It will simply sit on top of the battery:


Leave a comment: