-
That is a slick tool. What? It vibrates like those old saws used to cut off plaster casts? What a neat cut: tight kerf, and no apparent melting of the plastic. As you say, very clean. I'll get one! Thanks for the tip.
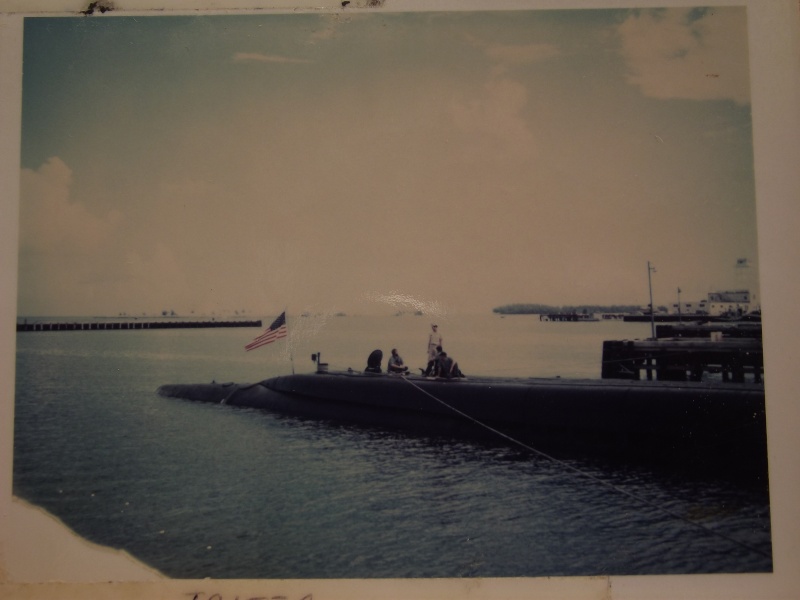
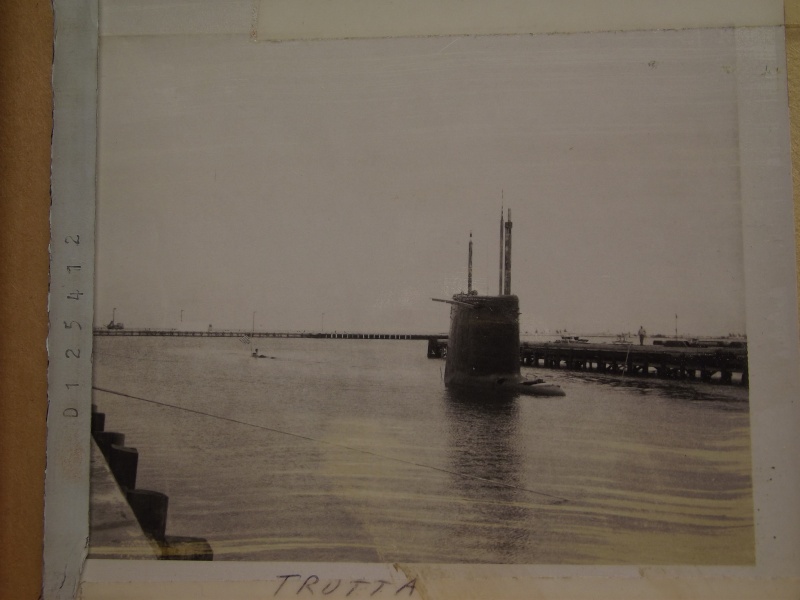
Make it the TRUTTA! Rework the bow (TENCH class bow) and turn the rest into a GUPPY 2A.

MLeave a comment:
-
-
Looking good Mark! Guessing you are going to do a hull split on this sub. Once you have the deck glued, you might be able to remove more cross beams. As you have seen it is pretty thick plastic and weight wise it adds up. Watching your build gets me excited to build my second Gato. I need patience because I want to see how your sub finishes and runs.Leave a comment:
-
Well maybe you could build up one as a "GUPPY", and the other as a "GUN SLINGER". Just a thought........or two. I appreciate your helpful hints Von Hilde. Whenever you see something of note, let me know. Moving right along here, HWSNBN is getting impatient with my "apparent lack of progress"( a statement by Darth Vader from Return of the Jedi)
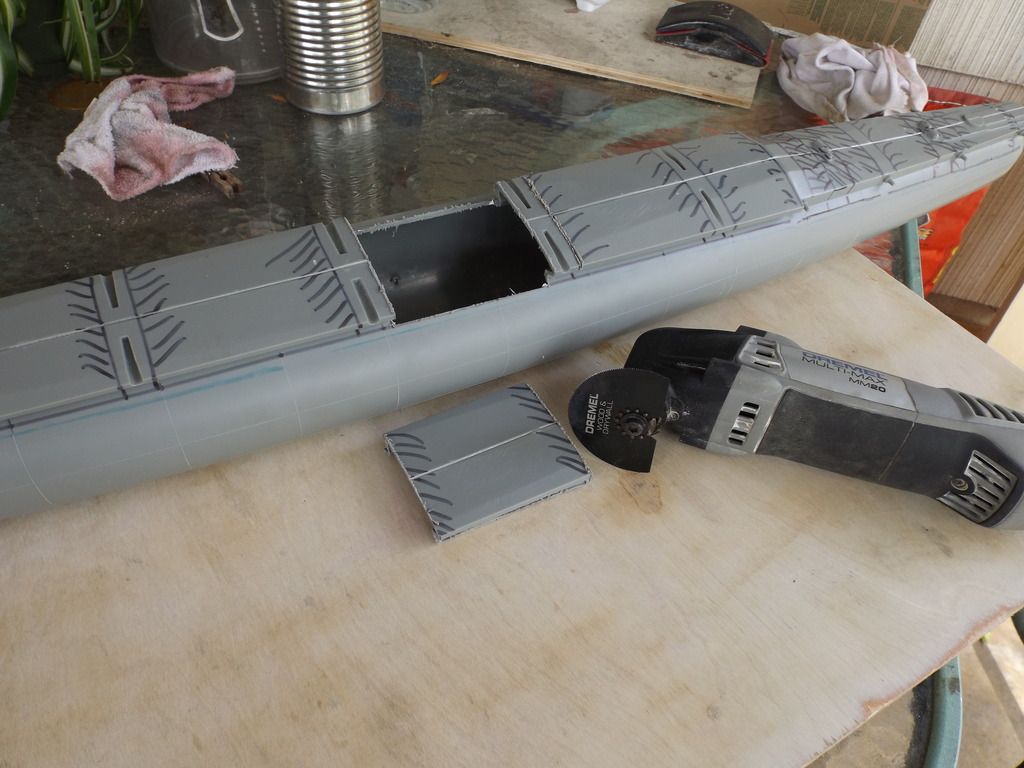
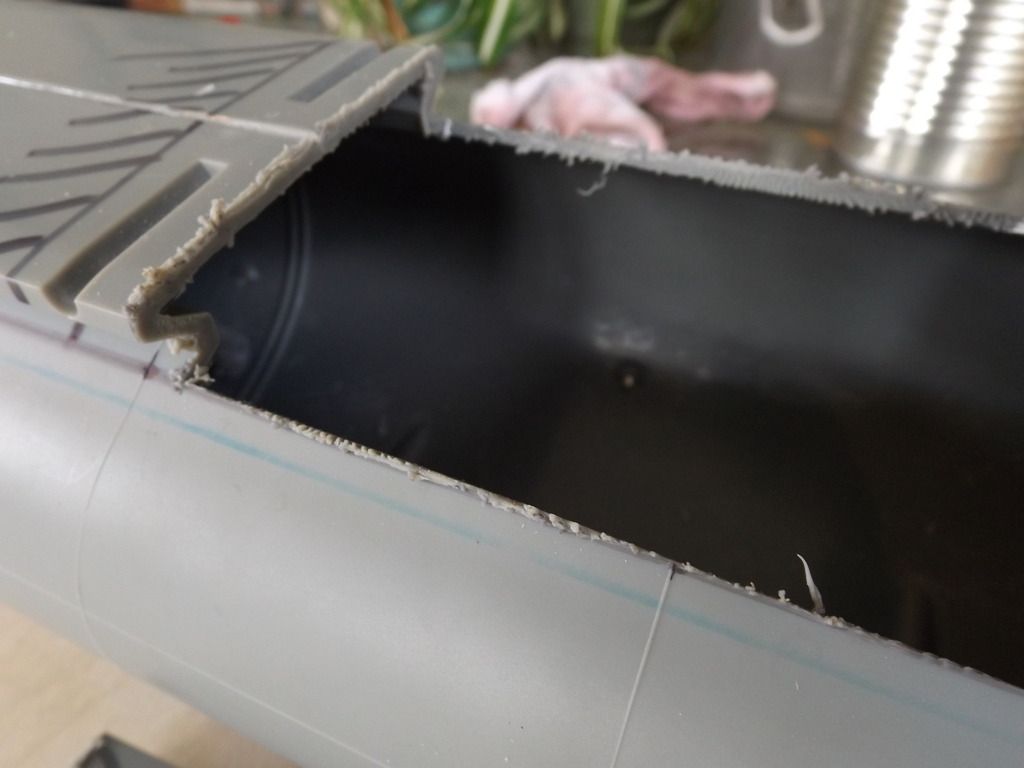
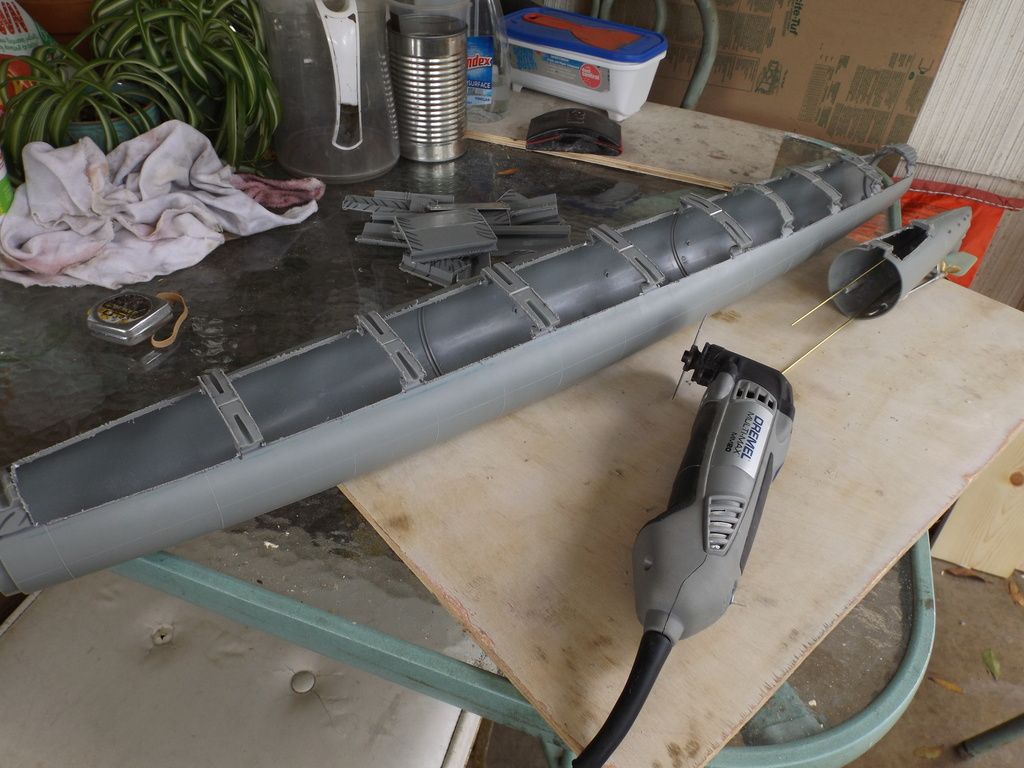
To remove all of the excess material on the stern and mid-section, I employed my Dremel Multi-max. Its very quick and leaves much less mess. Zip,zip,.....zip. Its done, no muss....no fuss. Ya gotta be careful though, this thing cuts so fast you can easily overshoot your line. Hafta pay the utmost attention to what you are doing. In these pictures, I have made no attempt at cleanup of the joints. That way you can see how clean the cut is.
 Last edited by greenman407; 03-09-2016, 12:30 PM.
Leave a comment:
-
We'll I have been watching the build for awhile, Mark. I ended up with 2 Gato kits back in November, that are stacked up with a 1/72 I-53 that are taking up space and gathering dust. Wasn't aware of all the aftermarket towers available now. Good to know . Box art on the kit is weird. Artist wasn't a bubblehead. Boat is high in the water, ballast tanks showing, but scuppers flowing. Dive planes down, running on the surface, no whitewater coming out the limbers. Just an observationLeave a comment:
-
-
HA! I live with my Mom and thats the bed spread that she made! Be careful or Ill get Mom on you!Leave a comment:
-
Could you possibly find a more gay looking photo background -- where do you live ... in a bath-house???!!!!
MLeave a comment:
-
At least my nails were clean. That was over a week ago. Since then I learned the hard way. Dont cement the rear halves together, until you have rudder shaft and bellcrank in place as well as stern planes sitting in its cradle. The bad words that can come from not heeding this advice could be extreme. So, stern has been assembled and marked for excess upper deck material removal. Same is true of the mid section. I think I will use my Dremel Multi-Max to do the cutting. Less kerf and melted mess. At the same time Im turning my attention to the bow planes and retract.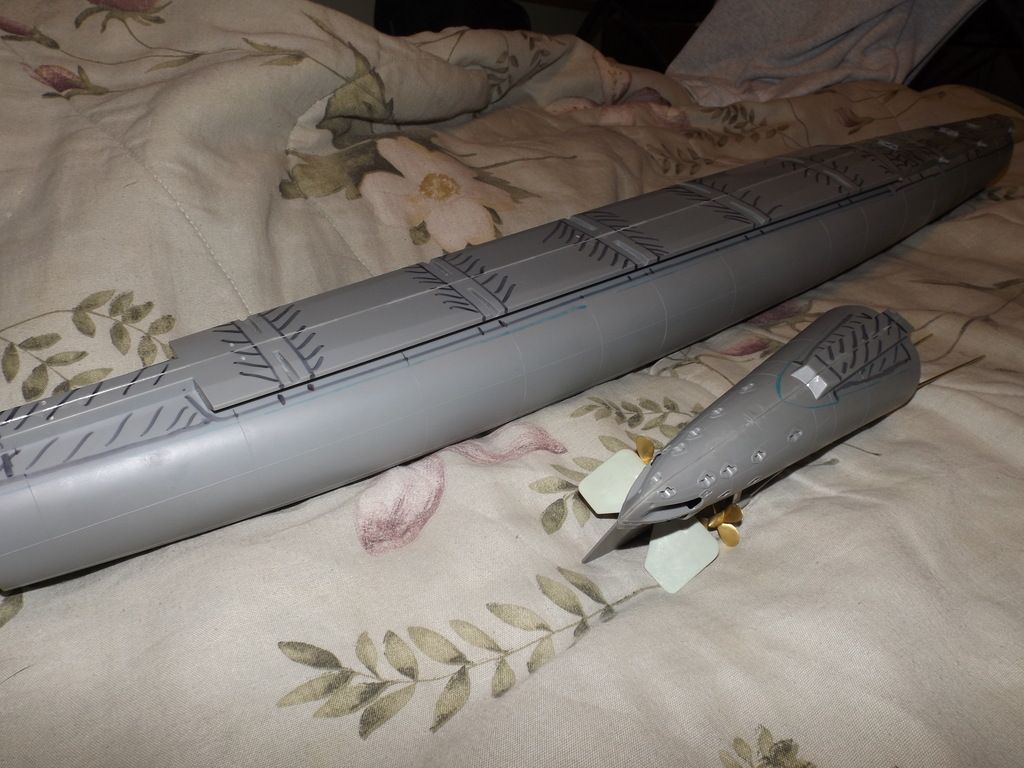
Leave a comment:
-
That's looking really nice Mark. (Looks even better when compared to your fat, hairy thumb!)Leave a comment:
-
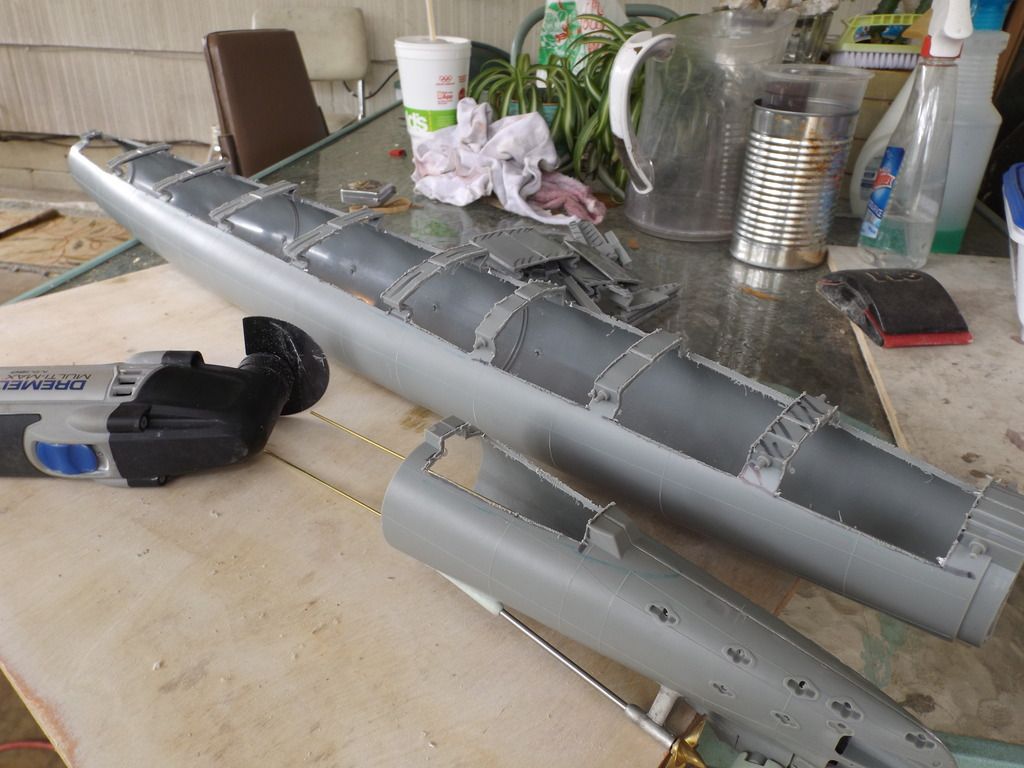
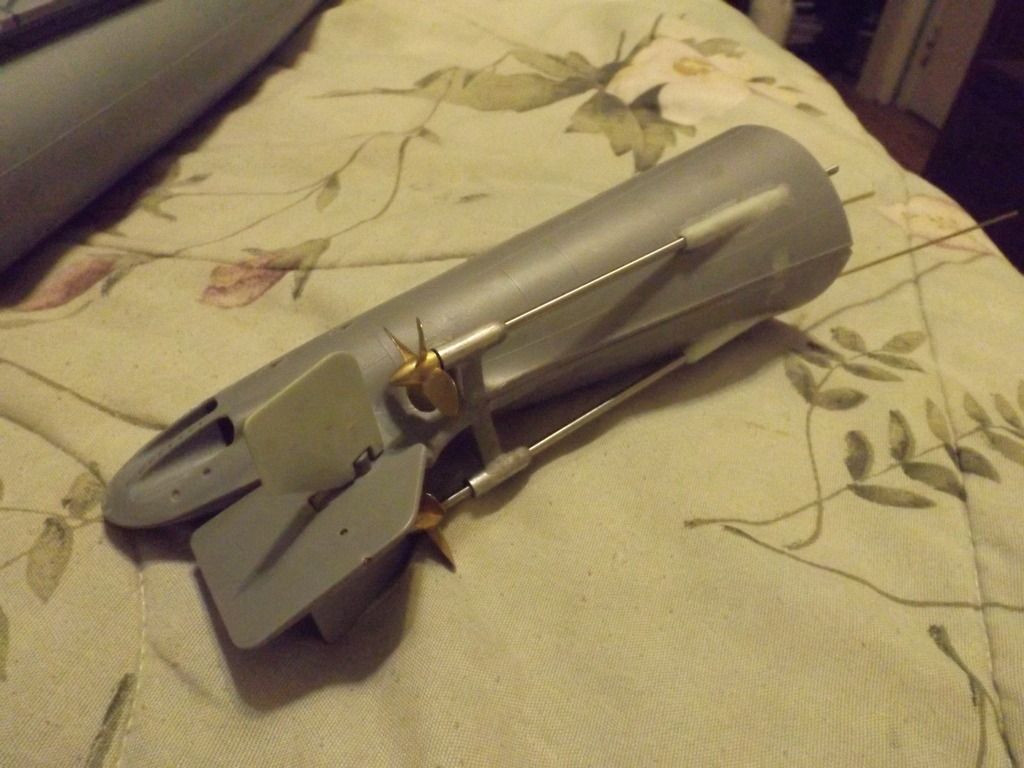
Onward ever onward. I was very careful not to trim away too much material at the location of the prop shafts penetrating the hull. It worked out well. I decided to try Daves trick of using baking soda on the CA. I used thick CA . I put a carefully aimed and contoured filet of CA and then sprinkled baking soda on top. It all looks good to me so far.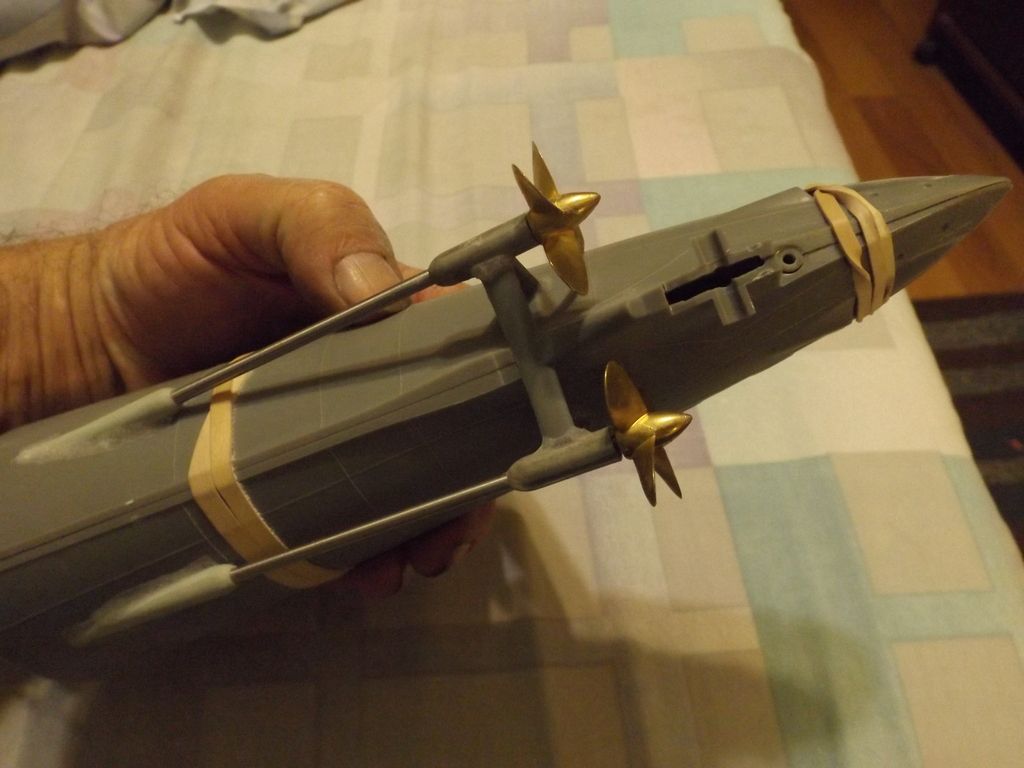
Leave a comment:
-
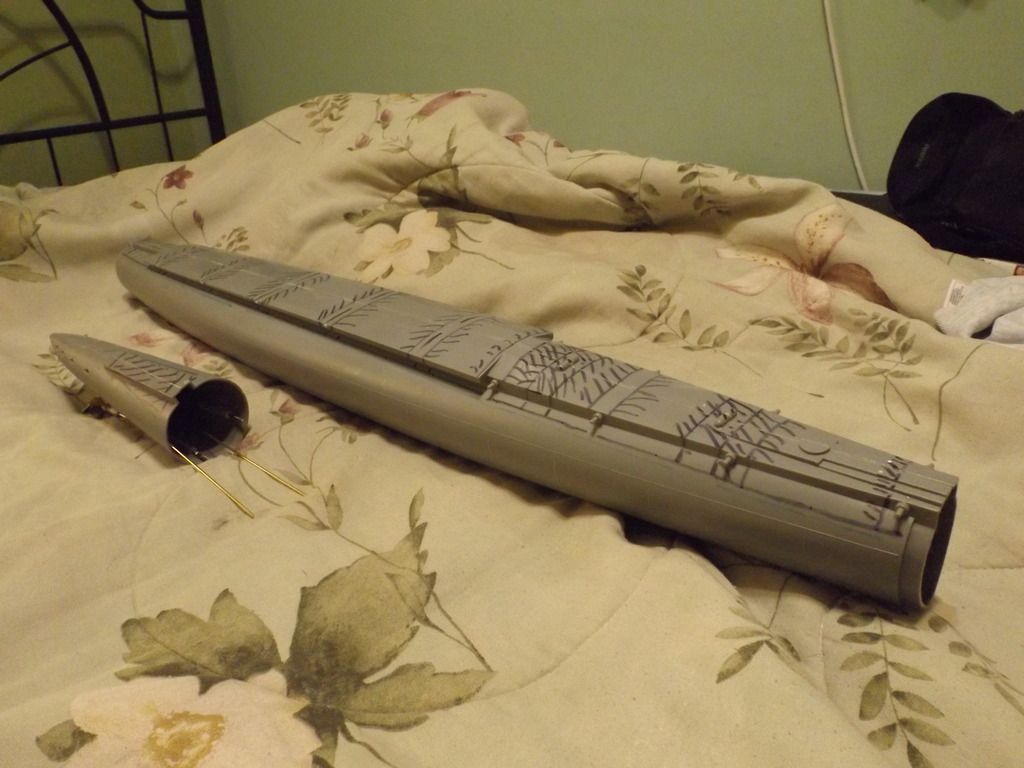
Today I watched more of the video, did some more work.....watched more video, did some more work. First I mounted and glued the skeg that comprises half of the stern planes bearing. Then I marked and sawed off the portion to give us access to the rudder and planes assm. Then on to marking and carving out the area where the prop shafts penetrate the hull. Cleaned up the white metal castings and pickled them in Vinegar. Probably not as good as ferric acid but it does work as I have used it before. Tomorrow I hope to get on some body filler on some booboo spots on the prop shaft fairings and the prop bearing mounts. Ive got a set of brass props for this thing and I drilled and mounted them on the shafts using "permatex green sleeve retainer". Very, very, mean stuff.Leave a comment:
-
I'm sure that you will be able to do it. Kevin's module has variable deployment speed. Its very nifty!Leave a comment:
-
Hardrock, thanks for the info. I dont know if youve ever seen the movie " Run Silent, Run Deep"? In it , during their drills to prepare for the upcoming battles with the Japanese Destroyers, they showed the bow planes being put down in preparation for use. I was amazed at how slowly they moved from stowed to deployed position. I hope to be able to achieve something close to that.Last edited by greenman407; 03-09-2016, 08:56 AM.Leave a comment:

Leave a comment: