Welcome to our forums. For the best in R/C submarine kits, components and accessories, be sure to visit the Nautilus Drydocks
If this is your first visit, be sure to
check out the FAQ by clicking the
link above. You may have to register
before you can post: click the register link above to proceed. To start viewing messages,
select the forum that you want to visit from the selection below.
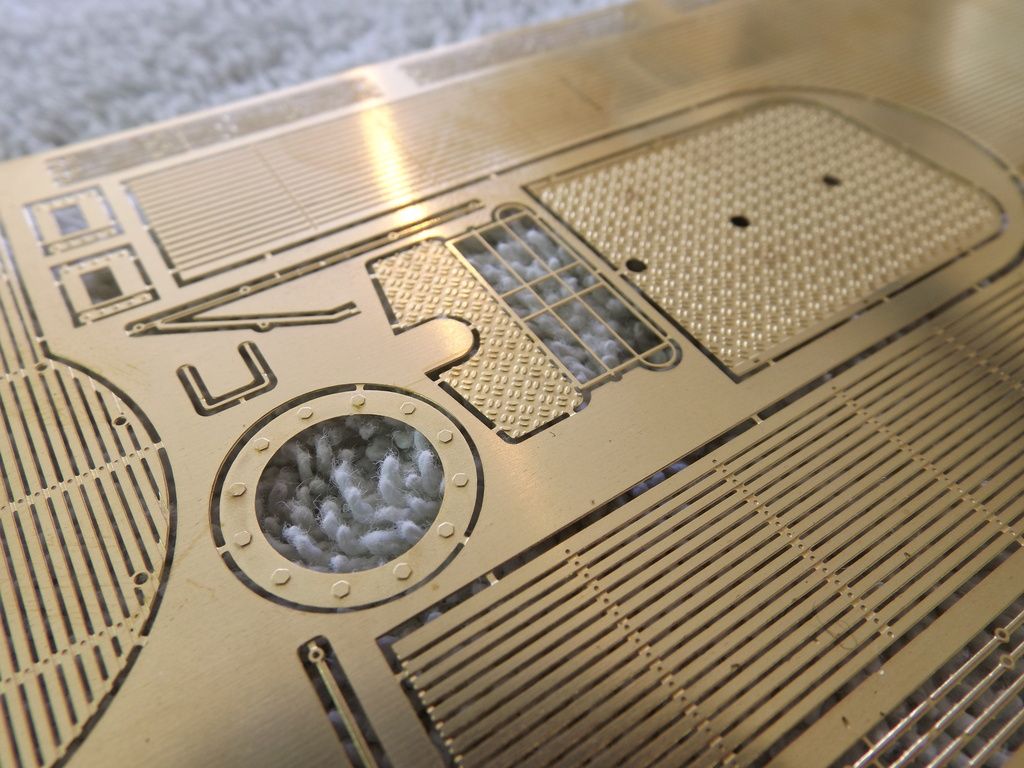
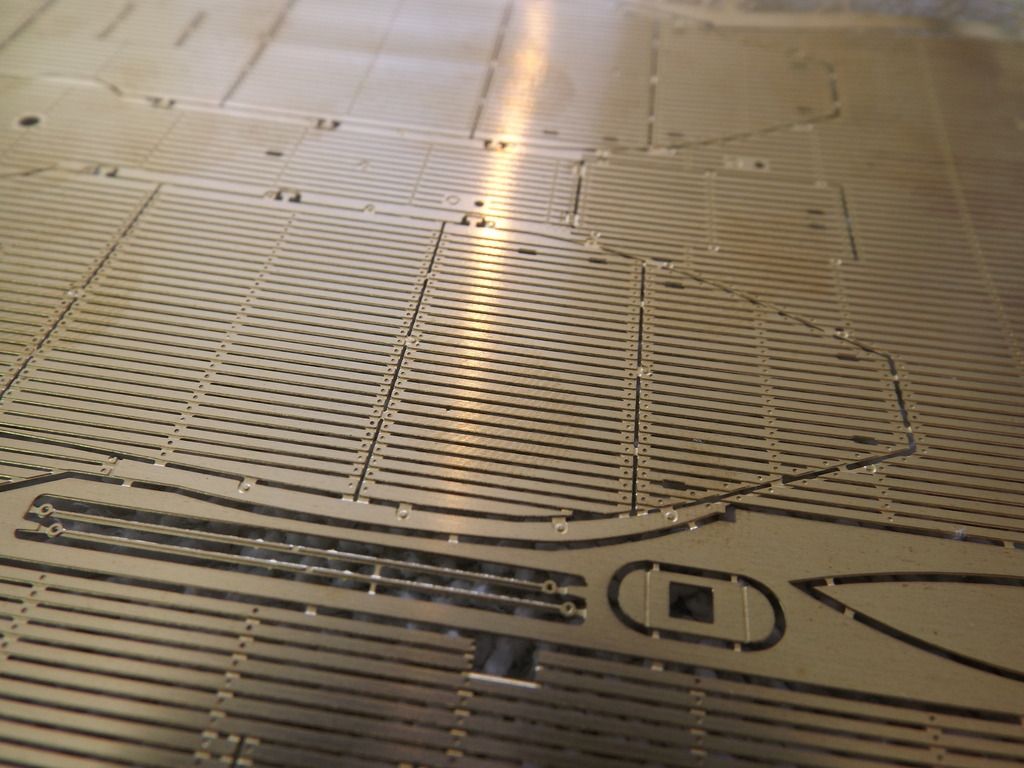
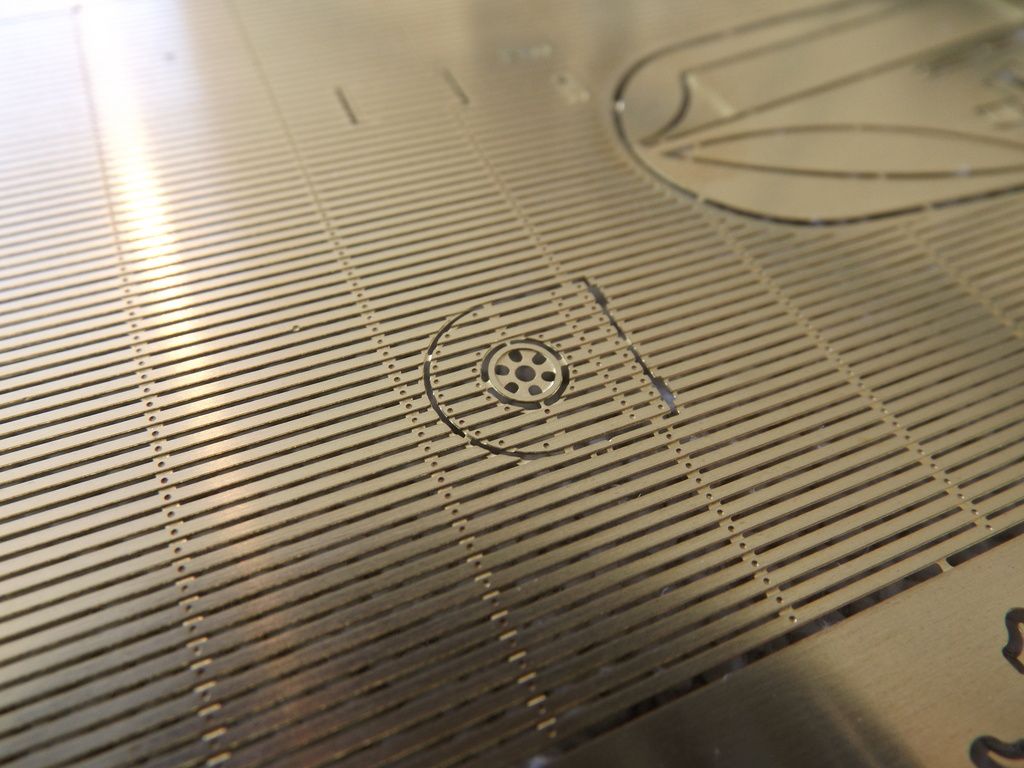
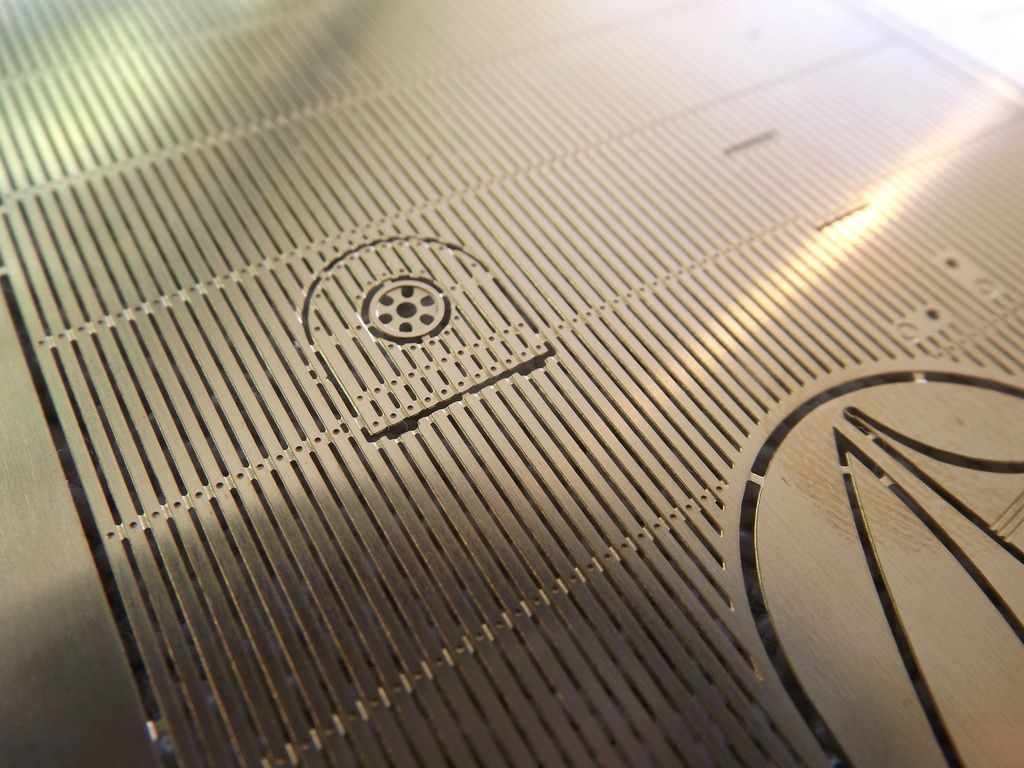
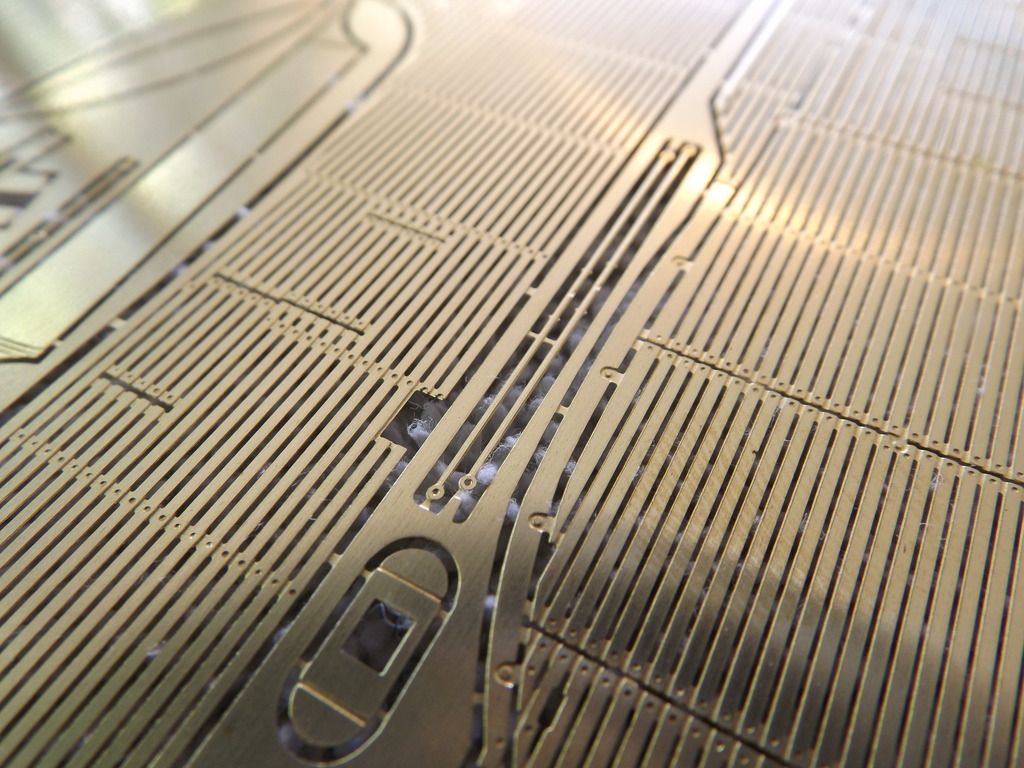
After receiving the photo-etch kits that I ordered from Caswell for the deck, middle ,bow and stern, I was so impressed that I wanted to show you some of the detail. Crisp, Clean and perfect detail. They are .008(8 thousandth) in thickness. Hardly noticeable. So my plans are to carefully, carefully...........did I say carefully..............CA them to the deck. But that will be down the road a bit. But first I will need to cut down all the protruding details on the existing Revell deck so it will sit flush. Also, today I installed these little tabs that come in the type 23 fittings kit. They are a perfect radius for the Gato. I only needed six of them to give the hull good deflection support. I am now engaged in body filler application and sanding offending areas and will be filling the seems between upper and lower cut.
I must say that after watching four out of the five DVDs about the Gato construction, I wished I had watched them about 5 or 6 years ago. The quantity of tips and tricks David shows you in the construction of Mikes Gato is worth literally Hundreds of dollars. They would have saved me much work and many head aches. Even If you are not building a Gato, I recommend that you buy them and watch them. They are More than worth the money and the time. Also very entertaining,.
If you are building a Gato or will build one I recommend that you watch them all the way thru before starting on your model. It will save you some mis-steps. Also at the same time, print out the W.I.P.(work in progress)articles from the Caswell website and use them together with the videos for a smooth and trouble free build. Listen to the voice of experience. Wink Wink
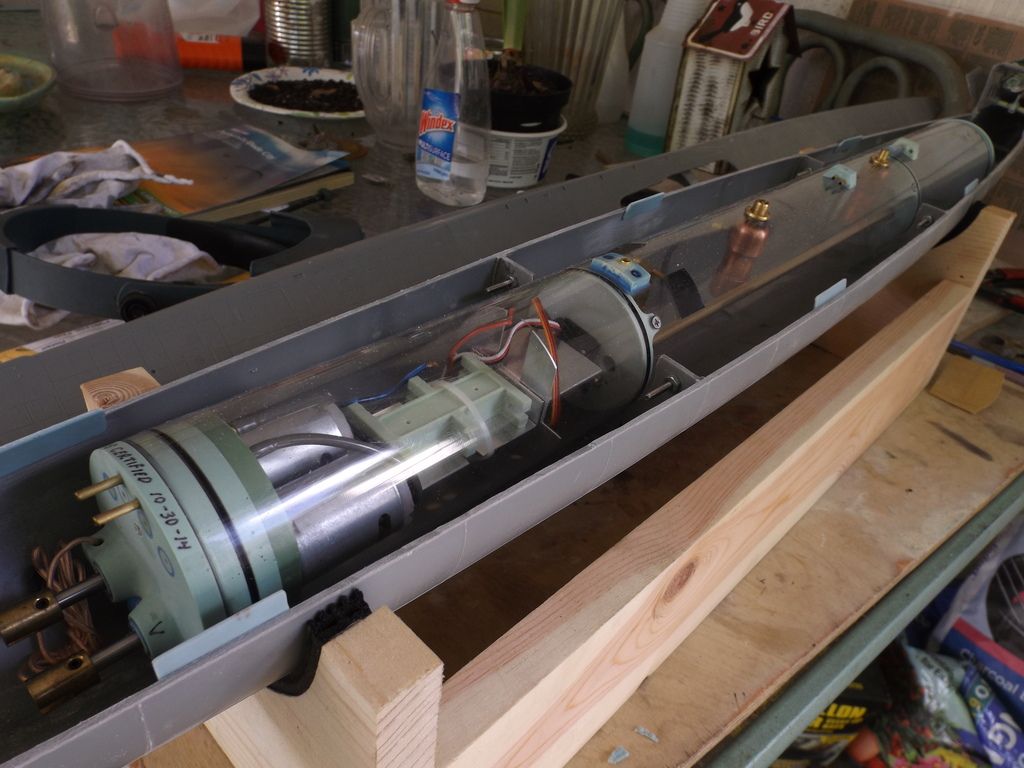
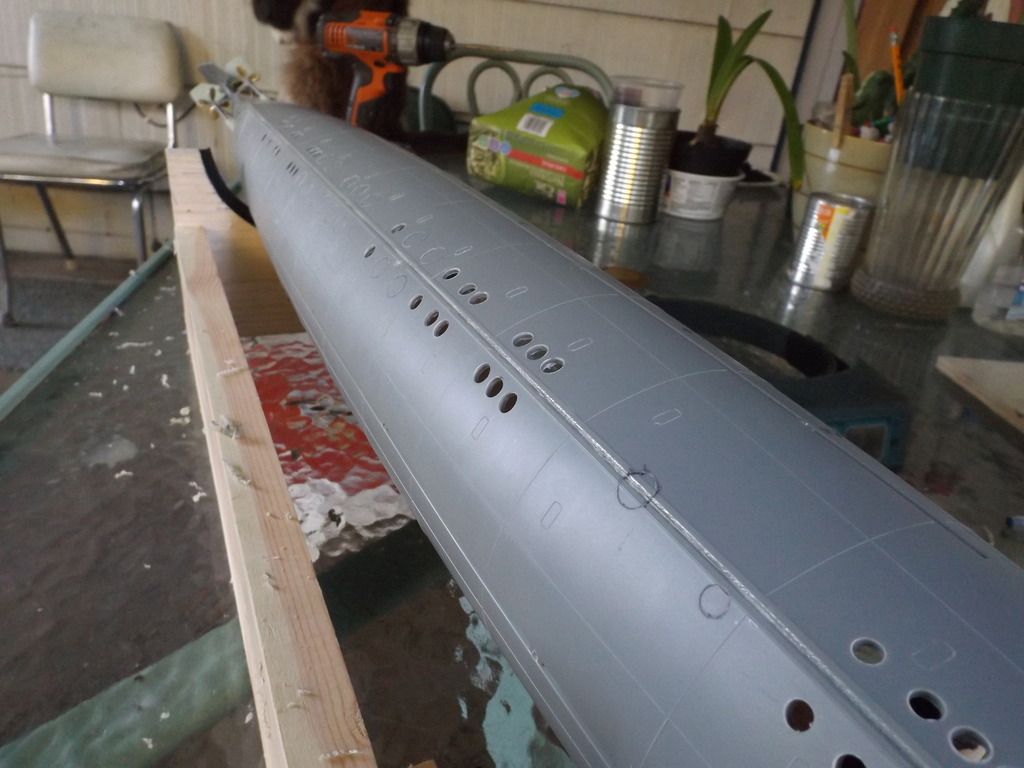
I located the Subdrivers ballast tank center 1" ahead of the measured center of the boat. At that point I installed the holding pin that secures the subdriver. The forward SAS hose connection hits right on the upper part of the forward bulkhead that saddles the Subdriver to such a point that youd have to cut it in two to get clearance. So I added some reinforcing up higher before I cut almost thru to achieve clearance. My Evercoat metal glaze did not react well to Lacquer thinner to thin it down. As it was ,it was practically too thick to use. So I discarded it. Almost ordered more but there is a real problem of getting fresh product. Evercoat says it should be discarded after a year. The last tube I bought was 5 years old when I received it. No wonder Ive been having all kinds of problems with my fill jobs.
So I went down to the auto parts store and bought some Bondo. It was nice and fresh and I can already see the difference. So I spent some time filling and sanding. Caswell has received the photo etch kits for my Gato and are sending them out to me right away.
Dave, can you tell me how you turn the linear action of the servo into a rotary action needed to deploy the bow planes. I have not seen any info on it in the videos. Thanks
Thank you Mark for the photos, I so enjoy this sub being built. I knew of the valve, it was in a old plan, but I did not know the free access were the only ones open all he time. So, I just cut them all open.
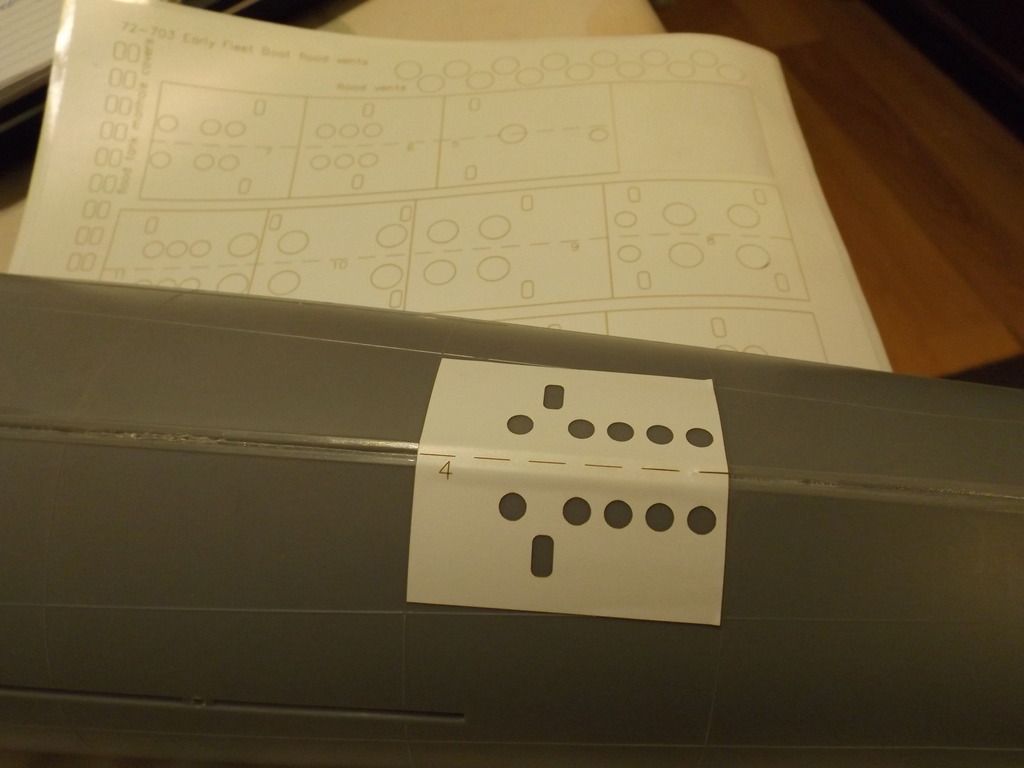
Needs a little cleanup but other than that it is done. I found the templates good quality. But for scribing you need to use a template of heavier material than these paper templates. So I used a circle template that you can buy from Wallymart or staples.
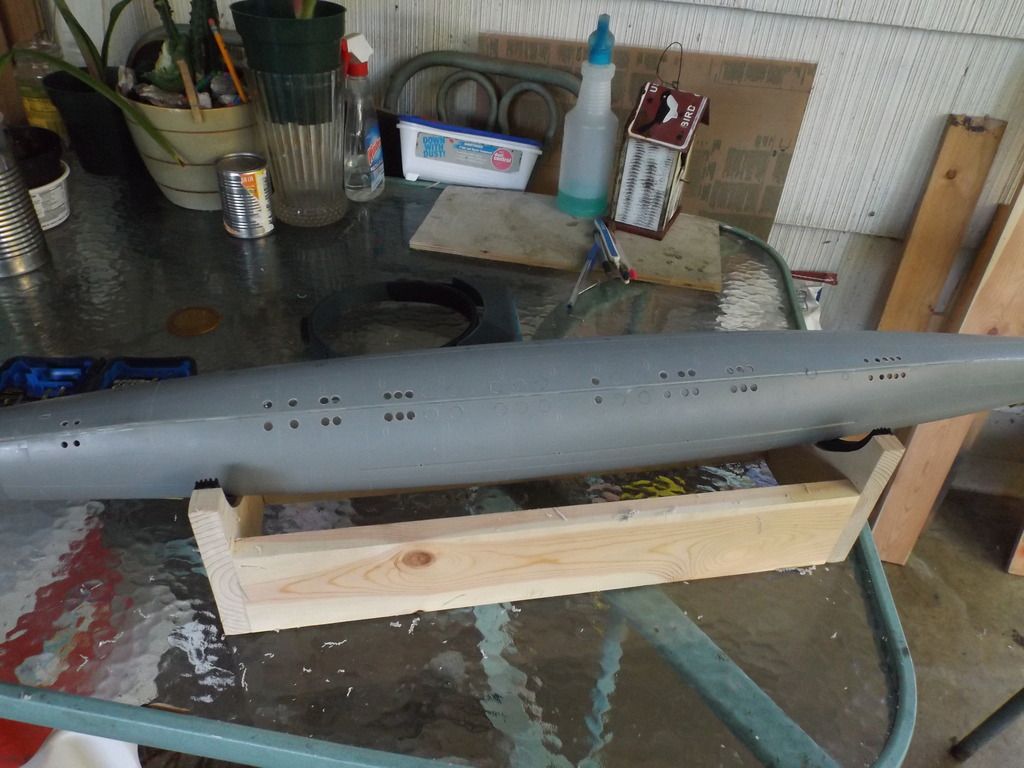
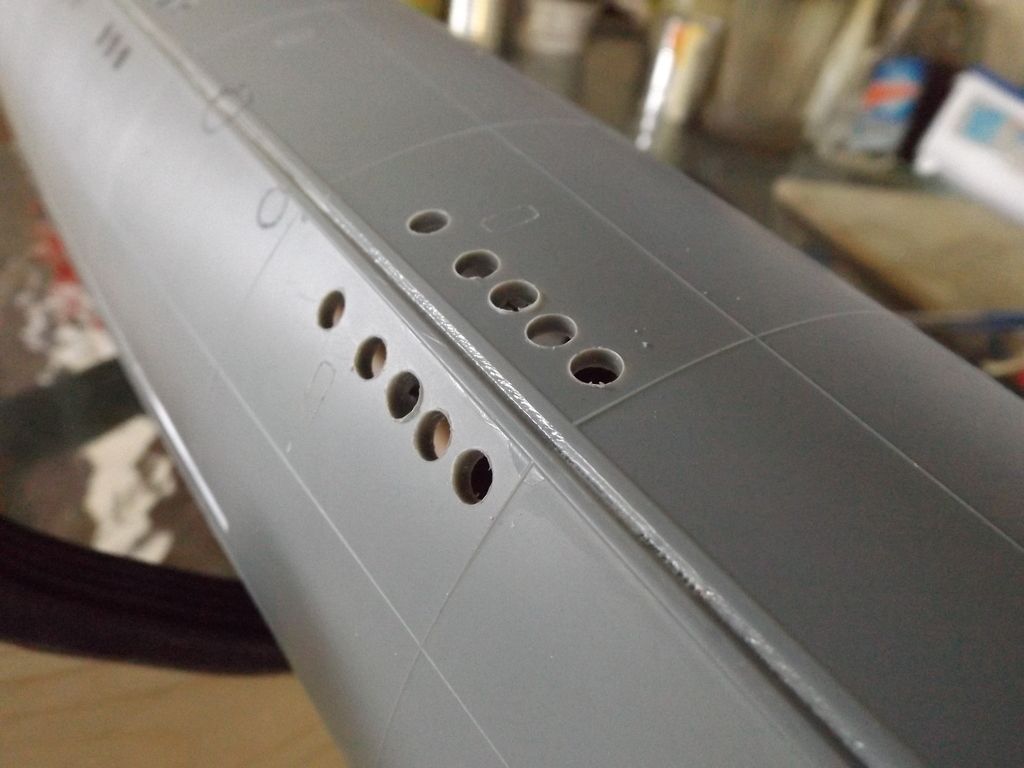
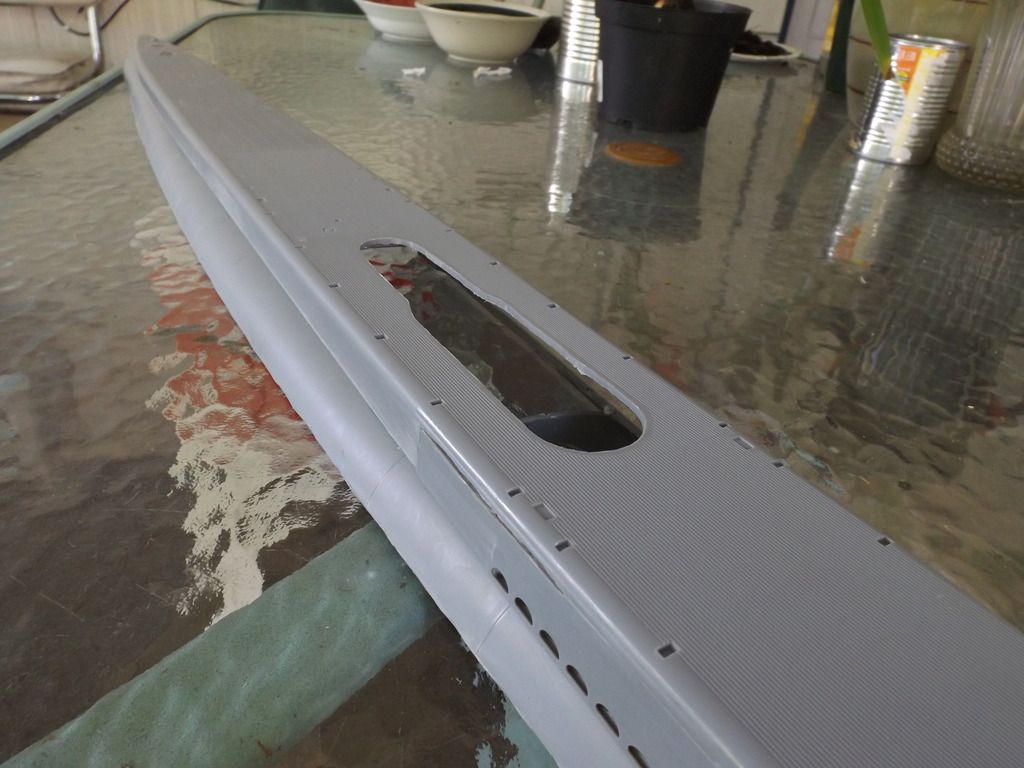
Photos???? You guys cant use your imagination????!!!! OK....OK here we go with some visual aids. Today I got into the flood vent templates. The flood vents in the "Early" Gatos are quite a bit different from the flood vents Dave had cut into the Gato that He was working on in the video. Mine look much easier and less involved. By reading the instructions as well as going to the producers website, all the holes rendered in the templates are not all to be cut, only the "Free Access Openings" as the call them. Unless you just like cutting holes. They explain that the flood vents are large butterfy valves that can be rendered closed or open by cutting and installing a flap to simulate the open valve. At any rate, this will keep me busy for a while.
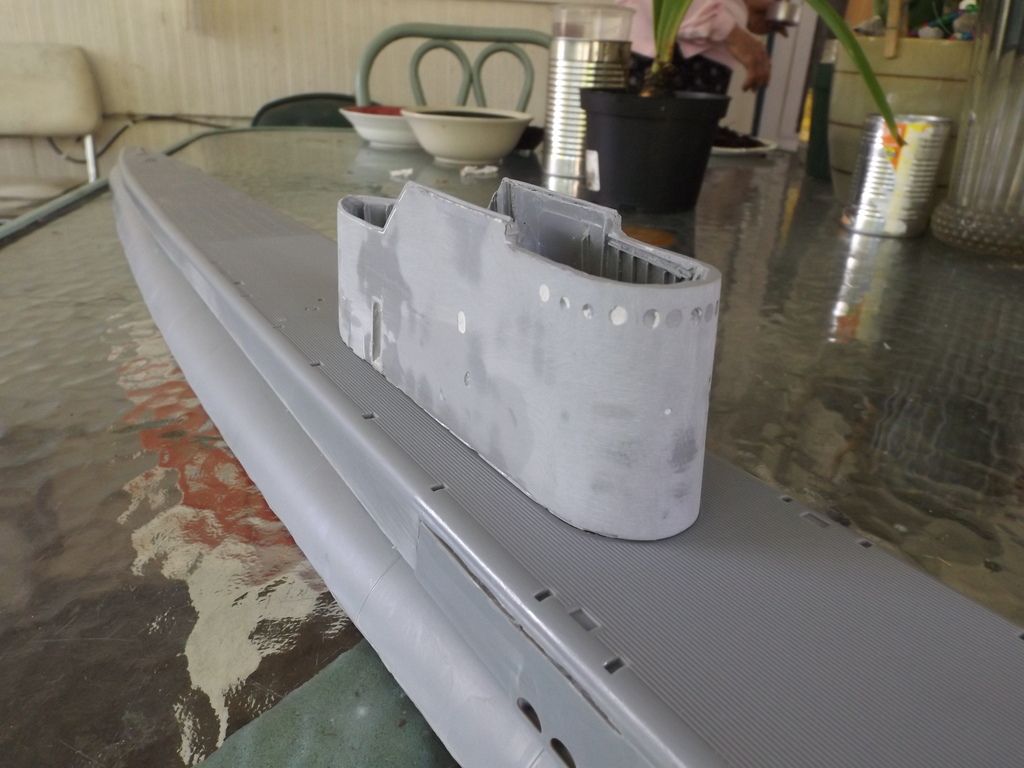
Today I installed doubler plates on the joints and further strengthened others. The clips that hold down the upper hull at the bow also were put on. At the rear of the upper hull I also added a bulkhead to keep the sides at the correct dimension right at the cut. The step in the middle of the upper hull that is used to locate and hold the Fairwater had to be removed for my after market conning tower, so I cut it away leaving a large hole where it once was. Also the add on bulkheads were installed which also serve as saddles for the Subdriver. Also one of the supports that falls exactly under the fairwater was removed for better access. Not much but at least it was something.
I believe that I said that on "My Ship" I saw no positive contribution to running the submarine with them. They had no positive effect. Now thats not to say that "Your Ship" or anybody elses wont be able to use them to good effect. You said that you want Honest Feedback with complete disclosure. Thats what I saw and experienced, so therefore , thats what I reported. With all due respect to "His Eminence"
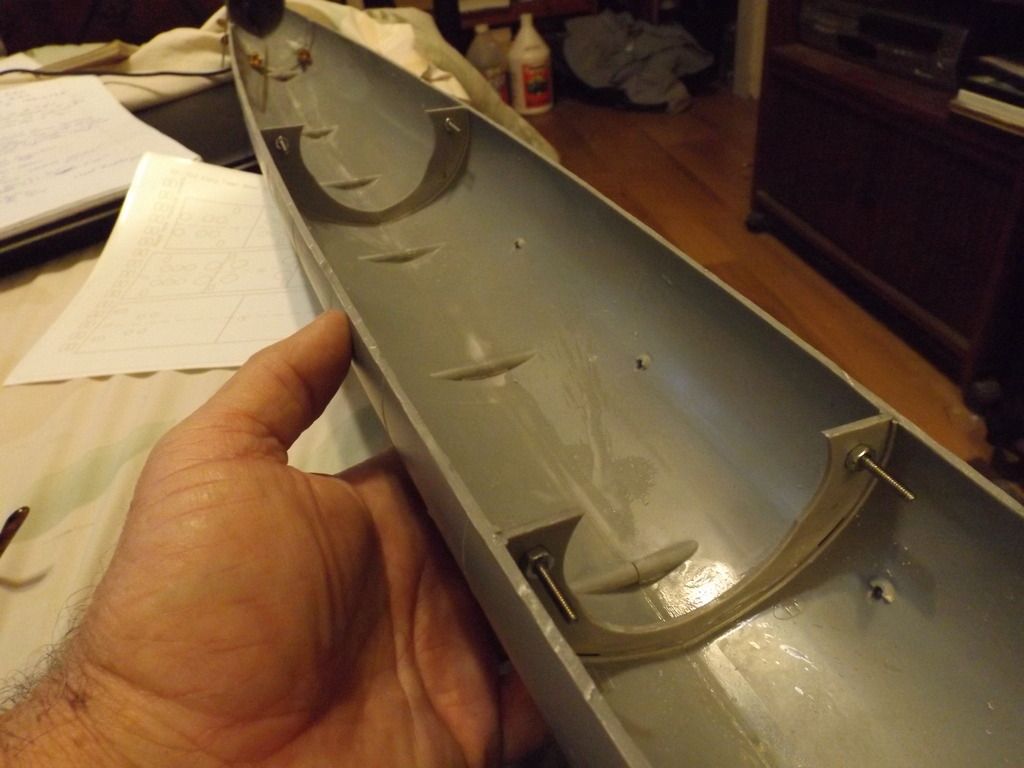
This afternoon I have been able to secure and complete the prop shaft bearing adhesion portion of the project. YEAHHHH! And the Beauty is that it even works
I believe that I said that on "My Ship" I saw no positive contribution to running the submarine with them. They had no positive effect. Now thats not to say that "Your Ship" or anybody elses wont be able to use them to good effect. You said that you want Honest Feedback with complete disclosure. Thats what I saw and experienced, so therefore , thats what I reported. With all due respect to "His Eminence"
Now, Now, David, calm down. Please no wrath or lightening bolts. I was not intending to put dope out there. Can someone run their Skipjack without the sail planes? Absolutely they can. Is it better performance with the sail planes? Absolutely. Just saying....
You were moments away from a horrible death .... but saved yourself terrible retribution at the last second, pal!
Leave a comment: