Seaview

Collapse
X
 
  • Time
  • Show
Clear All
new posts

  • He Who Shall Not Be Named
    replied
    Originally posted by Michael Laubach
    Those are great videos David! I agree with you wholeheartedly. I have mine functional in the Teskey Seaview. I am doing a refit of the sub with new technology that has been created since I first built this sub years ago. I bought the sail kit from you along with the DE miniatures mod 2 WTC 3. I started a thread in the newbies section on the refit of the Seaview since I had been out of it for quite a while. I was curious how he managed to get the sailplanes functional using a 3.5 inch subdriver. That area has to be reallly really tight up towards the sail. I am going to be using the new klikons for connections. The only easy way that I can see is to make the linkage for the sailplanes coming out of the WTC is to make a “U” and go back straight in line with the klikons attaching to the Clevis on the sailplanes.
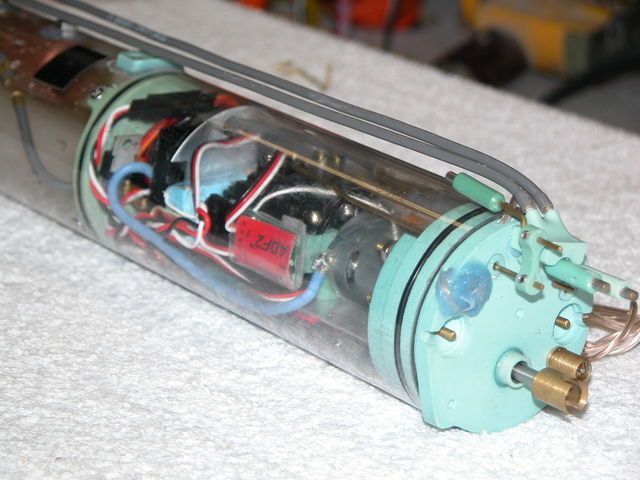
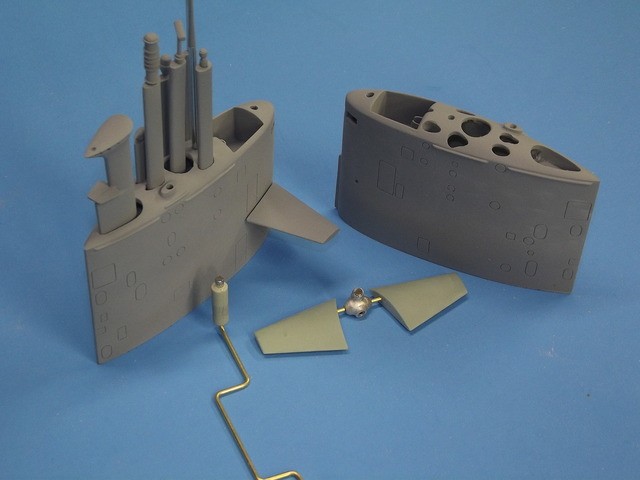
    That's right: magnetic couplers up high in the thin sail -- I submit some pictures of the magnetic coupling of the 1/96 BLUEBACK to illustrate how I do it.

    And that 'U' to get the sail-plane pushrod to point forward. I use a dumb-bell shaped item to translate the after facing pushrod, to a forward facing one.

    And some eye-candy of the Teskey SEAVIEW in a pool being harassed by a UN submarine (just before it imploded at the crushing depth of three-feet).

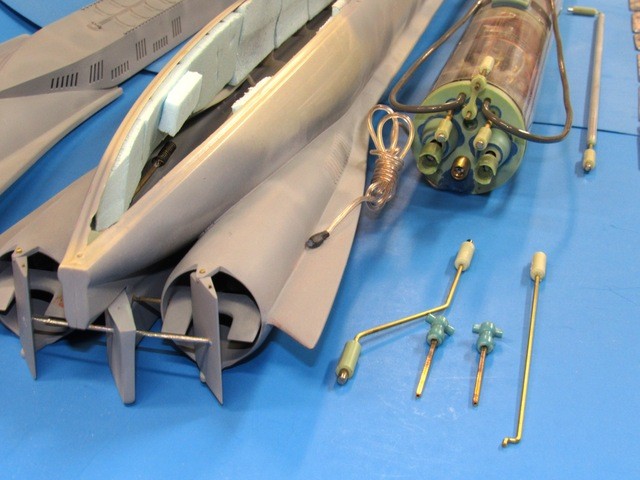
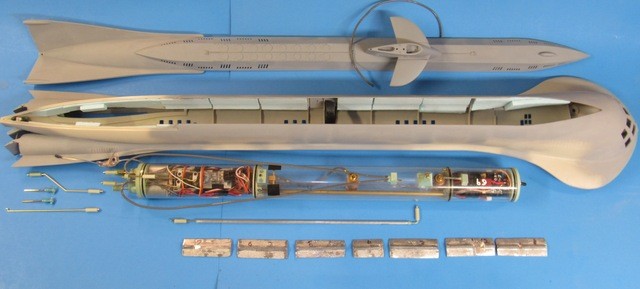

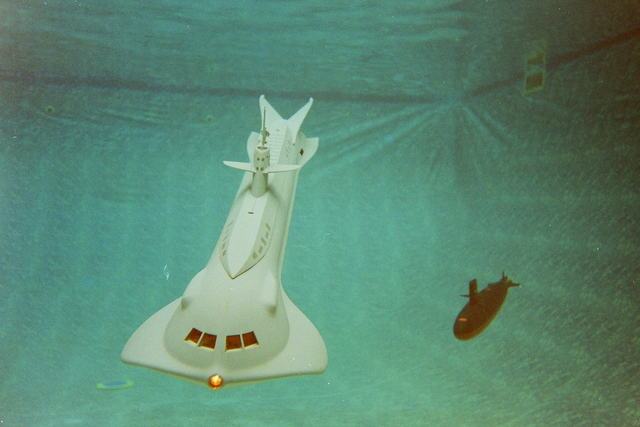


    David

    Leave a comment:


  • Michael Laubach
    replied
    Those are great videos David! I agree with you wholeheartedly. I have mine functional in the Teskey Seaview. I am doing a refit of the sub with new technology that has been created since I first built this sub years ago. I bought the sail kit from you along with the DE miniatures mod 2 WTC 3. I started a thread in the newbies section on the refit of the Seaview since I had been out of it for quite a while. I was curious how he managed to get the sailplanes functional using a 3.5 inch subdriver. That area has to be reallly really tight up towards the sail. I am going to be using the new klikons for connections. The only easy way that I can see is to make the linkage for the sailplanes coming out of the WTC is to make a “U” and go back straight in line with the klikons attaching to the Clevis on the sailplanes.

    Leave a comment:


  • He Who Shall Not Be Named
    replied
    Originally posted by Michael Laubach
    I know this is an old thread, but the documentation, pictures, and video associated are awesome! I did have a question for you. Are the sail planes on your Seaview functional? I was wondering because I am doing a refit on mine and saw that you were able to get a 3 1/2 inch subdriver into the Teskey Seaview. If your sailplanes are functional, how did you get that size subdriver into that Seaview? If the sailplanes are functional on this boat, could you share some pics of how you did the linkages with the Merriman Sail. I have the exact same one. Thanks in advance.
    I strongly recommend making the sail planes functional. Here's some video that makes my point:


    David

    Leave a comment:


  • Michael Laubach
    replied
    I know this is an old thread, but the documentation, pictures, and video associated are awesome! I did have a question for you. Are the sail planes on your Seaview functional? I was wondering because I am doing a refit on mine and saw that you were able to get a 3 1/2 inch subdriver into the Teskey Seaview. If your sailplanes are functional, how did you get that size subdriver into that Seaview? If the sailplanes are functional on this boat, could you share some pics of how you did the linkages with the Merriman Sail. I have the exact same one. Thanks in advance.

    Leave a comment:


  • greenman407
    replied
    Here is somebodys Seaview on Youtube. Looks Good!https://www.youtube.com/watch?v=Uf_Eg8BkTiE

    Leave a comment:


  • greenman407
    replied
    Came across this picture of a Seaview. I thought it was good enough to post. Photo shopped of course. Looks like they might have used a 688 to start with.Click image for larger version

Name:	Z3-SEAVIEW-departing-New-London-at-dawn.jpg
Views:	328
Size:	299.6 KB
ID:	115855

    Leave a comment:


  • greenman407
    replied
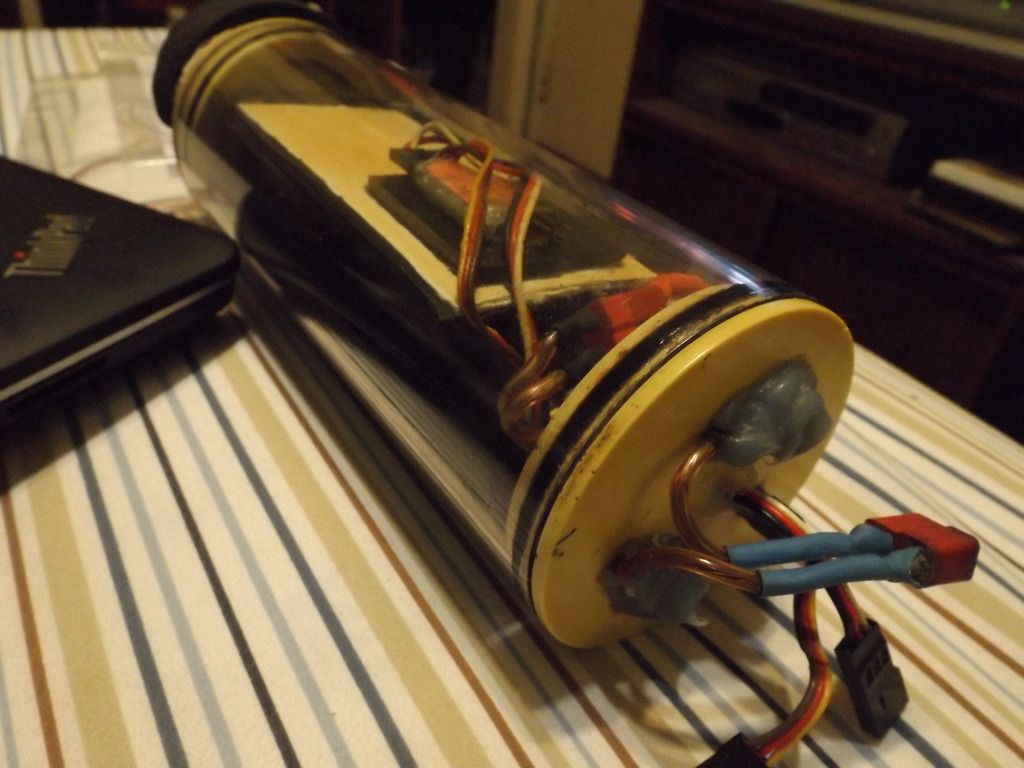
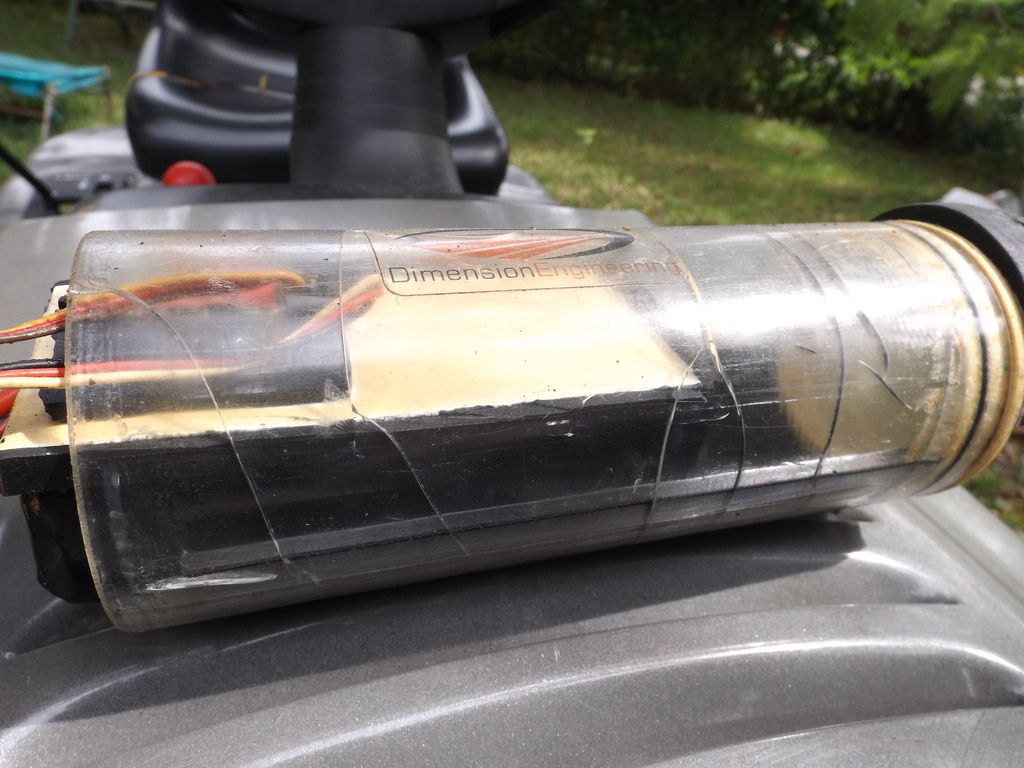
    Finally got a chance to repair the shattered battery WTC. Here it is.

    Leave a comment:


  • Kazzer
    commented on 's reply
    I sprayed some electrical contact cleaner into a cylinder that had some water in it and the cracking the next day was like a windshield that has been hit by a stone. This doesn't look like that, more like mechanical damage. WD40 would probably have the same effect as a a stone on a windshield.

  • He Who Shall Not Be Named
    replied
    Watched your boat going at Duck Lake again. What a well behaved boat, Mark. Great work.

    M

    Leave a comment:


  • redboat219
    replied
    Forgot to mention the wall of the cylinder is 1/8" thick, double compared to what HWSNBN uses, yet it cracked.

    Leave a comment:


  • Subculture
    replied
    I understand that polycarbonate is notch sensitive, so good idea to avoid countersunk screws where possible if that area is likely to be under some strain.

    I find WD40 can cause major problems with some plastics.

    Leave a comment:


  • redboat219
    replied
    Strange. This is the RCABS cylinder I got from Albion last year for the Revell Type VII. It was stored in a closed top cabinet along with my Kilo and other styrene kits. The top of the cabinet is the floor of the crawl space under our roof made of corrugated steel sheets.

    Not sure how hot it got in there during the summer but my other stuff are relatively okey.

    Leave a comment:


  • greenman407
    replied
    Originally posted by Subculture
    I've never seen polycarbonate break up like that ever. Have you had any chemicals near that, especially solvents?
    Nope. The only thing that gets on it is silicone grease that I put on the O-rings. I have seen them crack, radiating out from countersunk screw holes. Thats why I dont countersink holes in them anymore, I just drill them and let the head of the screw stand proud. No stress. Also when I CAed two pieces together on a Sub-driver, the stress caused major cracking. It is an older unit. I bought it from Dave at least 6 years ago......maybe a little more. End caps are still good.
    Last edited by greenman407; 09-15-2015, 05:54 PM.

    Leave a comment:


  • Subculture
    replied
    I've never seen polycarbonate break up like that ever. Have you had any chemicals near that, especially solvents?

    Leave a comment:


  • greenman407
    replied
    The battery WTC decided it was time to crack up. I have been storing this in my utility shed where the heat in the summer is probably pretty high. Maybe all the Subdrivers need to be inside the house. McMaster & Carr is sending me out another piece of 3" Polycarboanate tube that I will transform into a replacement battery WTC so that sub-life can go on.

    Leave a comment:

Working...