Japanese BI I-25 in 1/72

Collapse
X
 
  • Time
  • Show
Clear All
new posts
  • herrmill
    Commander
    • Dec 2008
    • 360

    #16
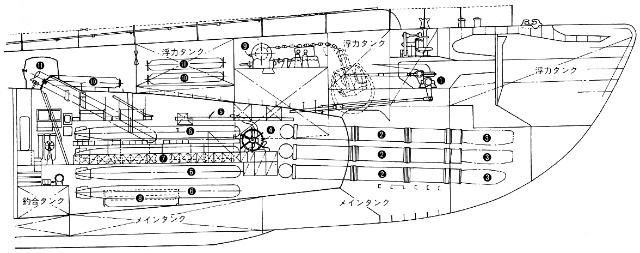
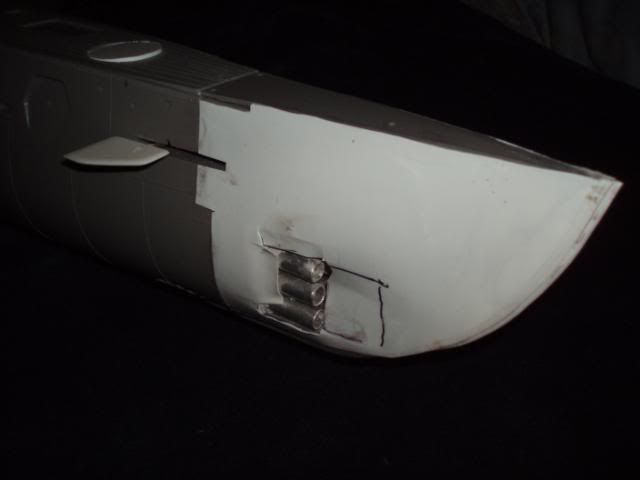
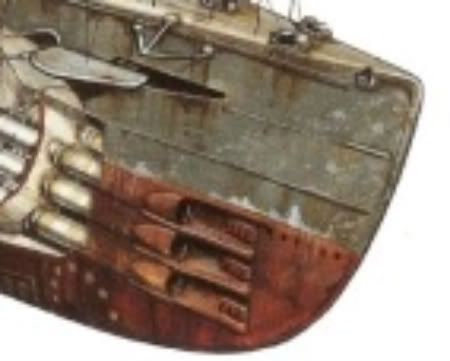
    Not sure how far you intend to go in improving this beast but you may want to get rid of those toy like prop guards & build some yourself. Granted this is from the I-400 but the design was pretty much identical to the B/C types.

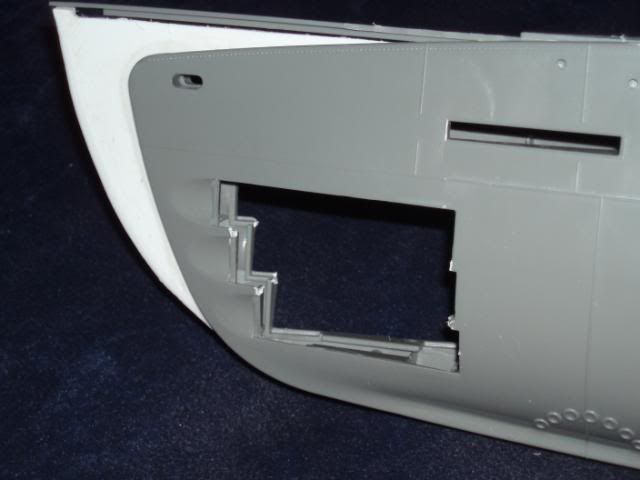
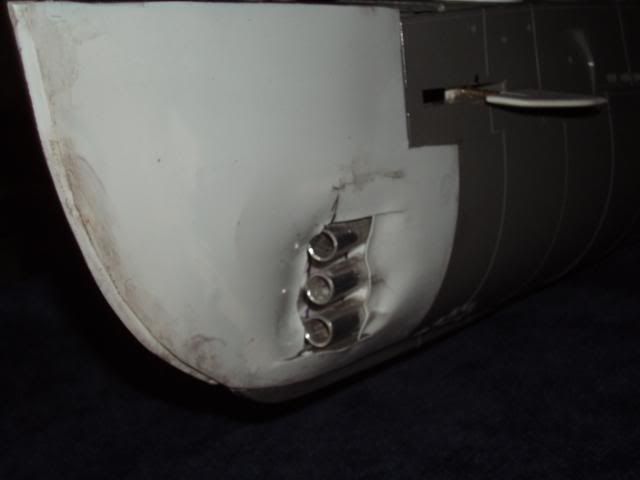
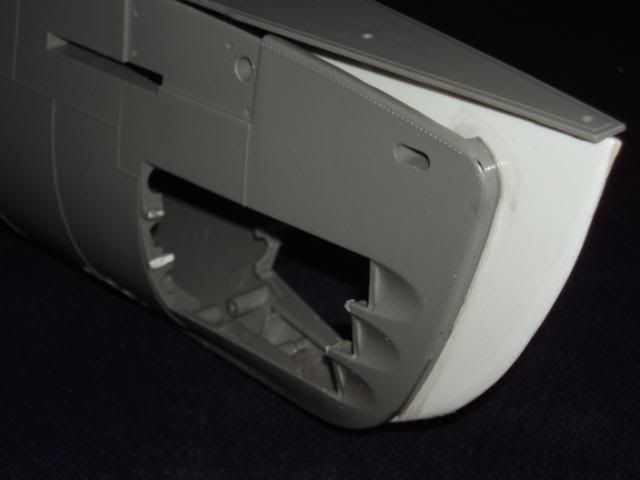
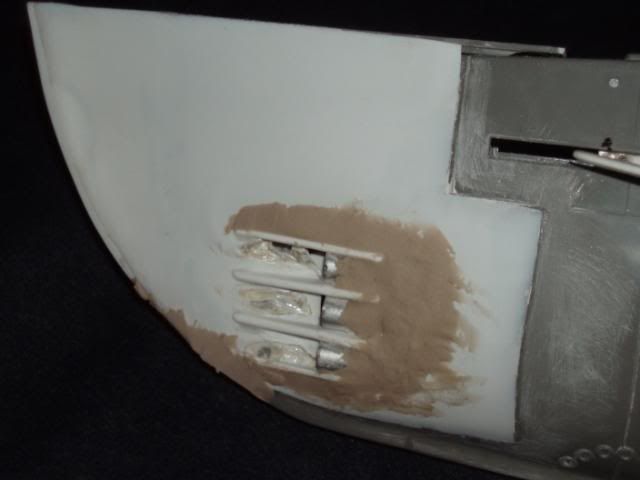
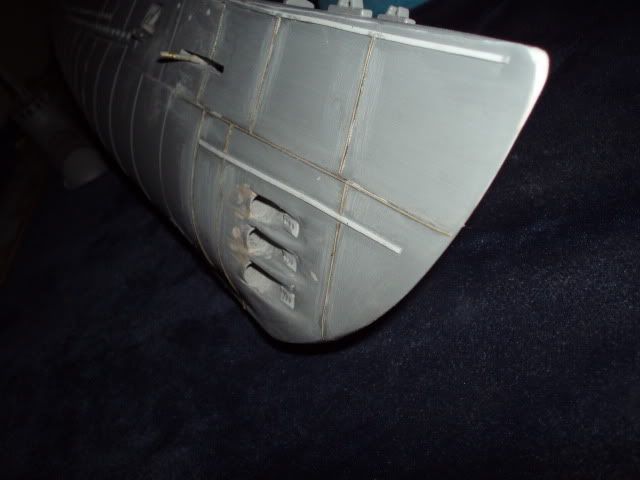
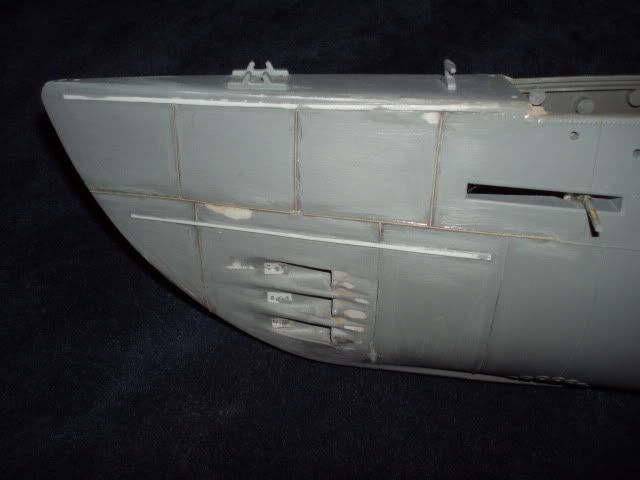
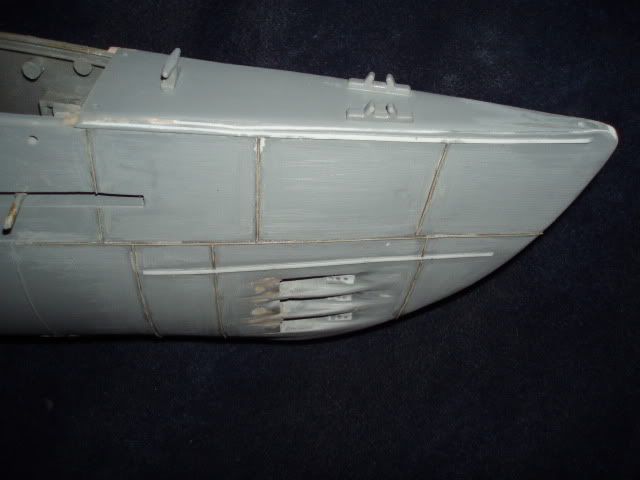
    Also note the degaussing cable & rivet detail. These subs were of built of riveted lap-seam construction so if you really want it to look original... :wink:


    Click image for larger version

Name:	I-boat stern .jpg
Views:	1
Size:	62.6 KB
ID:	61883

    Comment

    • oztruck
      Commander
      • May 2010
      • 317

      #17
      Thanks for the heads up "herrmill" the degaussing cables were on the list of things to do but the others are now added to the list too

      Comment

      • He Who Shall Not Be Named
        Moderator
        • Aug 2008
        • 12241

        #18
        Gantu and Herrmill are great resources, Oz. Both of these guys have been of exceptional help to me and so many others. Listen to them.

        David,
        Who is John Galt?

        Comment

        • oztruck
          Commander
          • May 2010
          • 317

          #19
          Thanks guys, this is only my second sub so I need all the help I can get. Again thanks.

          Comment

          • oztruck
            Commander
            • May 2010
            • 317

            #20
            Having sorted out the rear control surfaces and prop shafts it is now time to move to the bow of this beast. The bow is the area of this thing is the part that could make or break it as model. This is the area that the kit got all wrong, very wrong.

            The first thing that I needed to start this part of the conversion was a drawing of the correct bow shape. I found some plans on the net and after a bit of playing around with my printer I was able to make a scale outline drawing of the shape that the bow needed to be.


            The paper outline was then transfered to a piece of 3mm plastic card and then cut out. The plastic shape was then placed between the 2 front hull half's to see what it would look like and any adjustments that might need to be made.


            After a bit of adjusting, comparing with the plans, a bit more adjusting, back to the plans and a bit more tweaking I was at last happy with the basic shape/outline and permanently fixed the new bow outline in place using MEK a liquid glue I use to join plastics together.

            The new work was then set aside and left to set and harden.

            Comment

            • oztruck
              Commander
              • May 2010
              • 317

              #21
              Thanks Gantu, I need all the help I can get.

              Comment

              • oztruck
                Commander
                • May 2010
                • 317

                #22
                As you can see in the photos I had to remove the stock torpedo tubes and doors, they were one of the things that Lindberg didn't quite get right.

                I made a new stand to hold the new torpedo tubes, the stand is made of 3mm plastic card and the 6 tubes are some K&S alloy tube. the new mounting was then fixed into place and set aside to dry and set up.


                Last edited by oztruck; 04-10-2011, 10:51 PM. Reason: spelling

                Comment

                • Slats
                  Vice Admiral
                  • Aug 2008
                  • 1776

                  #23
                  Looking good mate.
                  J
                  John Slater

                  Sydney Australia

                  You would not steal a wallet so don't steal people's livelihood.
                  Think of that before your buy "cheap" pirated goods or download others work protected by copyright. Theft is theft.


                  sigpic

                  Comment

                  • oztruck
                    Commander
                    • May 2010
                    • 317

                    #24
                    Once the torpedo mounting was ready to be worked on without moving I then started covering the new bow section with some .75mm plastic card.


                    I used liquid glue to weld the new plastic to the hull and to the new bow shape, cutting out the area where the torpedo tubes go and forming the plastic to a rough shape.

                    Then started the slow job of filling and blending the old with the new.


                    Its a slow job but it is getting there.

                    Comment

                    • greenman407
                      Admiral
                      • Feb 2009
                      • 7530

                      #25
                      I like what your doing there. Being the brave man that I am Im going to sit back and let you figure this thing all out and then Ill buy one for myself and "borrow" your ideas. Looks great!
                      IT TAKES GREAT INTELLIGENCE TO FAKE SUCH STUPIDITY!

                      Comment

                      • herrmill
                        Commander
                        • Dec 2008
                        • 360

                        #26
                        You off to a great start with transforming that bow closer to a B.

                        Comment

                        • oztruck
                          Commander
                          • May 2010
                          • 317

                          #27
                          Did a bit more on the bow, this is what I am aiming for


                          and this is what I have so far. Not finished yet but a lot closer than before.


                          I ran out of primer but I think you can see how it will look.

                          Comment

                          • He Who Shall Not Be Named
                            Moderator
                            • Aug 2008
                            • 12241

                            #28
                            A magnificent job!

                            I love how you pre-positioned the tubes in there to guide you as you worked out that complicated muzzle fairing and well detailing. I'm going to steal that idea when I once again address my poor I-53 kit.

                            Well done!

                            David,
                            Who is John Galt?

                            Comment

                            • greenman407
                              Admiral
                              • Feb 2009
                              • 7530

                              #29
                              Looks like the real thing!
                              IT TAKES GREAT INTELLIGENCE TO FAKE SUCH STUPIDITY!

                              Comment

                              • oztruck
                                Commander
                                • May 2010
                                • 317

                                #30
                                Time to join the 4 pieces of the hull together permanently.

                                They glue and screw together making a very strong hull with lots of room on the inside to work with.
                                The hull pieces have groves around to top edge to accommodate the 2 piece decks that have tongs that fit into grooves giving a good fit.

                                But because the front of the hull has changed shape the front deck section is too short one end and the wrong shape the other.

                                Life is never easy when you don't follow the instructions but it is a lot more fun.

                                The next step will be sorting out the deck pieces and charging the battery in the camera.

                                Comment

                                Working...