Thanks David for posting that-It tends to keep the gears turning-
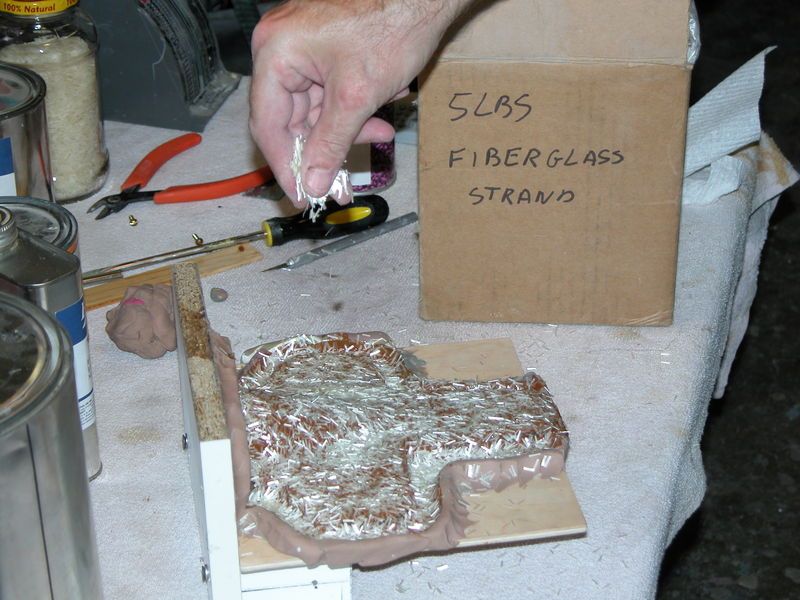
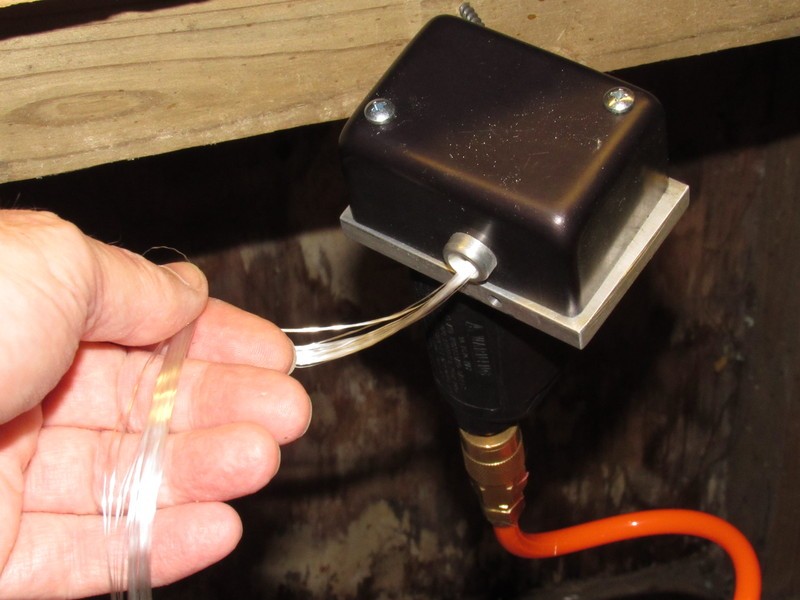
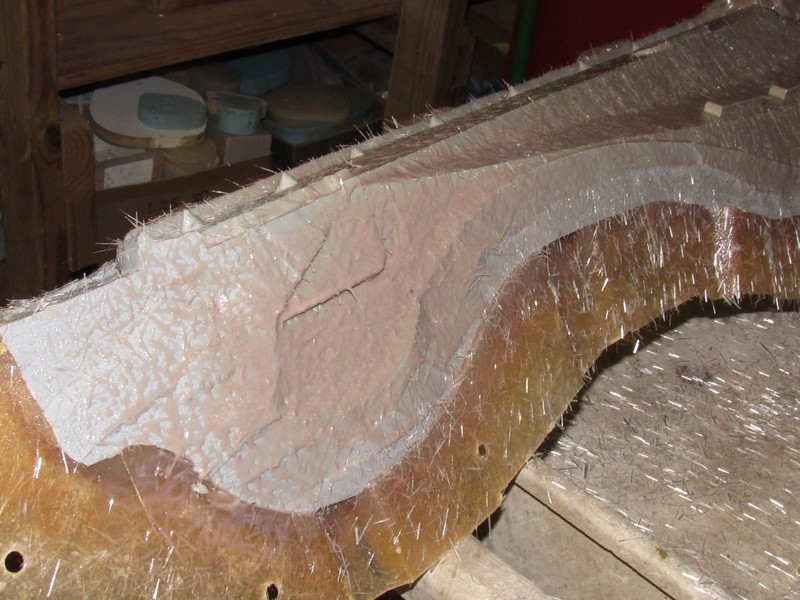
Admiral Trout-I think that black box with the fibers is a glass chopper-I am pretty sure it sprays chopped glass into the resin coated mold-hence the mess on the floor!
-
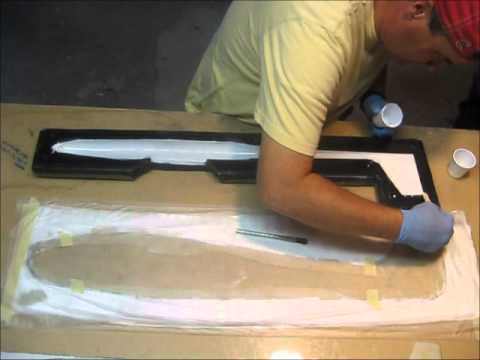
The other videos found interesting was this one, again a fuselage moulding, but slightly more conventional technique.
Leave a comment:
-
-

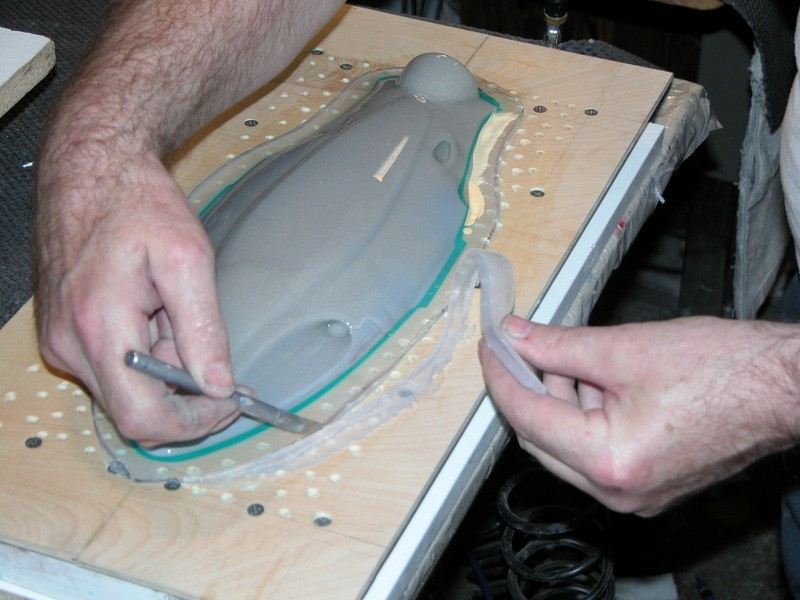
Regarding joining two halves of a hull, I saw this vid sometime back which inspired me using a custom made bladder to get the join to conform. I love those elegant lightweight layups the aeroplane guys make.Last edited by Subculture; 03-17-2019, 06:17 PM.Leave a comment:
-
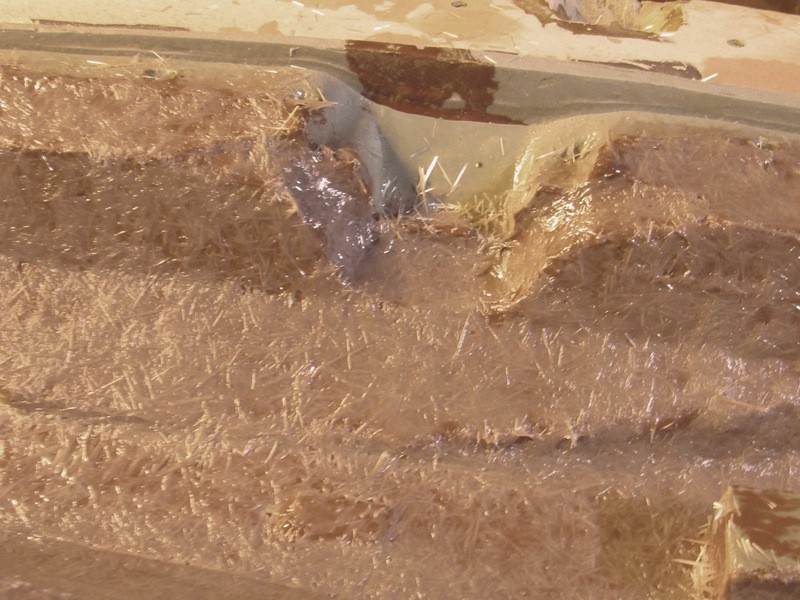
It's called a 'chop-gun'. It both cuts a long glass rope into short length shards, and sprays them onto the wetted GRP lay-up. Like so: https://youtu.be/XHQYYRl5fjw
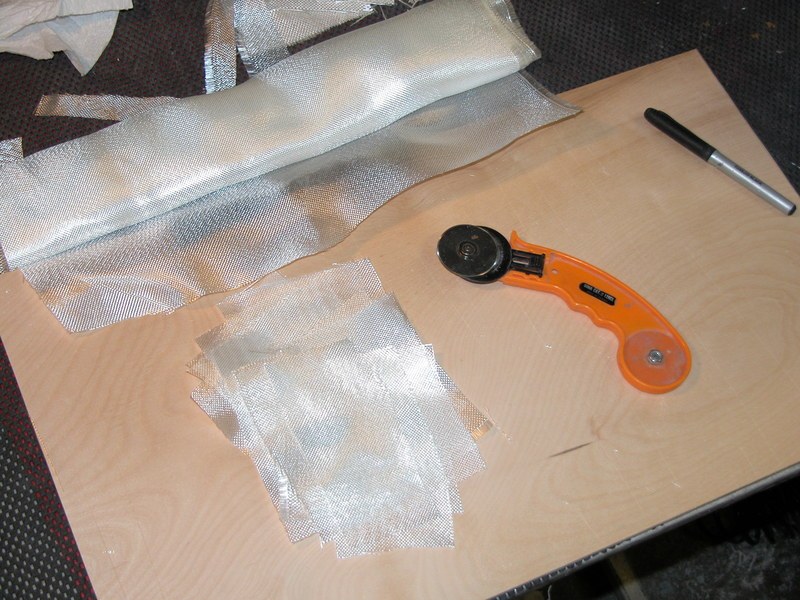
I found it the only economical way of quickly building up a GRP hull that has facetted surfaces and deep draft cavities. Traditional hand lay-up of glass cloth just won't cut it with such a tool of complex geometry.

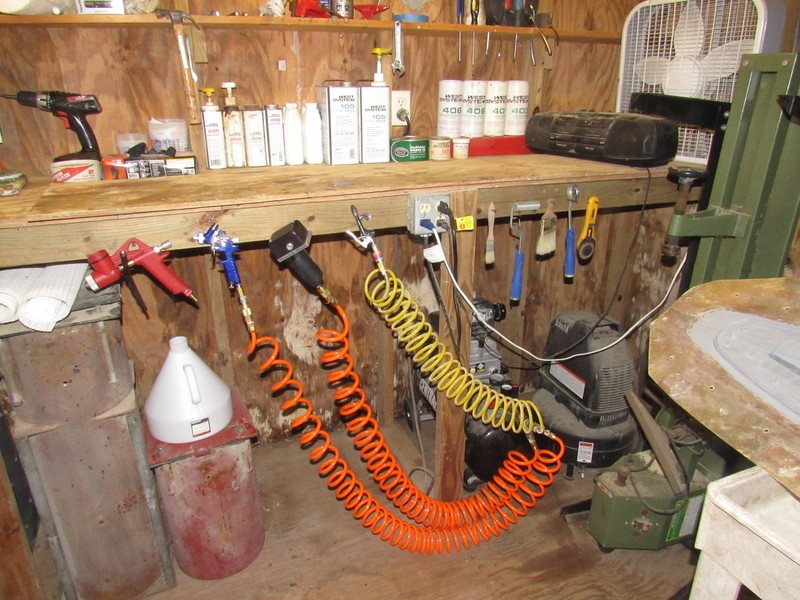
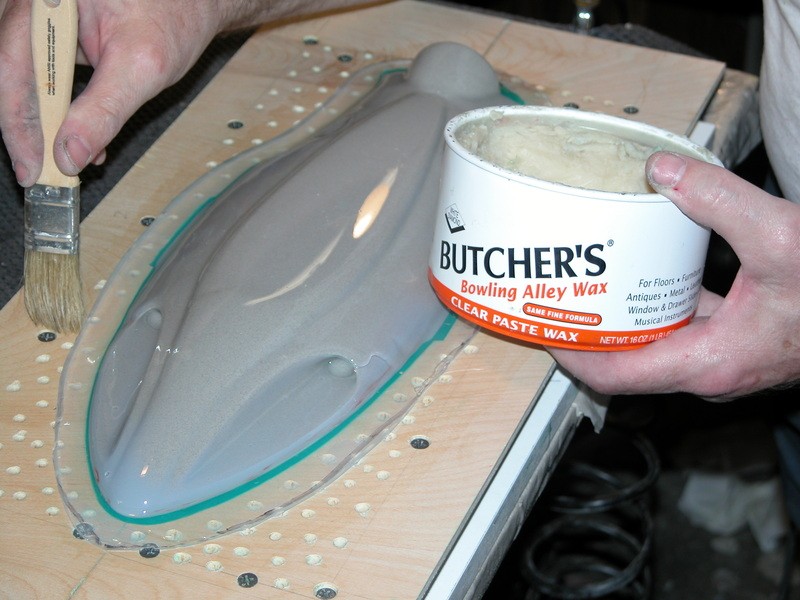
Also, using industrial spray equipment to lay down the PVC barrier and gel-coat expedited the work immensely.
DavidLeave a comment:
-
What is that black box with fibers coming out?
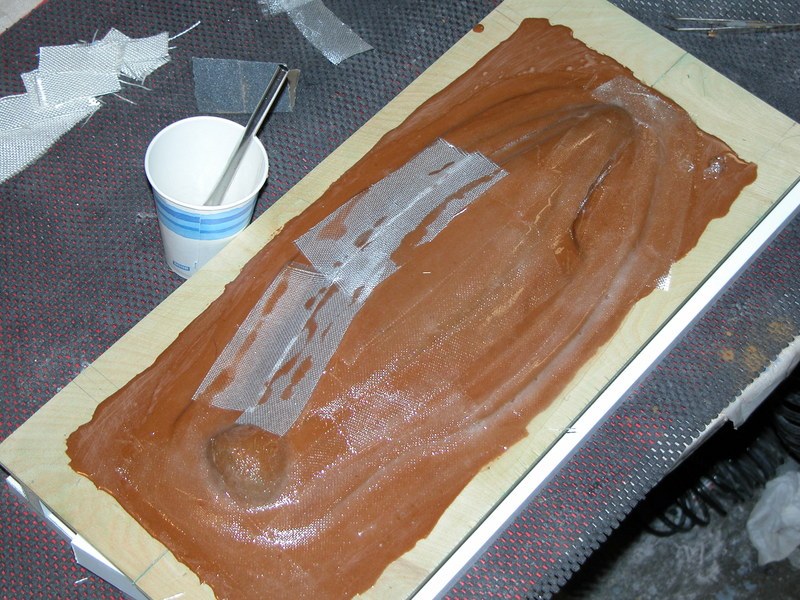
Again pictures to pour over.Leave a comment:
-
-
Ah right, so you've answered the nagging suspicion I had about the hybrid tooling, that you get faults develop in the casting between the rubber tooling and the hard case tooling. So a full rubber tool it looks like it will be then.Leave a comment:
-
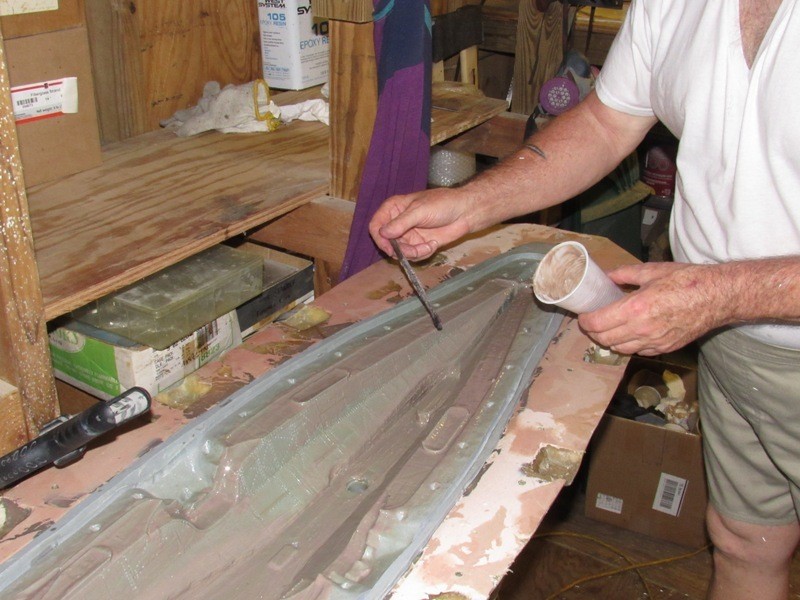
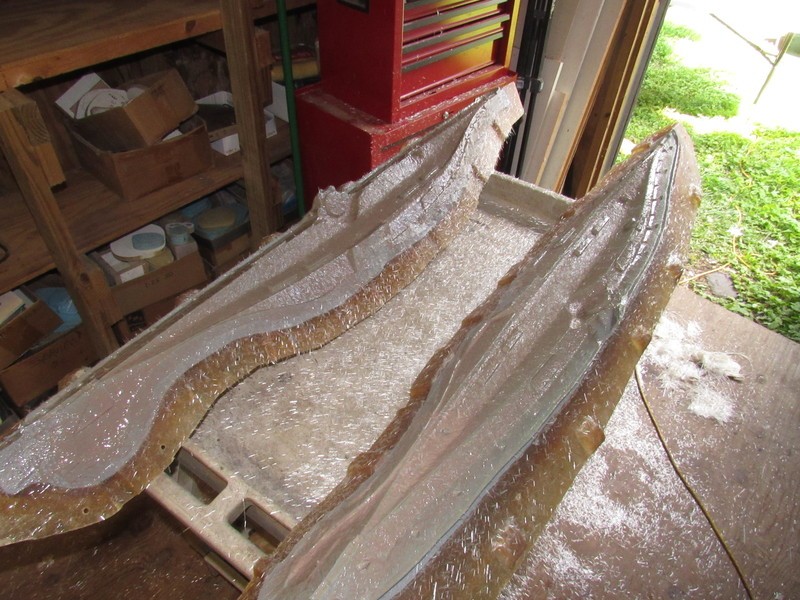
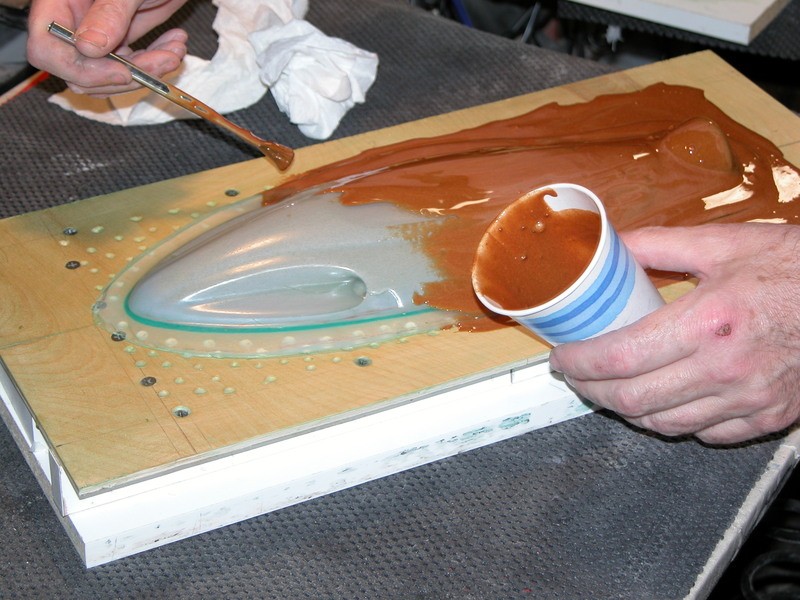
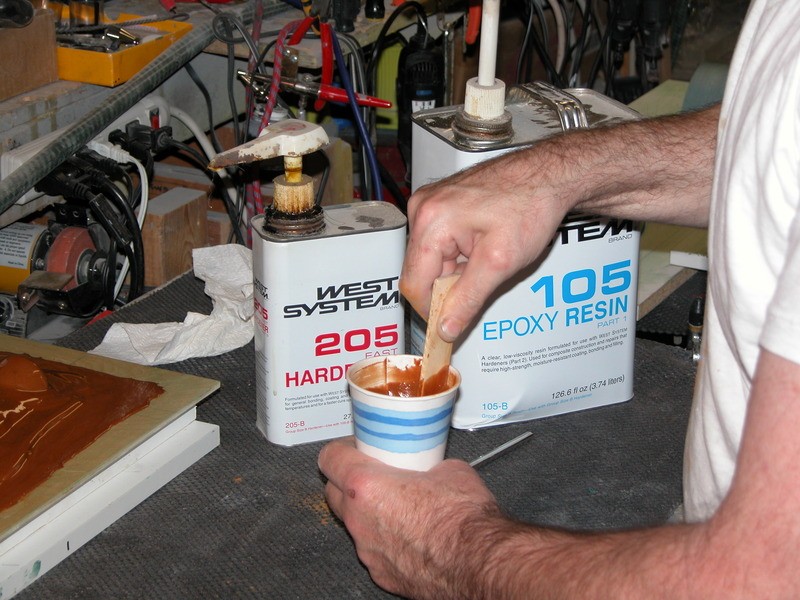
You would lay up the two halves, leaving about a 1/4" no-GRP strip near the flange-line. Pour in some fast-cure epoxy resin into one-half of the tool, Butten up the two hull halves, then slowly rotate the entire tool to slush the resin into the seams where the two hull half flanges meet. Messy, but effective.
DavidLeave a comment:
-
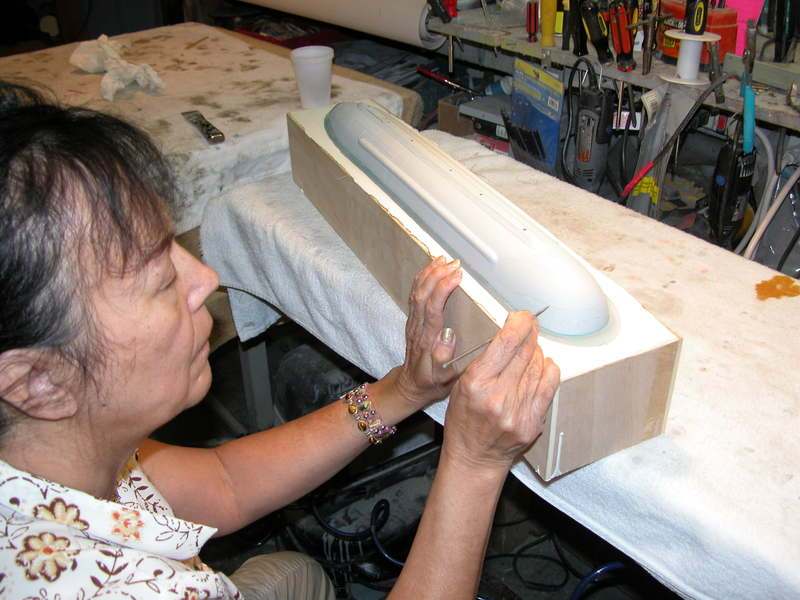
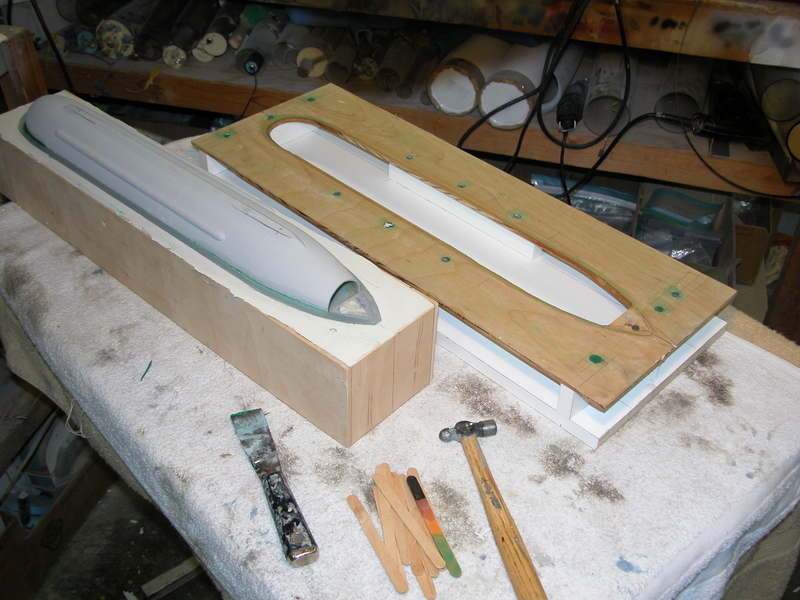
Yes, the original 1/96 SKIPJACK tooling was a hybrid -- part hard-shell, part rubber. It was a bridge too far: though it was an easier tool to produce and manage I could never beat the slight (and sometimes not so slight demarcation line between rubber and GRP tool sections. I invested at least as much work in cleaning up those lines (depressions in the parts) as I saved during the tool making process. No pictures survived here, as the work was done way before I entered the 'digital' world, and I lost the negatives to a flood. But the imagery survives in a few articles and two books I contributed to.
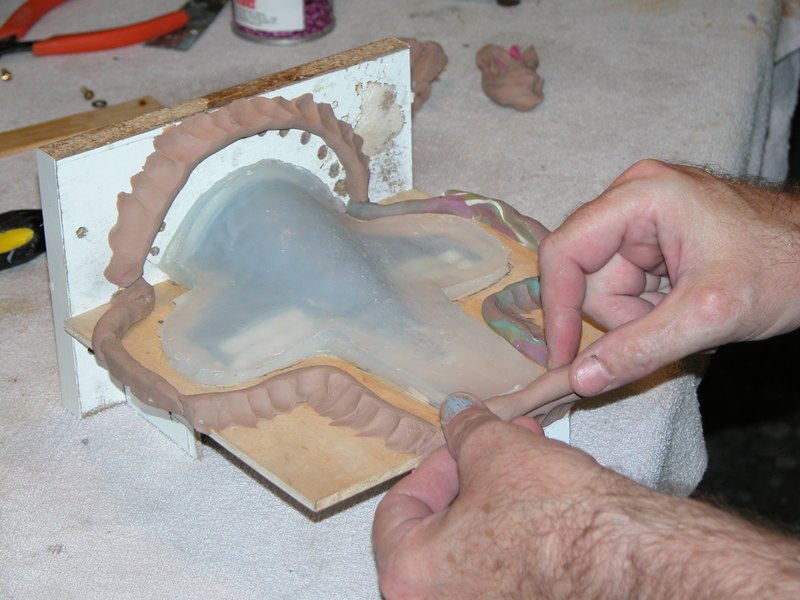
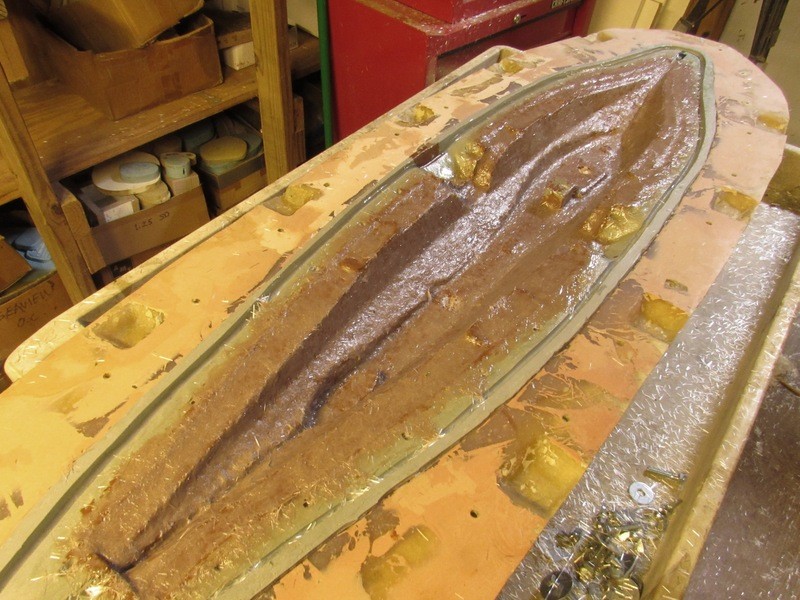
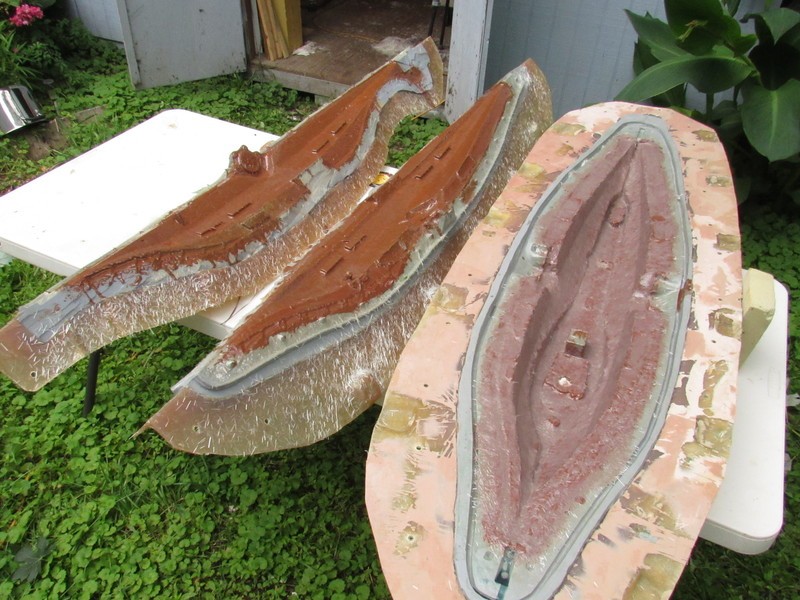
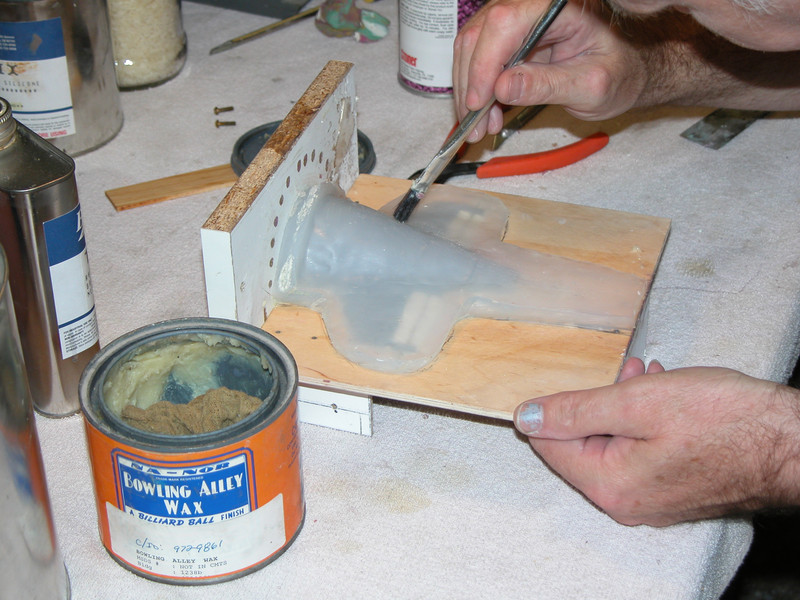
Best course of action is to make the traditional glove-mother mold type tool if your GRP part has deep or negative draft and fine detailing.
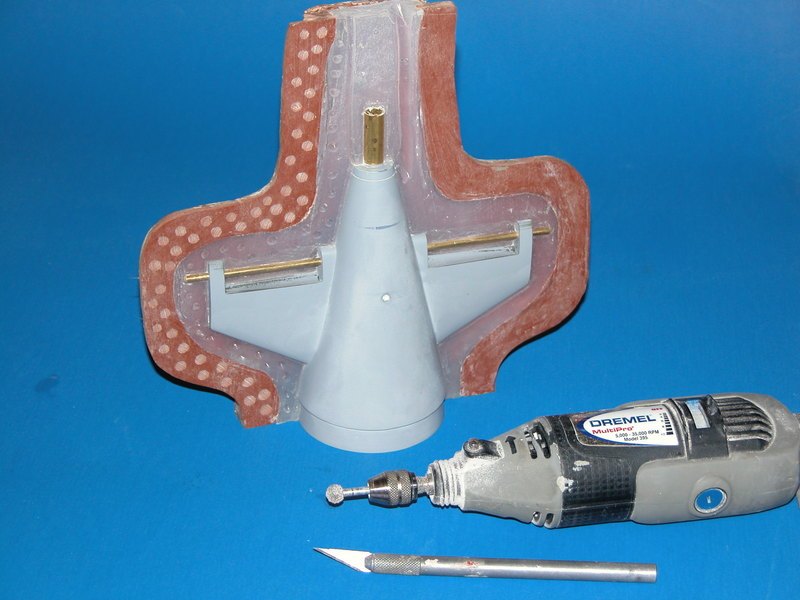
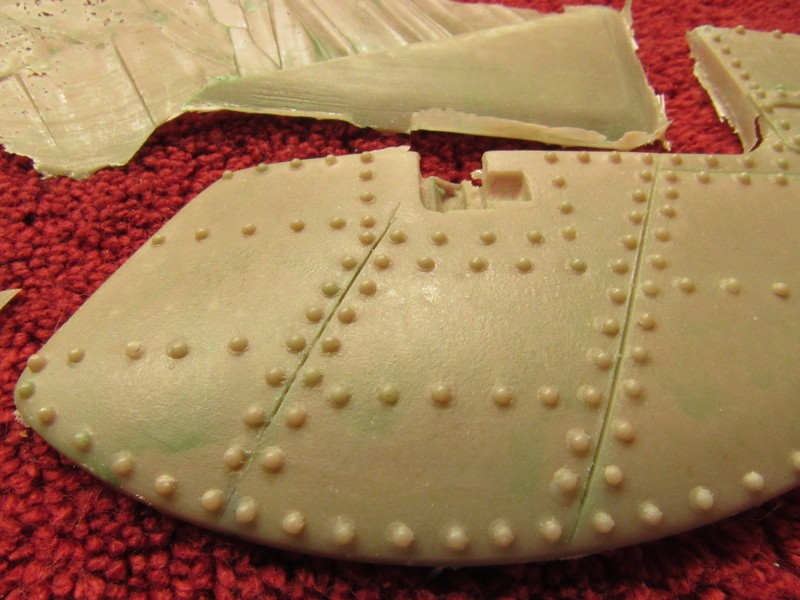
Yes, the big N tooling belongs to Bob. The originator is the god-father of all things Disney NAUTILUS, Scott Brodeen. Bob bought this and other tooling. I've had this particular tool here in order to work out the lay-up protocol. The big deal was how to capture all that rivet detail in a GRP lay-up. Bob will be here next month to get some training in on it and some other items, then he's back to his sprawling industrial complex in Florida to carry on with production.
DavidLeave a comment:
-
I was thinking of the tools Dave made for his 1/96th Skipjack. I'm sure that was part hard case, but the scribed areas used rubber. Nice Disney Nautilus is that 1/48?Leave a comment:
-
Subculture-what parts are we talking about-a hull in two pieces? surely there is an opening-or is it to be a closed bottle-you can stretch or deform a rubber liner to remove a casting that is larger then the opening-in which case there is no Two Parts? Possibly you are using the tooling to align the halves for joining (but how do you apply resin and glass to the seam without an opening?)Leave a comment:


Leave a comment: