nice!! Look forward to seeing more of the build progression.
I started the plug for a harbor tug (smit Panther) using a similar technique. Hmmmm....must get off backside and finish it!!
Cheers Bruce
-
This is only just a foundation. As can be observed in the photos, there are lots of structural and symmetrical shape imperfections that need to be worked out and compared to pictures. And, as this is a very complex shaped piece it’s extremely important that I get it right. Lots of filling, block sanding and re-sculpting to come…lots.
Leave a comment:
-
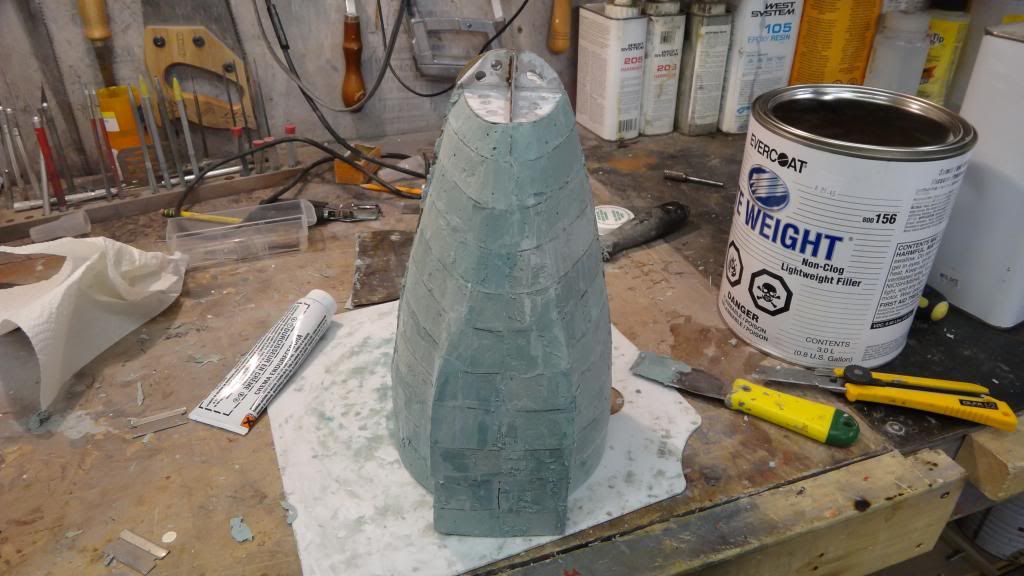
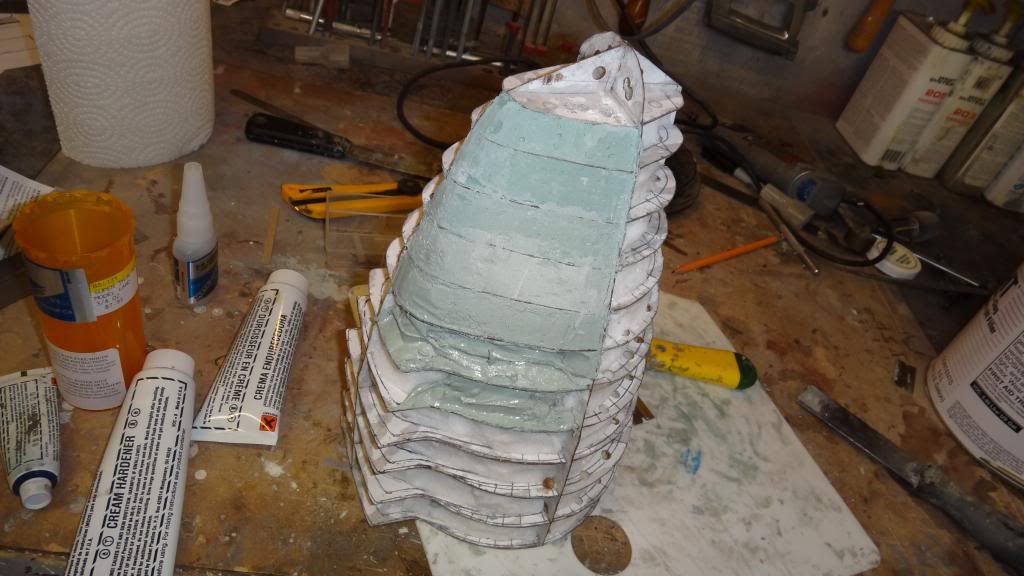
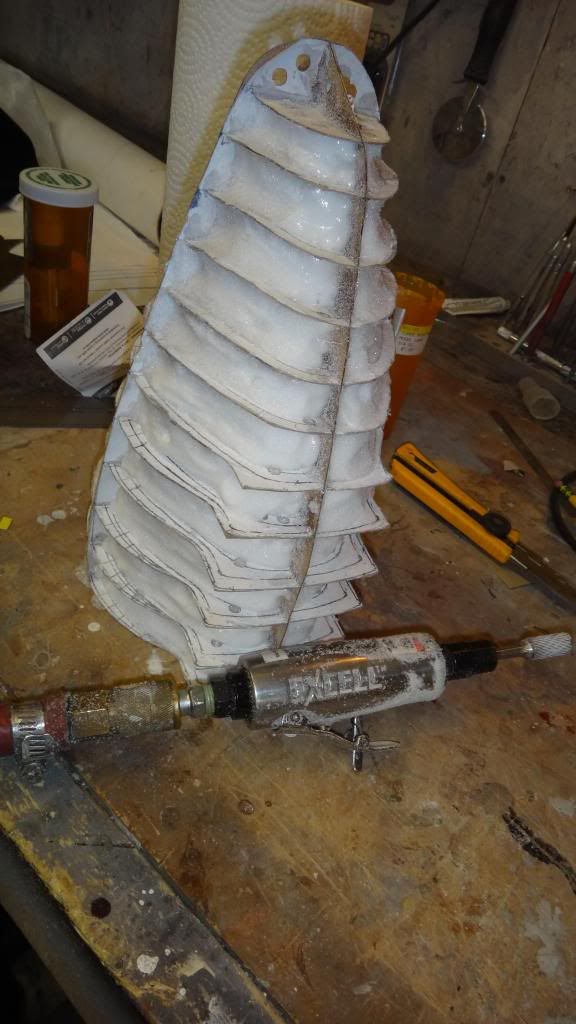
Next, it�s time for applying the Evercoat shell to the frame. I initially tried the technique I�m about to describe firstly on my Seawolf towed array fairing on hull. It worked so well that I�m going to take the technique to a whole new level!
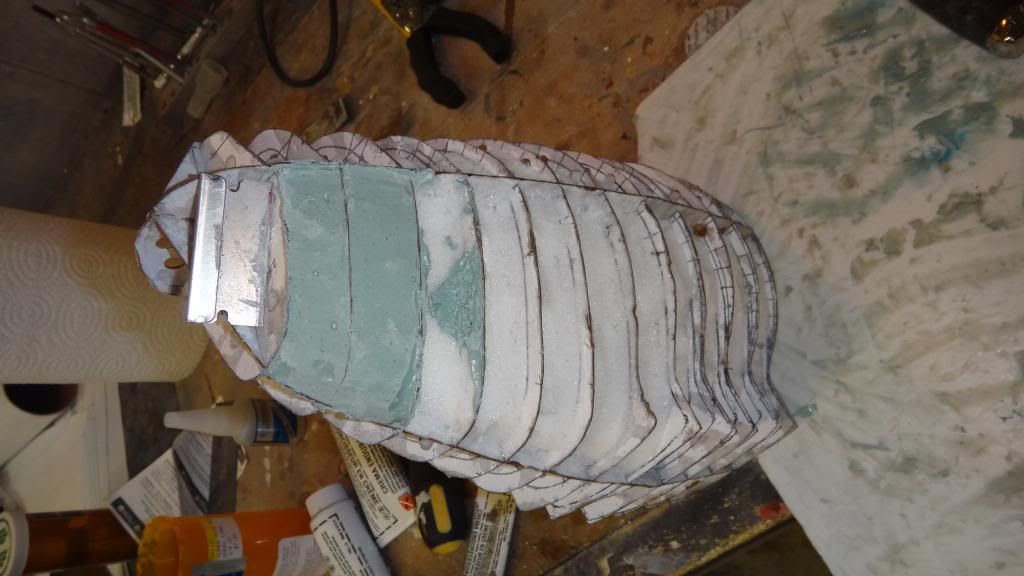
First, I applied a shallow base coat of plastic to a couple of sections. I would then follow behind each shallow section by filling in the section behind it over flowing with plastic, the remaining heat from the shallow coat helping kick the top coat a lot faster, thus allowing for quick trimming with a razor to the cardboard frame forms. I forgot to mention that I practically drenched the whole cardboard frame the night before with CA. Believe me, by the time I was done the whole drenching process I was feeling pretty queasy from the CA fumes and white smoke that spewed off when it came in contact to the cardboard. The cardboard must have some cotton in it I think in order to be making that smoke.
The whole process is a lengthy one, as I had to do each section one or two at a time. The reason why though, is that I don�t want to spend the time or money making an intermediate master and mold. I just want one master from which to work on.
Leave a comment:
-
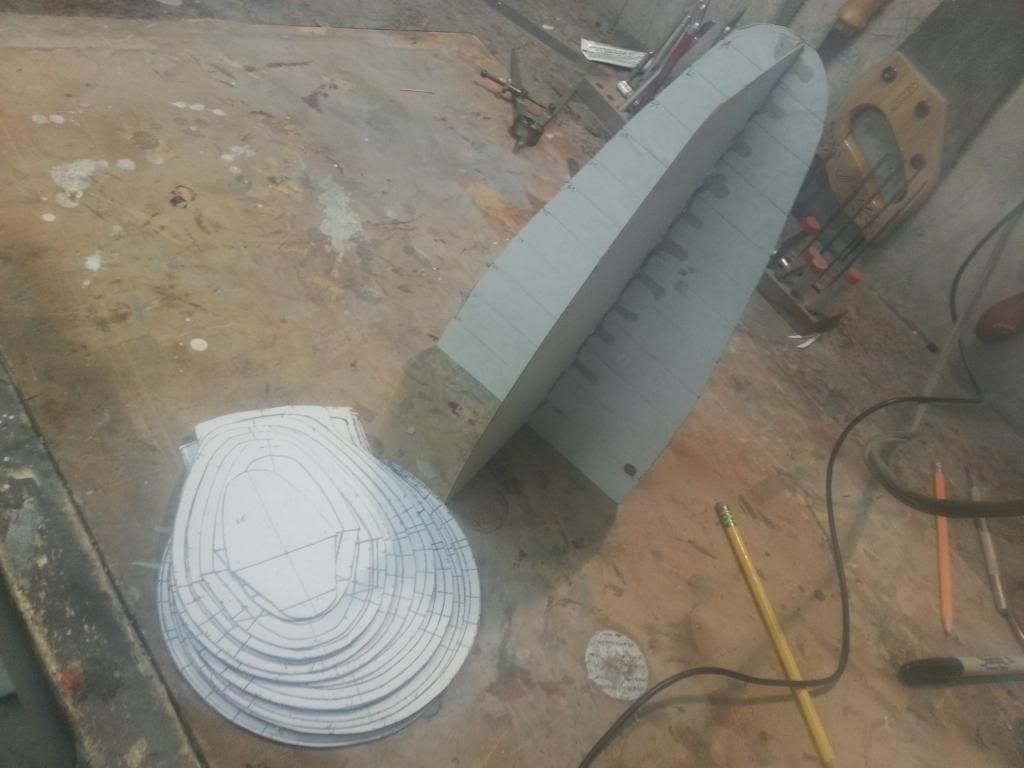
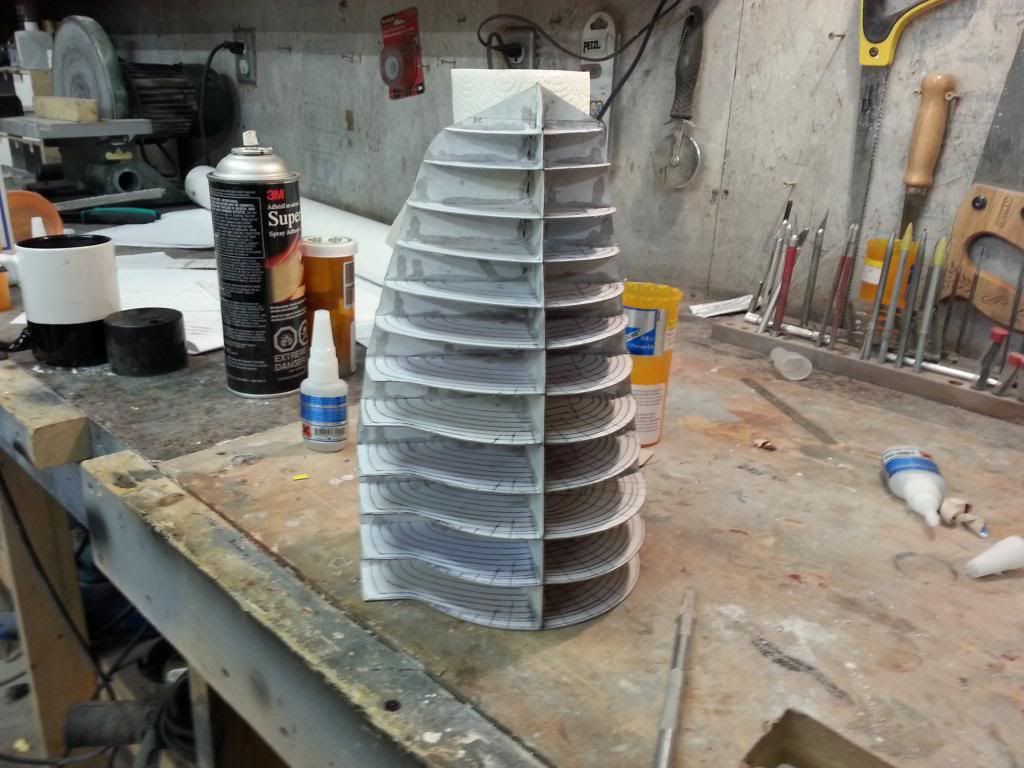
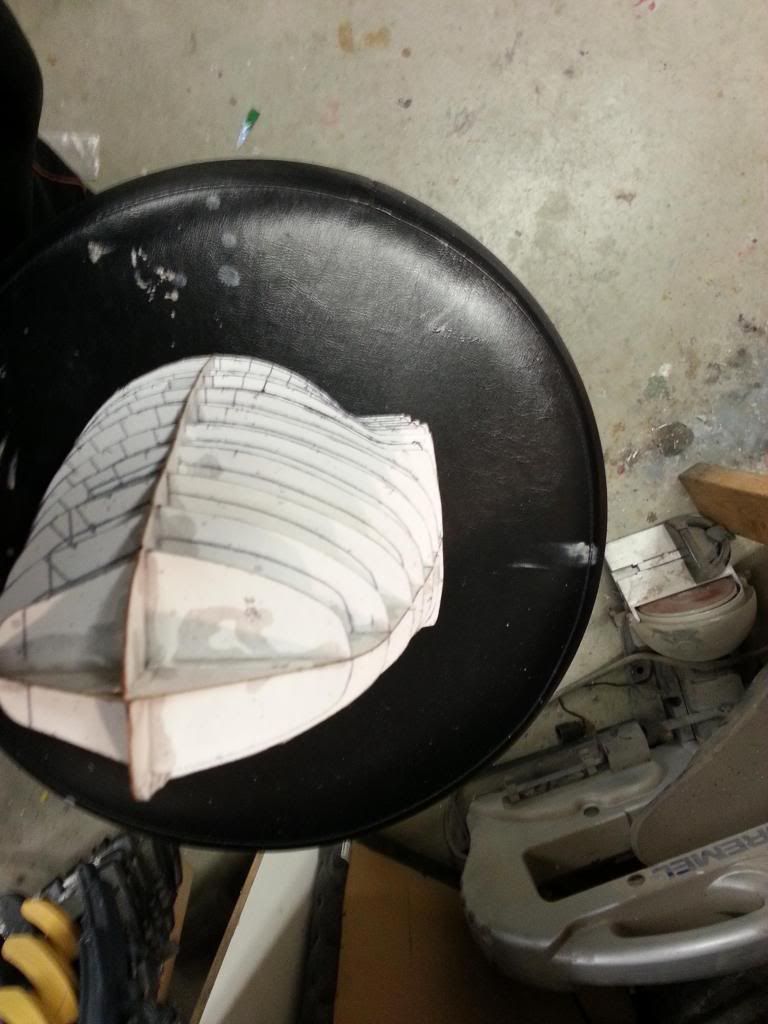
Let�s get to creating our base form for the bow now.
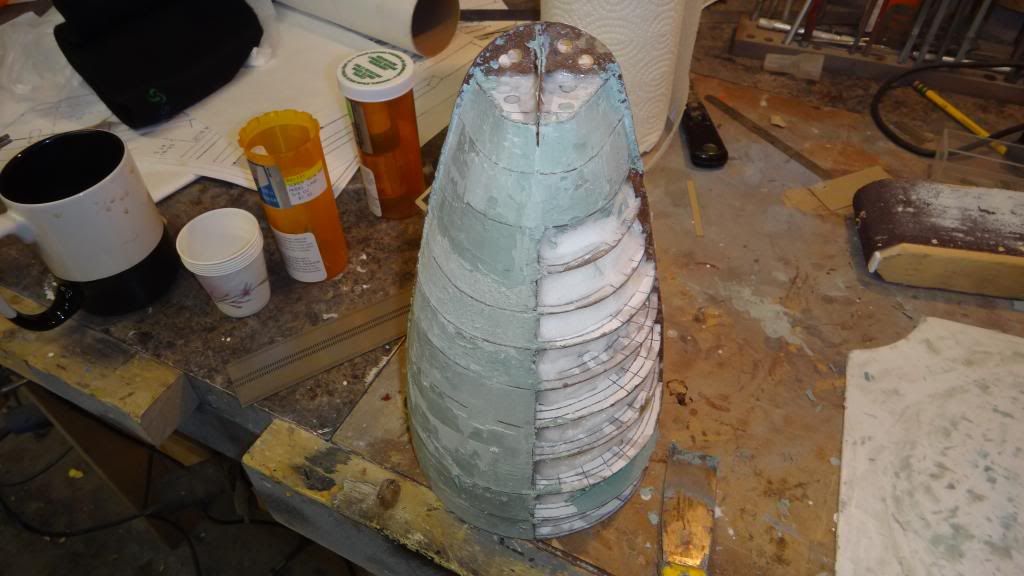
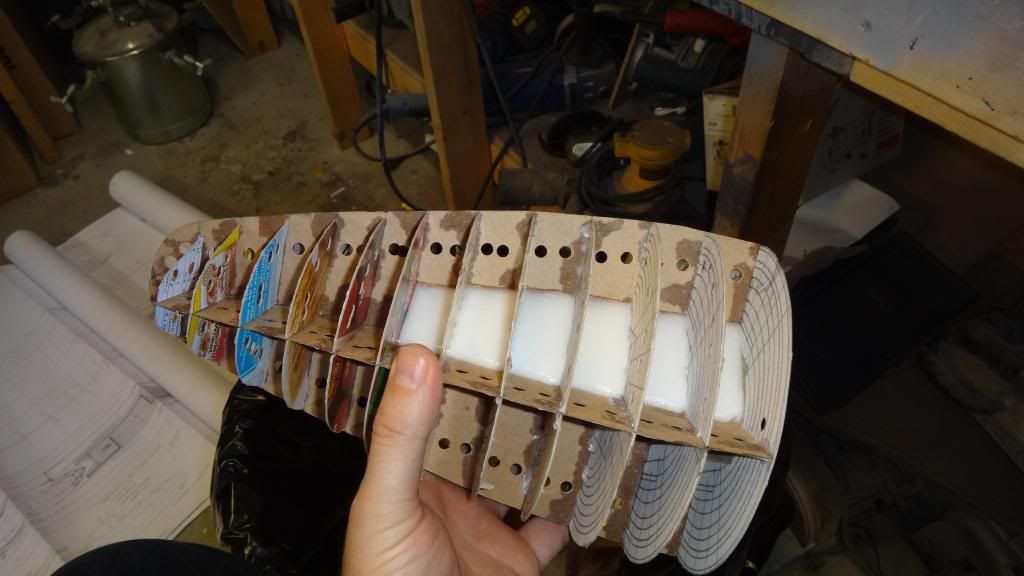
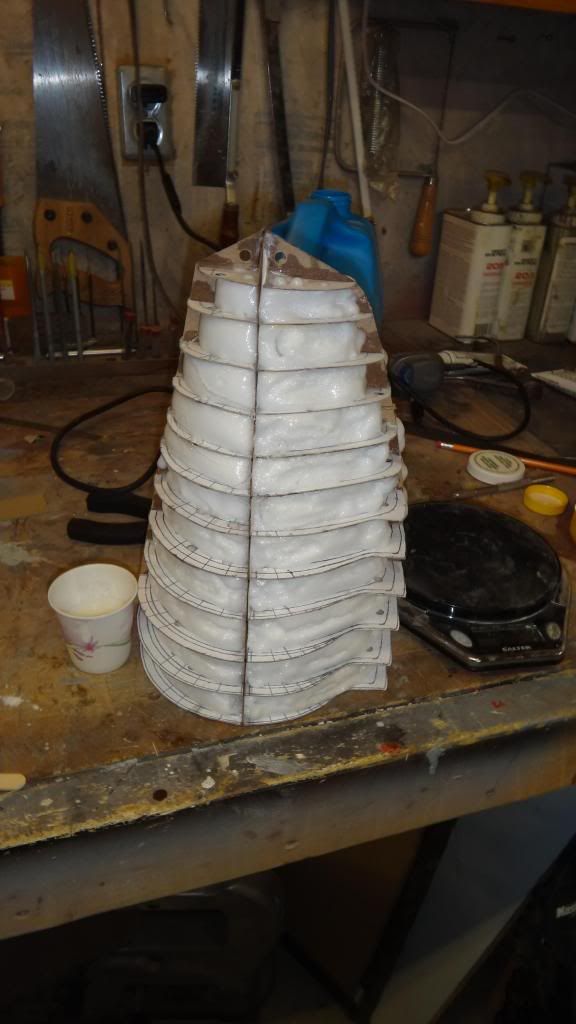
I�m using some of the 1 to 8 smooth-on urethane foam that I have left over from my Seawolf project as my core for the bow unit. What this does, is add initial rigidity to the bow frame and enables me to use less auto body filler, because if the whole thing was solid filler, the entire model would end up weighing 200 lbs.! Anyways the goal is to have a continuous layer of Evercoat from around 3/8� to �� thick�enough for a very stable surface that will allow me to put detail into.
For application, First I punched a bunch of holes through all the sections so that when the foam expanded, it would go through the hole and adhere the foam on the other sides to add to the rigidty of the frame. For pouring, I did one quadrant at a time, pouring a little foam mixture into each section and just holding it in position there until the foam fully expanded. Once the foam was fully hardened, I took a die-grinder to remove the smooth skin on the foam and in some cases remove extra foam where it expanded too much
Leave a comment:
-
-
Yeah, Mark...it does look pretty used. Maybe it's time for a good ol' palm sanding!
Thanks Alec. Was that John's old boat that you saw?
JoelLeave a comment:
-
-
Nice, your work bench has the look of many years of serious production work.Leave a comment:
-
Ok, we�re back after a seriously elongated break from building this model!
Over the break I�ve had an opportunity to assess where and what I�m doing with the project and means looking at lots of pictures, comparing them with my drawings and confirming measurements etc� This means that I�ve had to go back and add material to the pressure hull and machine it to a slightly larger diameter to get it to proper specs. It�s not much, but enough to notice by serious model makers and astute fans who will be buying this model. Anyways, the whole process is tedious and takes time. The great thing here is that when you machine metal, that�s it, you can�t go bigger than what you machined the work to, but with my Evercoat shell I can just add more material. Beautiful! I�ve also been researching and self-teaching myself on the awesome trade of machining and precision measurement, so rest assured, this model will be the most precise I�ve done to this point.
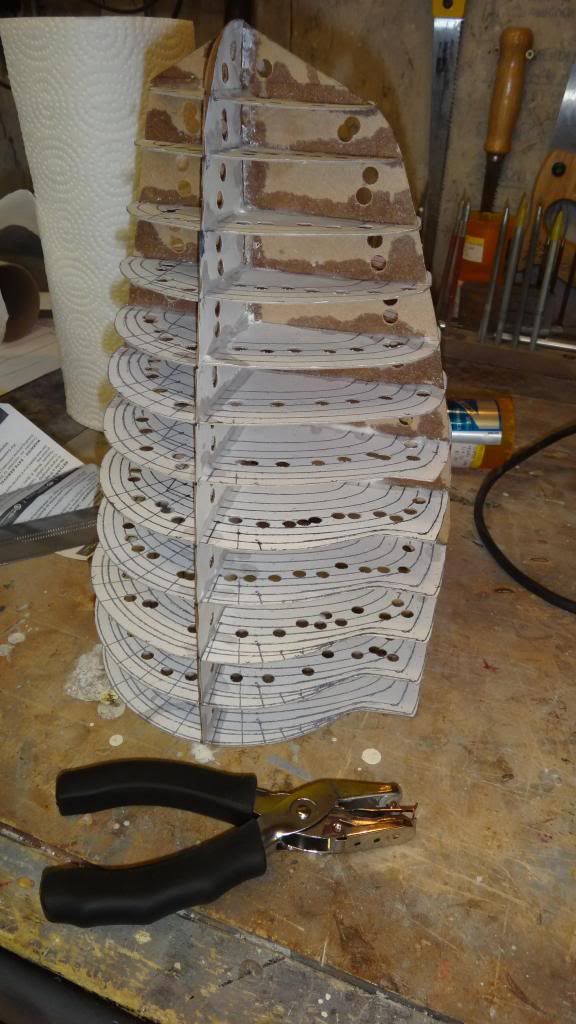
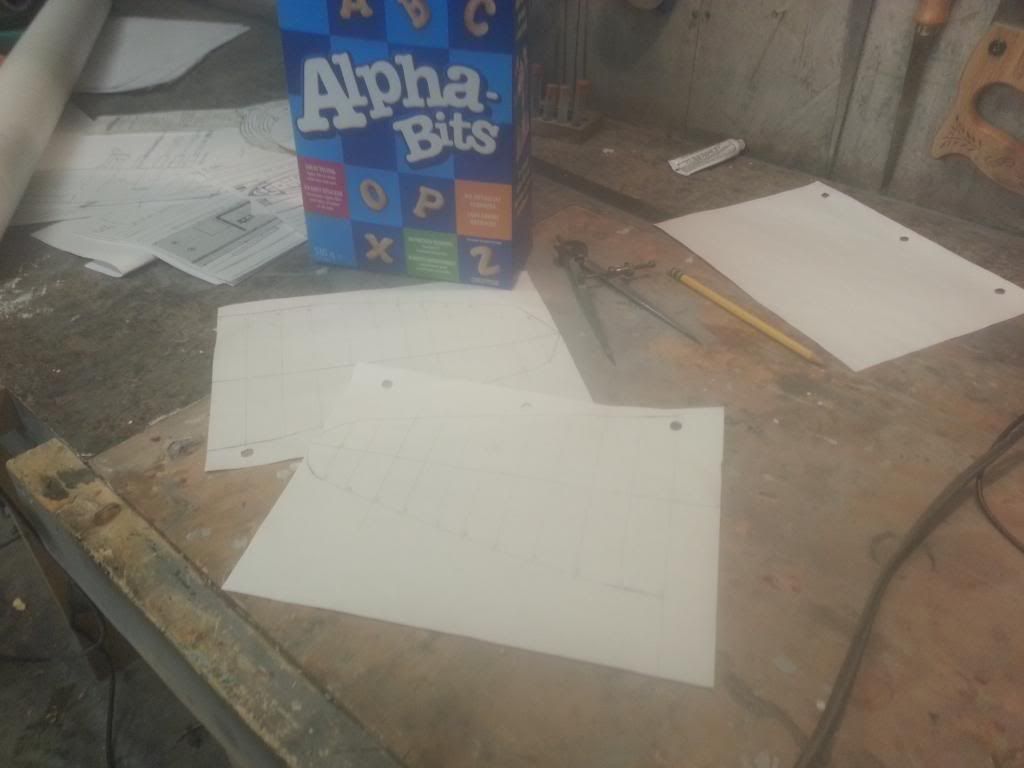
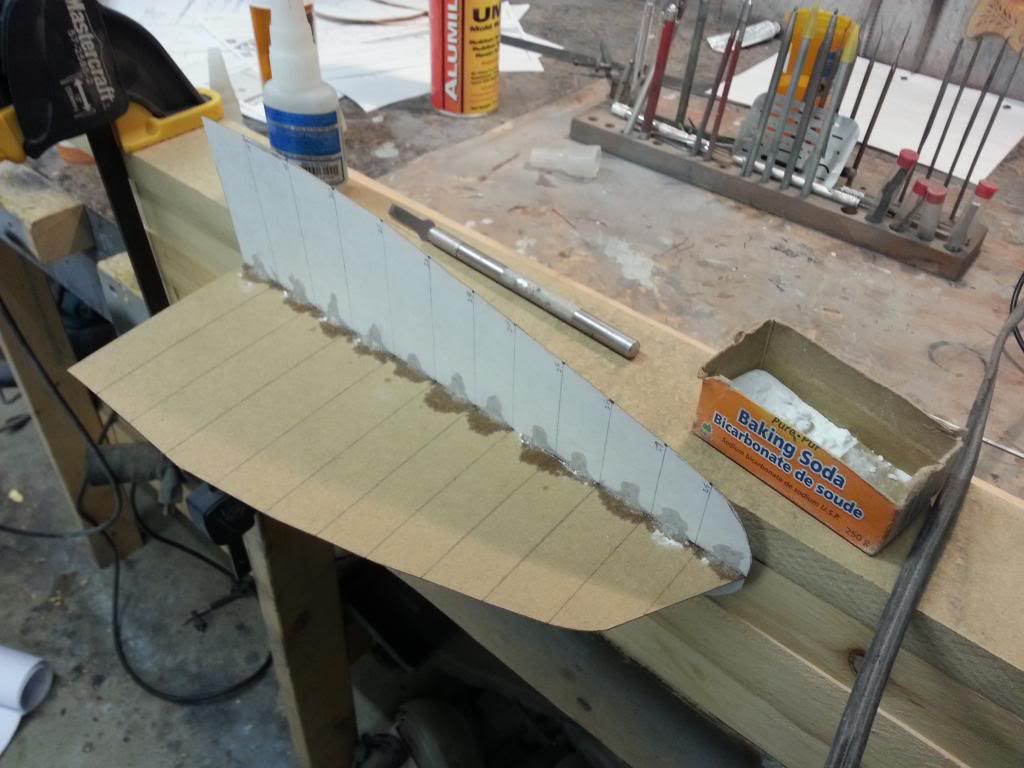
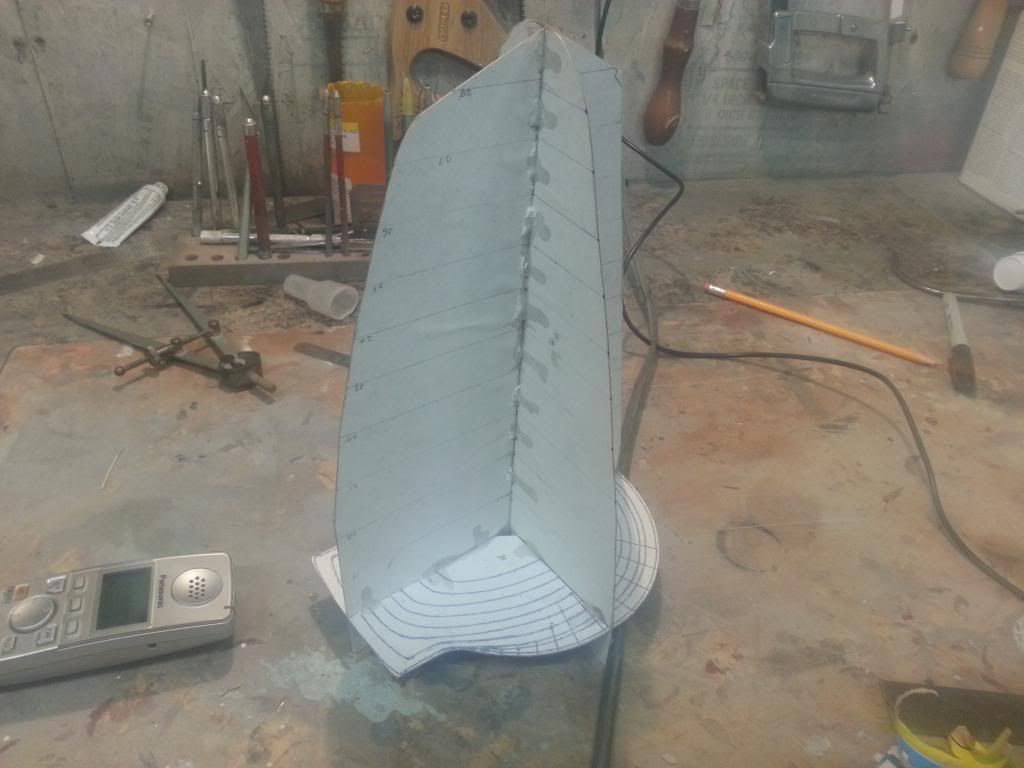
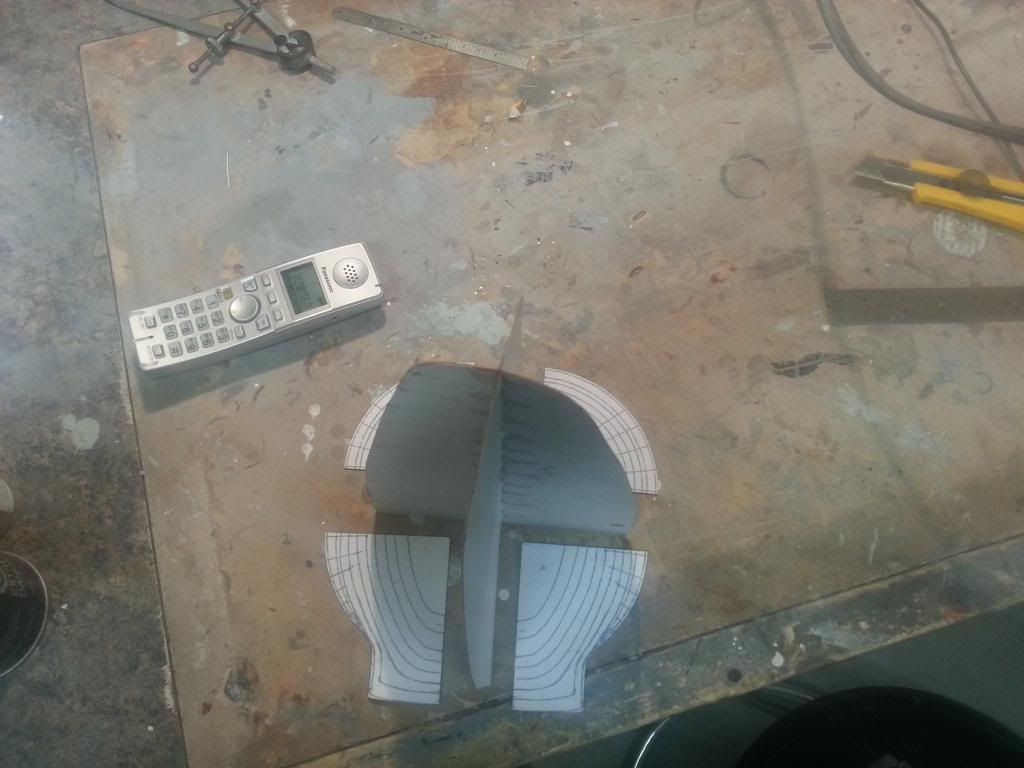
Now, Posting more pictures of the hull is boring and waste of time, so I�m going to show the work I�ve done on the bow. Yep, that�s right, the bow. Back before the break I ran into a major issue with the sectional drawings dimensions not matching the top and side views of the boat. Don�t get me wrong, the prints I�m using are an absolutely beautiful rendition of the ASTUTE, however it looks like some distortion through reproduction and upsizing to 1/72 might have happened. I think I�ve pretty much solved the problem now�thank Odin for Corel Draw because I�ve been learning to use that program too. Basically, I�ve had to scan my prints so that I can manipulate and fix them with my computer and I ended up squashing the height of the sections, stretching their width, and doing some rotation and skewing tIo get them to the right shape.
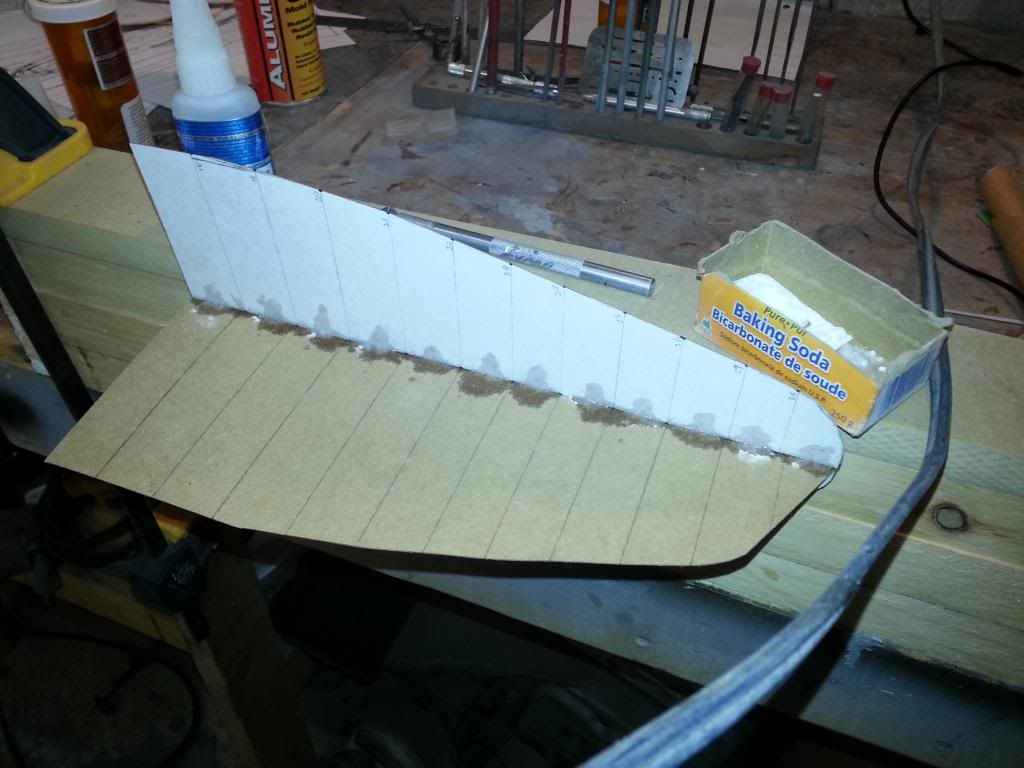
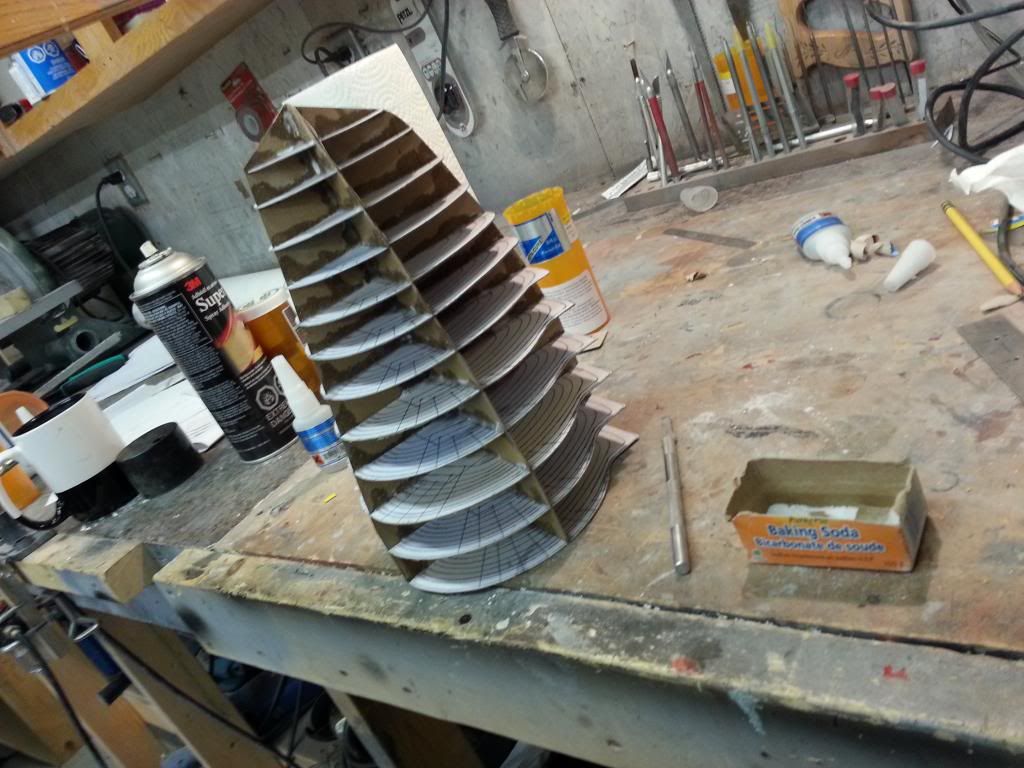
After completing the fix and printing out multiple sections, they were glued to cereal box cardboard and then cut out using an exacto knife. Each section was cut into quadrants and then CA�d to its corresponding section line on the side/top cardboard assembly. I love card board by the way, I tried balsa before with the technique but didn�t really like it.
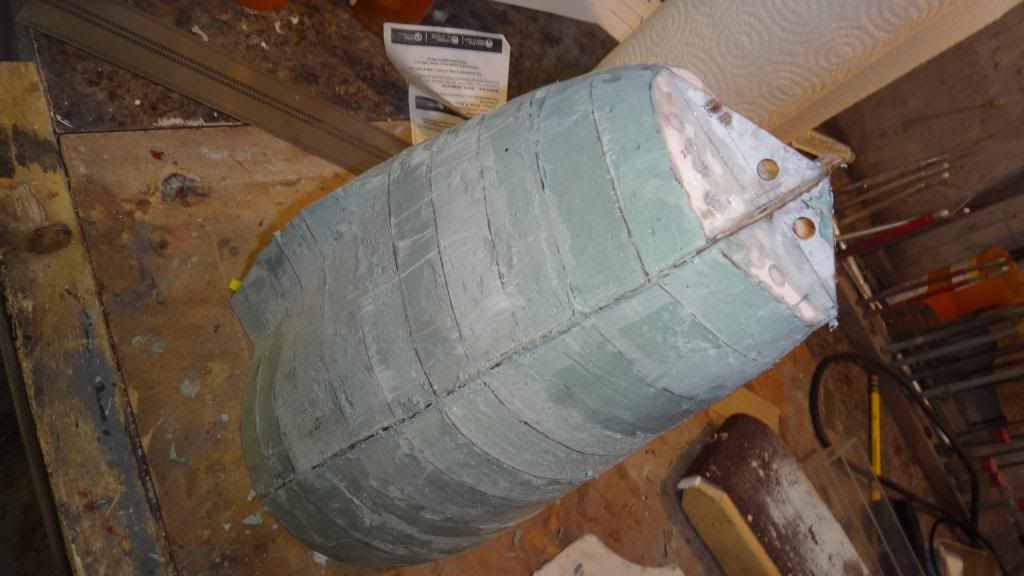
Here�s the work. I started at the bottom and methodically worked my way to the top. Lots of thin CA and quickened with lots of baking soda.
It�s nice to be modeling again, enjoy the pictures!
Leave a comment:
-
Alright, Alright. The plan this weekend is to cut the pressure hull in two, mount and center the halves in the metal lathe and put a machined finish on. We're going to go hardcore precision on this foundation and I can't get that with my baseball bat copy attachment because the Evercoat surface is too hard and the attachment isn't rigid enough. Gotta start somewhere again and it might as well be there.
JoelLeave a comment:
-
Actually Mark,
I came across the patent for the nozzle not so long go. Full details -it ain't, but nonetheless lots of details found and promptly passed on to Joel.
The photo you posted in the right hand side shows a nice view of the many blades that the pump jet has. Superb stuff Mark.
JLast edited by Slats; 07-10-2013, 04:01 PM.Leave a comment:
-
"The Very Same Sir". "Wonders that Defy my Powers of Description"(Paul Mason aka Captain Nemo) A Most Fortuitous circumstance I suspect. It was the only way we could get a good look at the Nozzle....you understand.Leave a comment:
-
That's no moon, its a friggin space station!!!@!
I have to ask, given how high she is sitting in the lower 3 photos, are these photos Mark of her grounding incident?
Best
JohnLeave a comment:


Leave a comment: