-
Having built the 1/72 Seawolf from Joel, the Caswell / Merriman 3.5" Subdriver that I used on Seawolf will easily fit this boat. The Caswell / Merriman SAS system represents the state of the art and would be hard to go past.
The only question is ballast tank size, - I expect it to be 25% bigger than the Seawolf's requirements due to the higher reserve buoyancy of the Astute's sail and rear hull hump cf with Seawolf. As the 3.5" SD comes in kit form the ballast tank size demands will be completely catered for.
I have hundreds of hours of patrol time with various Subdrivers. The reliability of the equipment is excellent.
Re those new kits - be nice to see some photos.
Also - I am not so sure about the WTC on offer utilising welding gas. http://www.rc-subs.com/html/rc_subs_6.html
The WTC seems from the text to have (ballast tanks)...i.e. plural. see Technical data: http://www.rc-subs.com/html/our_kits.html IMHO overkill cf to the ease of simple single tank located at the COR / COG / COP.
JLeave a comment:
-
Joel, don't know if it helps but a chap over here in blighty has just released 2 different scales of Astute kits. A 1/72 and, wait for it 1/42 scale. www.rc-subs.com mind you the big kit is �2500. Want to think about an S/D for that Dave. (tongue in cheek)
Peter.
Nothing to do with me just an FYI.Leave a comment:
-
I'm not familiar with Evercoat!!! The stuff Andy suggests is really good! My brother uses it on real boats and I always "steal" his leftovers for my masters! Great stuff for scribing!!!Leave a comment:
-
Looks like an interesting product, Andy. It has the properties needed to the kind of work we do
JoelLeave a comment:
-
I've been using some of this stuff for repairs and blending on epoxy hulls.
Makes a nice counterpoint to polyester fillers (I use Upol products, Evercoat don't trade in the UK). It spreads like polyester fillers, and sands easily. Much slower cure time though, and considerably more expensive, so I tend to stick to polyester based fillers for pattern work.Leave a comment:
-
Yeah, After the last project I don't see any reason why not to do it this way. I heard some people in the past complain about Evercoat and how it is crumbly etc it can be for scribing, but at the end of the day, I'm not too sure that the sources I've heard this from really have the experience to back those statements up. With that being said, it's my close second favorite substrate to work on and I thoroughly enjoy working with it. My first is Duratec Vinyl ester surface primer with a perfect degree of hardness and no pin-holing. The deciding factor came down to Evercoat Lite costing 9$ per gallon as opposed to 100$ per gallon for the vinyl ester, forcasting that most likely I'll use three gallons at the very least.
JoelLeave a comment:
-
You're taking us all back to school here, Joel. Good stuff! You've made up your mind to get the substrate you want, from the start!
DavidLeave a comment:
-
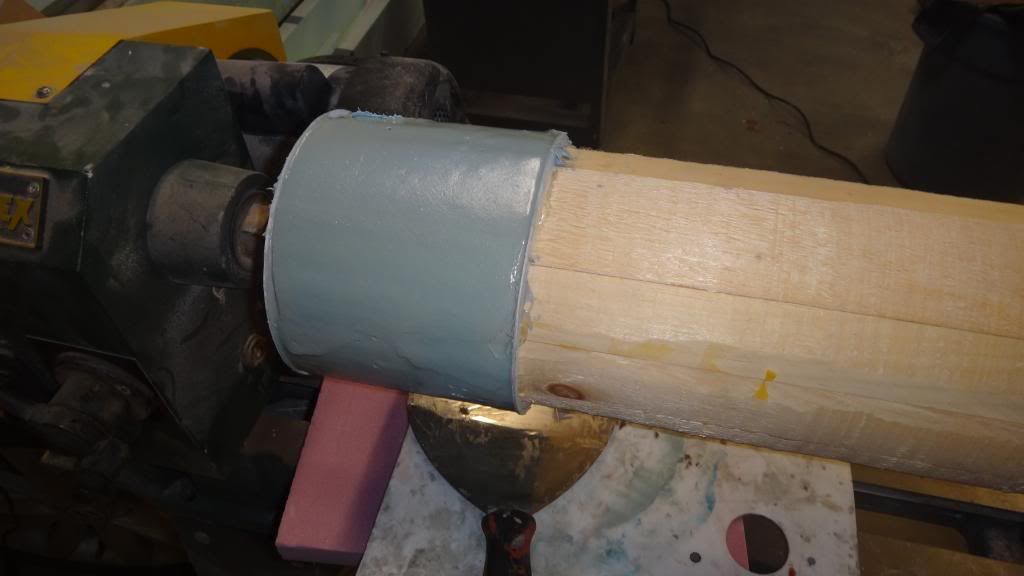
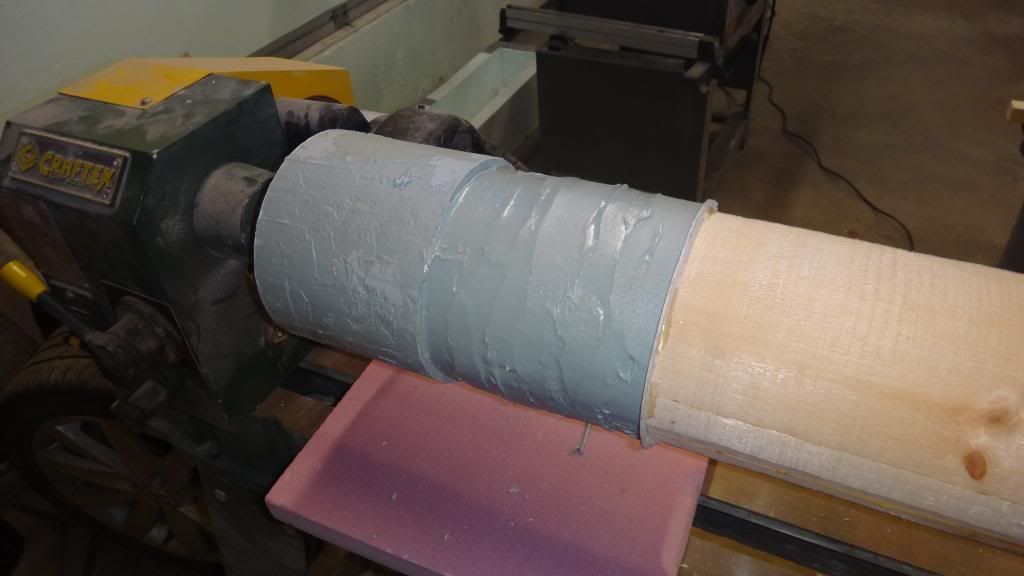
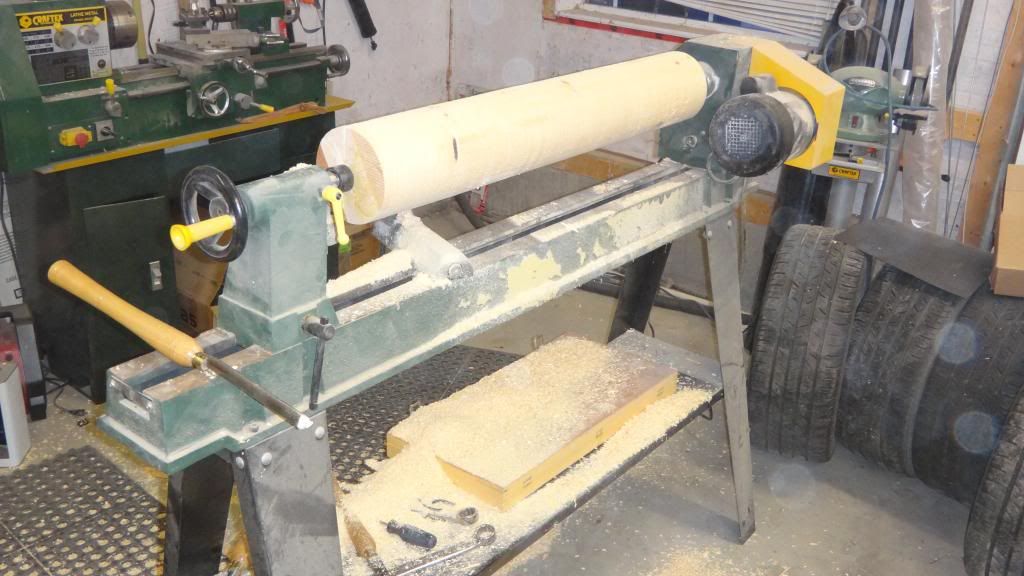
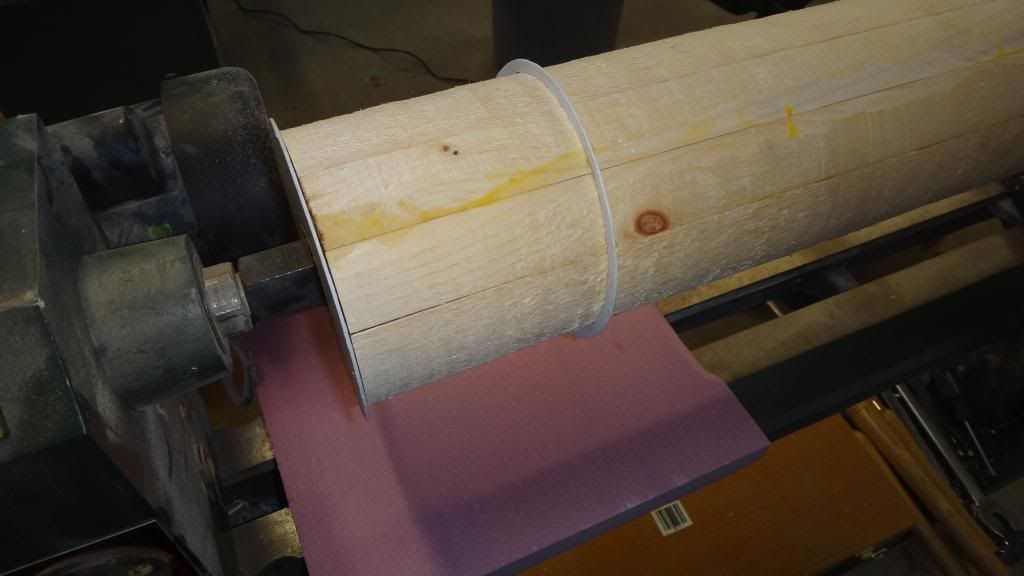
To begin, I apply a heavy coat of plastic inside the guides, let it cure to a gel state and then apply another coat and even it out with the guides using various sized drywall mud applicators. Once one section cures, then the hollow guide ring is moved to the next section, holtmelted in place, and the plastic application procedure is repeated. I did this for the whole cylinder and now it has to be machined to the proper diameter using my wood lathe Unfortunately, the special attachment that will allow me to machine perfect straight lines hasn’t come in yet.
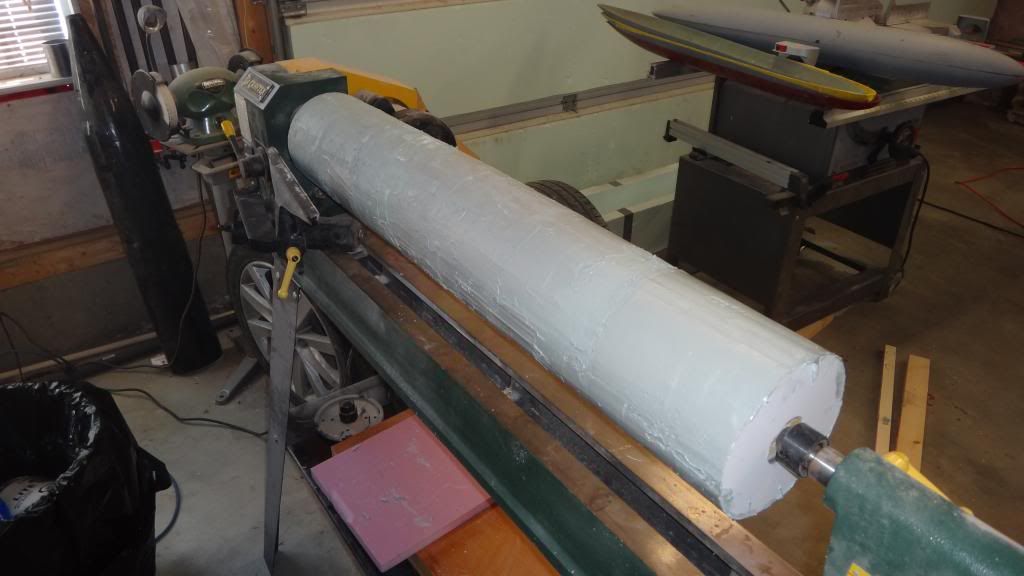
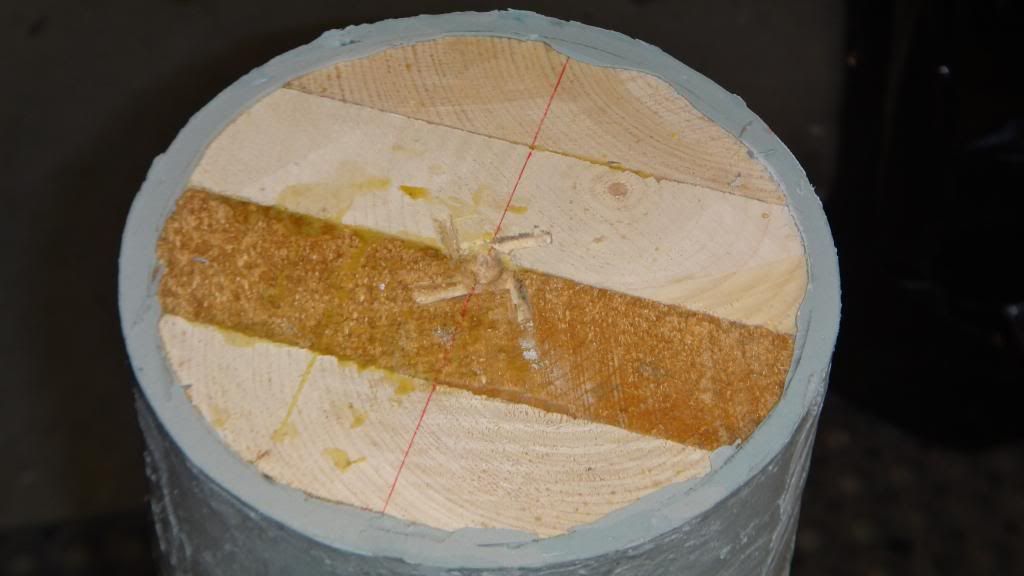
Shrinkage issues? Theory has it that this shouldn’t because I’m applying the plastic first, letting it shrink, then machining it down to the right sizeLeave a comment:
-
Chap.2
To build this model I need a foundation to build it around. This foundation is the cylindrical pressure hull found in the prints and on the real boat. This pressure hull will also be extremely detailed and will need a surface conducive to scribing etc�With my Seawolf I made a basic hull shape and made a secondary mold to which I applied a heavily filled epoxy mixture (backed up by urethane foam) that was supposed to give me a non-shrinking surface that should have been easy to do my detailing work on. I couldn�t have been more wrong, because besides the ton of extra work and money that went into this extra step, the actual epoxy surface ended up being too hard and full of pin holes. Any area that needed scribing or any other sort of detail work was ground out and was replace with a thick layer of Bondo and blended in smooth with the surrounding hull. This provided a far better, more workable surface. For this project I asked myself: �why don�t I just give myself and entire canvas of proper surface to work off of from the get-go?� So, that�s what I�m doing here.
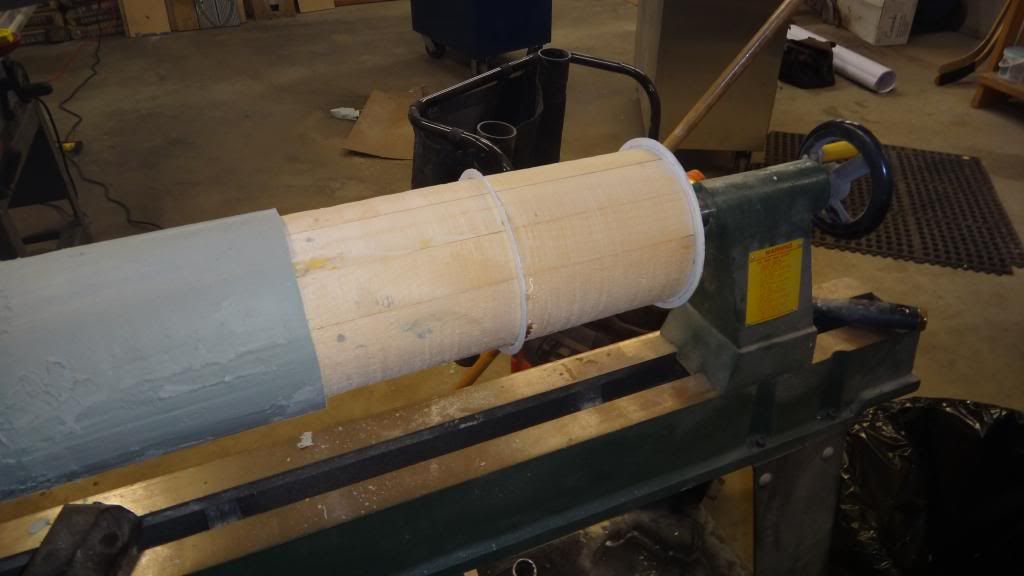
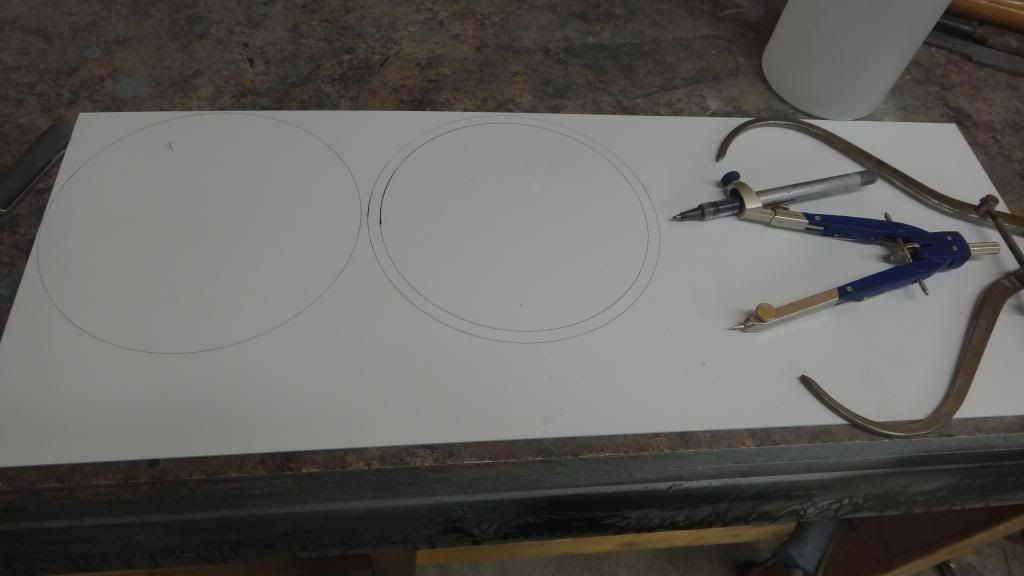
First order is to machine down my white pine pressure hull down to about �� radius less than what the actual hull will be. No precision here, folks.

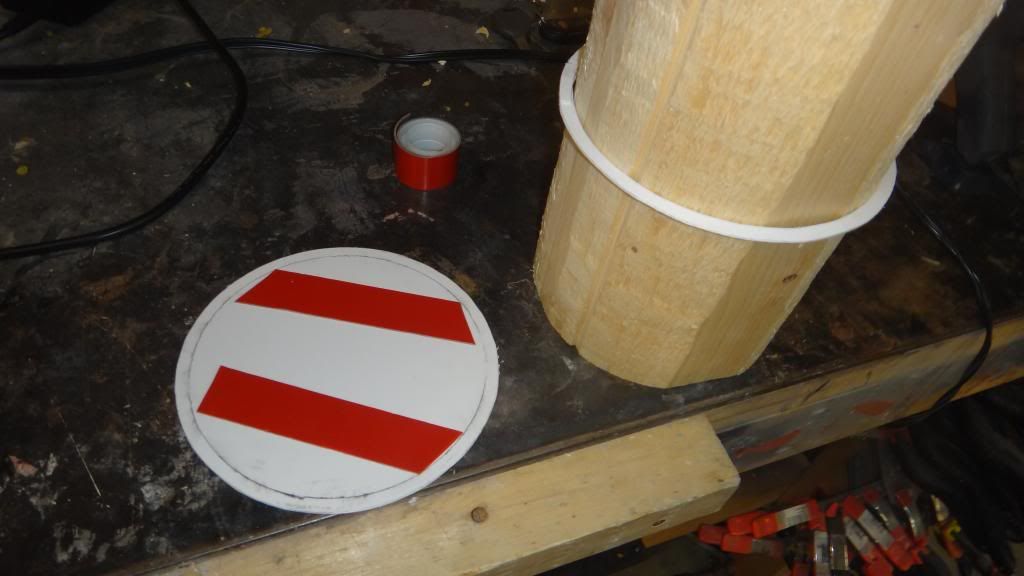
Styrene plastic guides are cut from sheet material. Cured Evercoat doesn�t stick to styrene sheet. I discovered this fact when working on the Seawolf Wide aperture arrays. One guide was made for the end of the cylinder and the other was a ring that could be moved to each section after the plastic (Evercoat) cures
Leave a comment:
-
Staying out of trouble? Far from it! I'm working on a new challenging project that has never been modeled before! It's an ordrer from somebody that he wants to market it as a kit and he wants to keep it secret 'till the release day!lol! I'm produsing the master and a set of moulds!Leave a comment:
-
Hey thanks, Yannis! What have you been up to..staying out of trouble, building anything these days?Leave a comment:
-
Good luck with your new project Joel, I'm sure that the result will be perfect!!!Leave a comment:
-
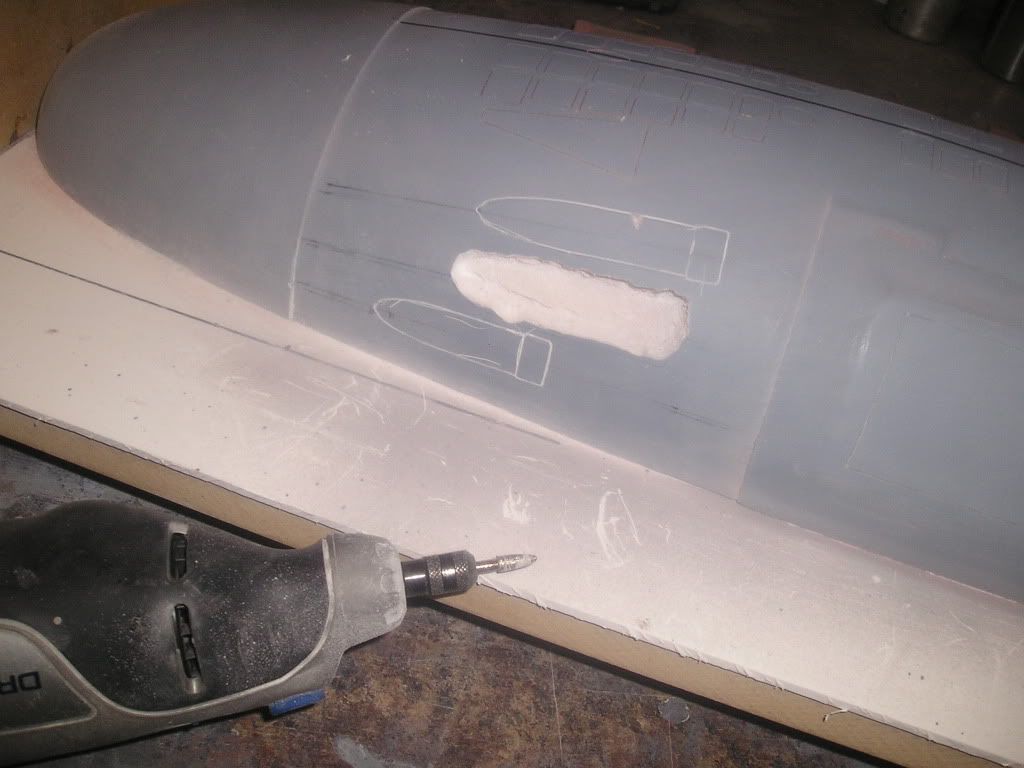
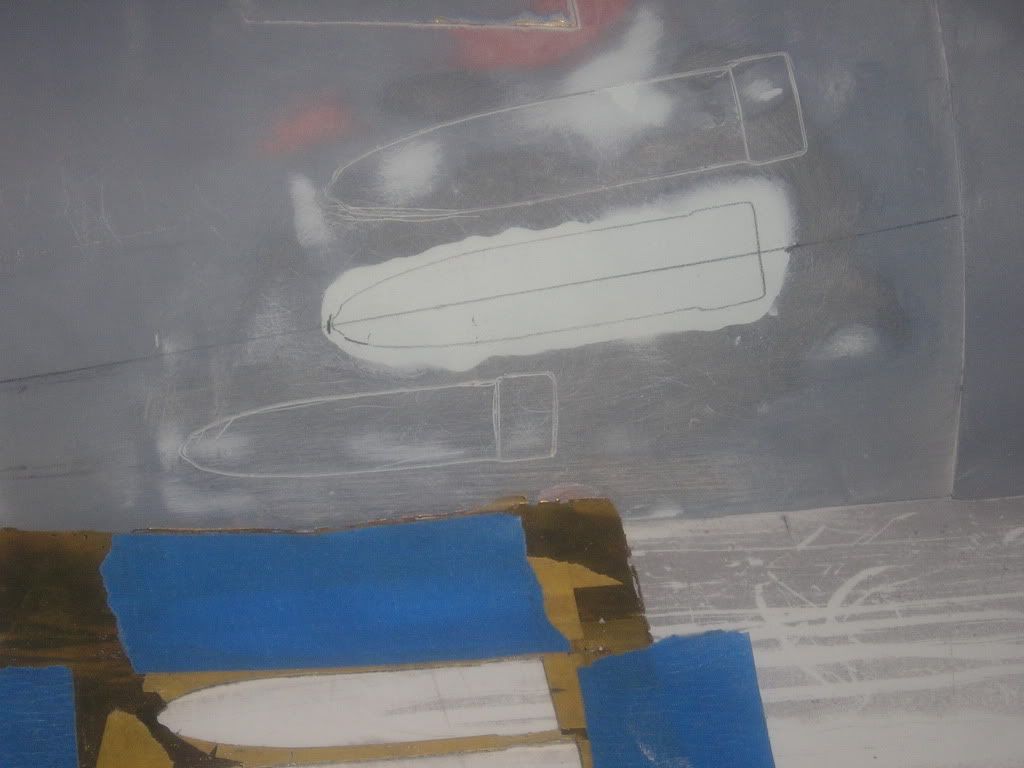
There seems to be a difference in the number and location of those holes between Astute and Ambush. Observe:Last edited by greenman407; 01-02-2013, 05:50 PM.Leave a comment:


Leave a comment: