-
Now, Now, David, calm down. Please no wrath or lightening bolts. I was not intending to put dope out there. Can someone run their Skipjack without the sail planes? Absolutely they can. Is it better performance with the sail planes? Absolutely. Just saying.... -
-
Now Im gonna watch more of the video. Who says nobody follows the instructions?Leave a comment:
-
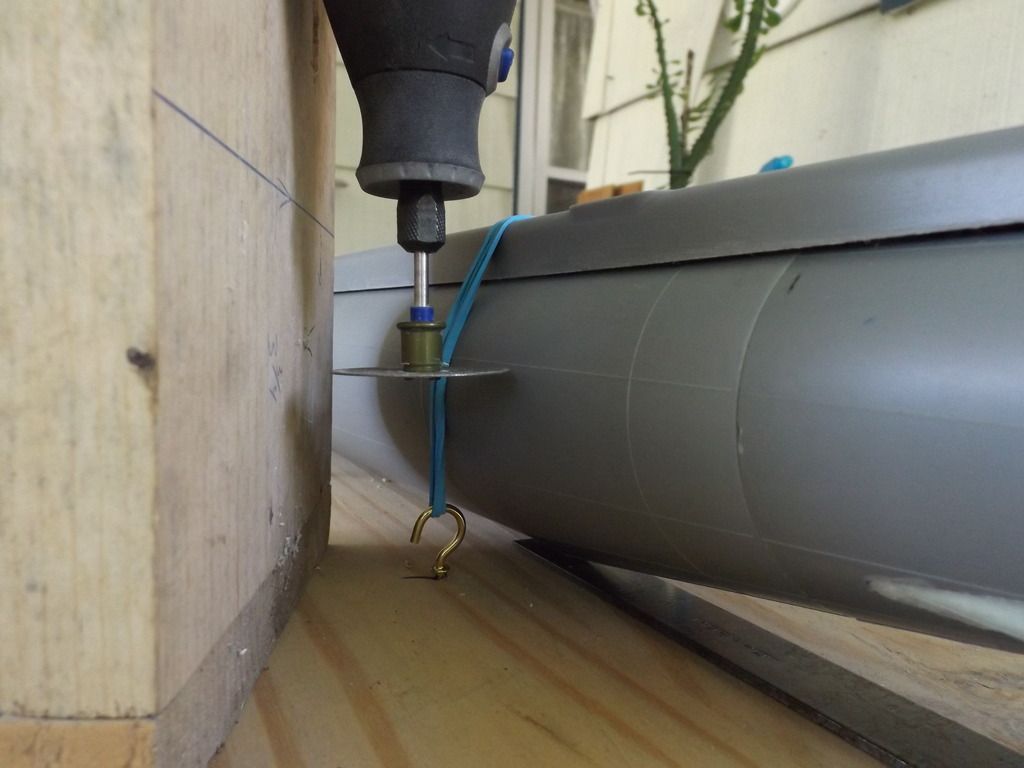
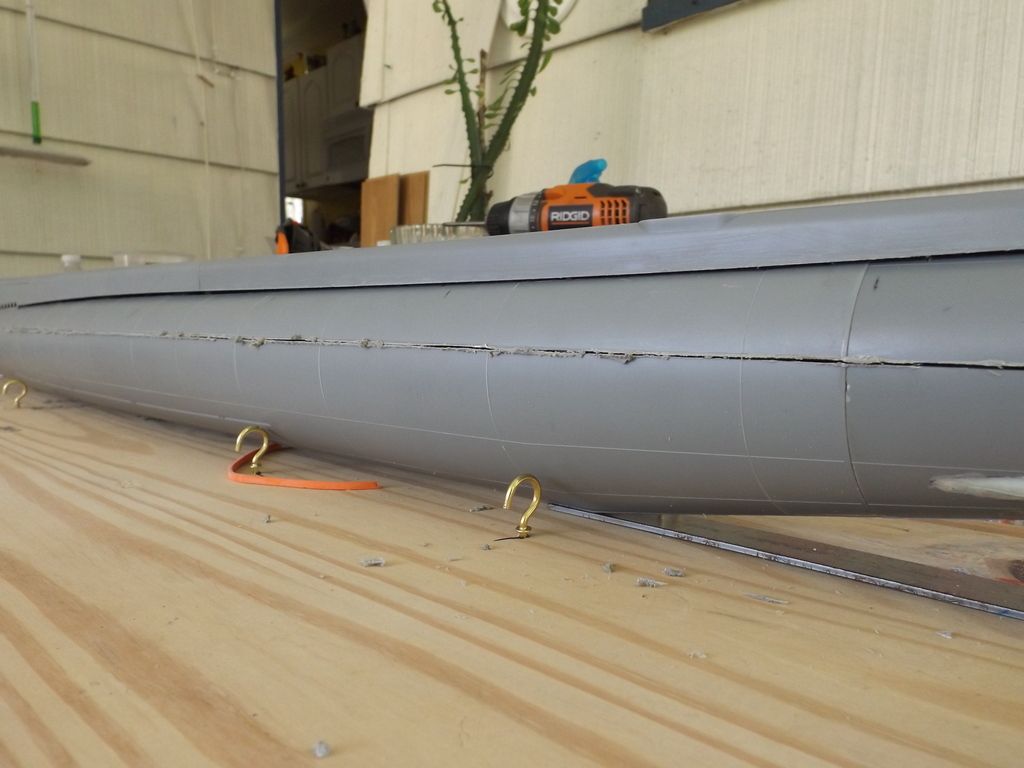
I know that the kerf and melted plastic makes you wonder but it all peeled of to reveal a nice straight line. Even if it didnt, its gonna be filled with Evercoat when the time comes.Leave a comment:
-
I love the smell of burning polystyrene in the morning. Just sayin.Leave a comment:
-
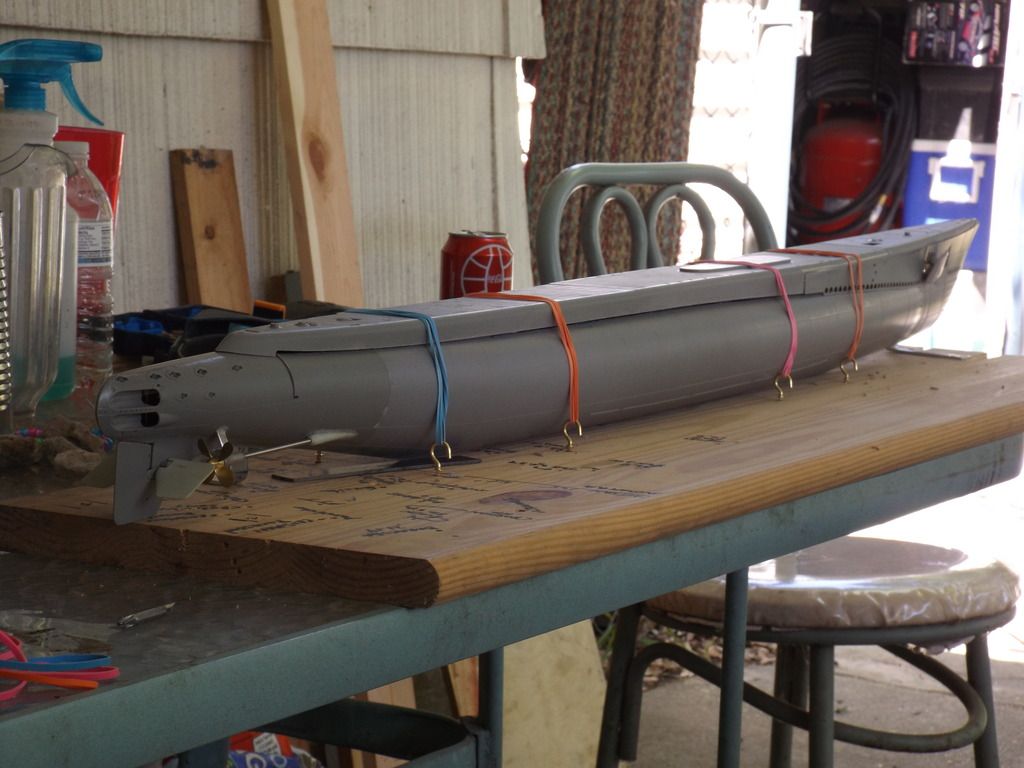
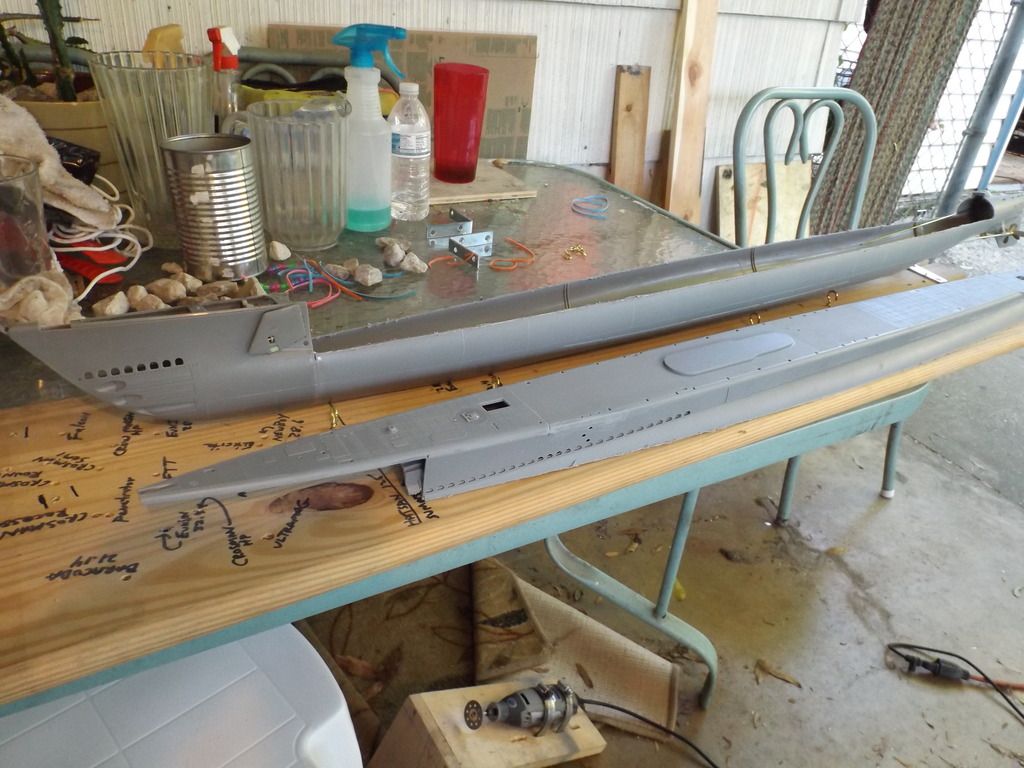
In order to continue on, I needed to set up my cutting board. The last time I used it was to split the hull on the Bronco type 23. Since the type 23s cut was much higher off the deck of the cutting board I had to modify my Dremel holding jig to get the blade down to proper height for this model. To get a level cut I had to shim the back of the sub up 1/8" Using a diamond blade and making about 6 or seven passes back and forth , we made it thru. Because my cutting board is only so wide, I had to cut one side and then spin the model around and setup again to cut the other side. With that operation done, I can clean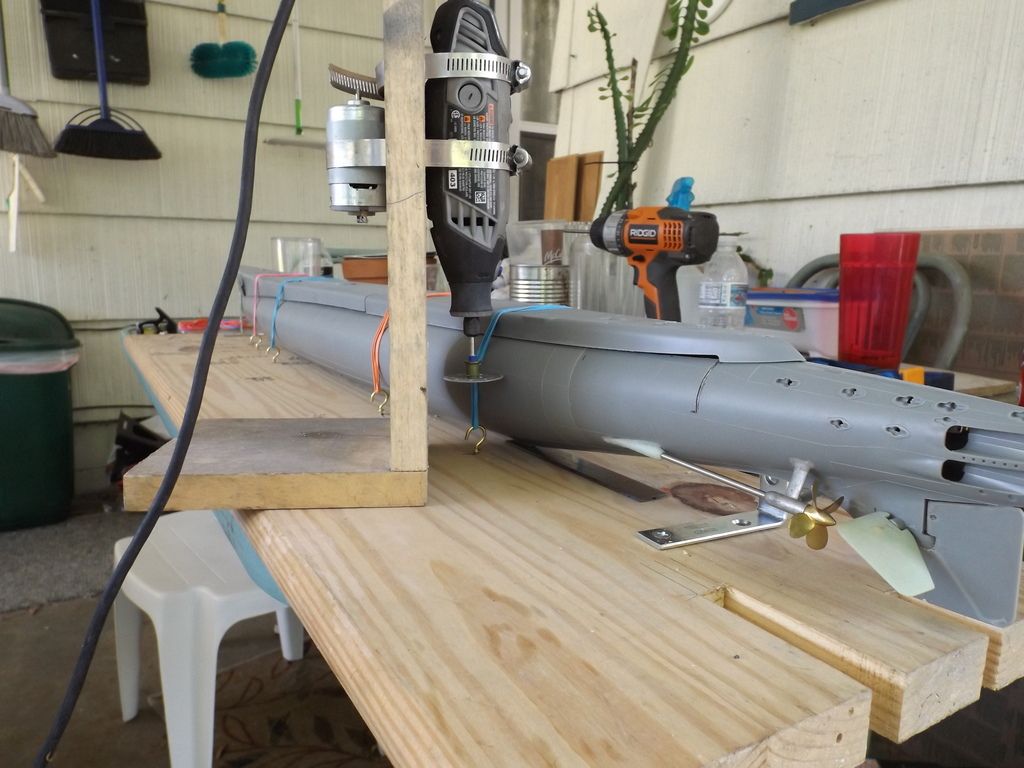
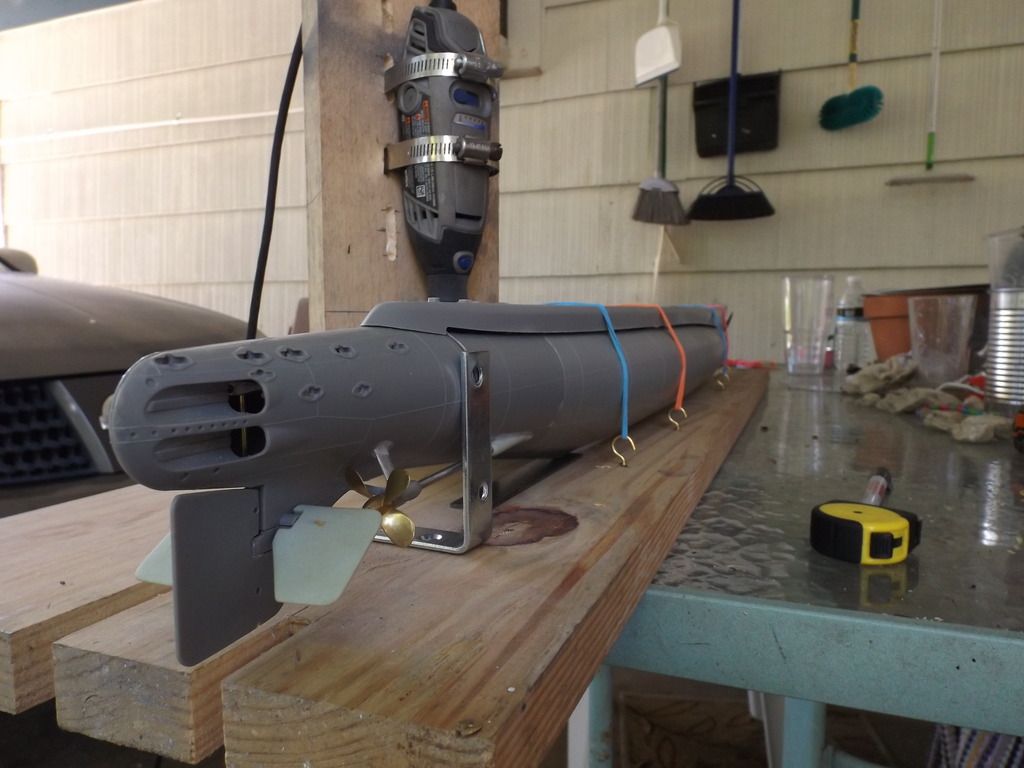
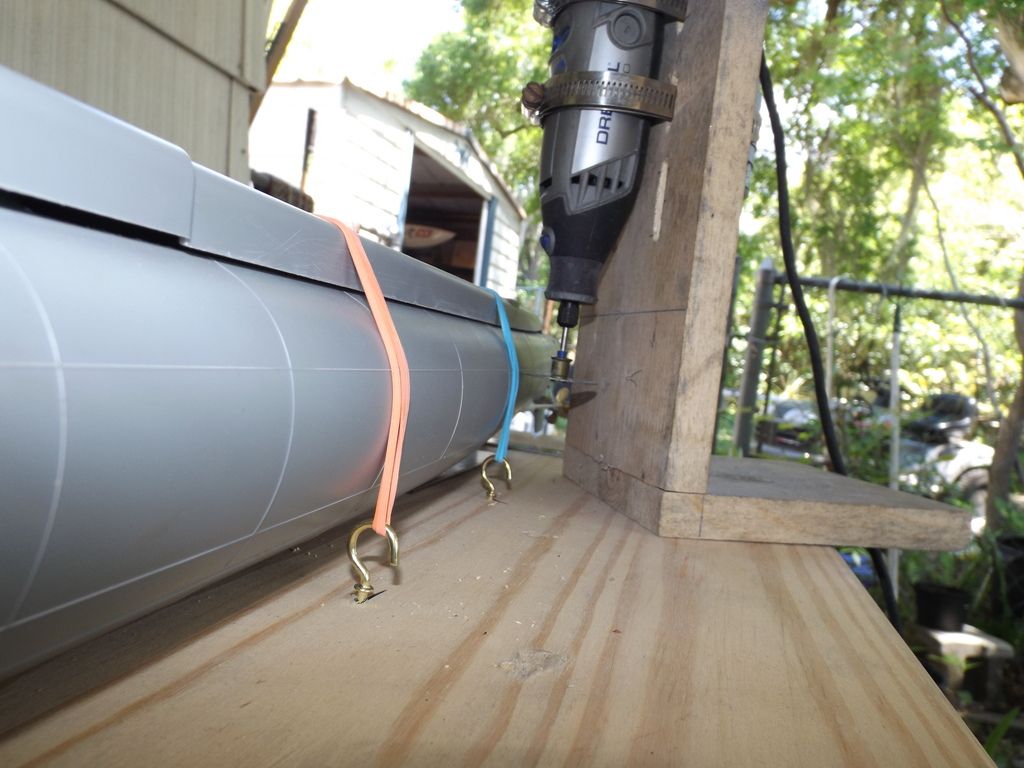 things up and move on.
Leave a comment:
-
Although we didnt make it to Clearwater, all was not lost. I did get some more done on the Gato. I made the recommended radial cuts fore and aft and am now working on getting the deck attached in preparation to split the hull. I made a wooden stand for it which is pretty important, because you need the sub to be held somewhat stable while you are working on it, instead of it falling all over the place.
Dave recommends using a thicker form of cohesive to put part of the deck on. Im kinda shy about using a thick gel type of cohesive because the last time I did that it ate its way all the way thru and created additional problems. So I had to look for alternatives.

Leave a comment:
-
I got both the stern and the bow glued on today. Before I glued the bow in place, I made sure that I made the cuts just to the inside of it, that were to be made after the bow was glued in place, that way it would be easier. I also prepared the prop shaft bearing area before I glued the stern on because of better access before it is buttoned up. Just trying to use my head...........DUH!Leave a comment:
-
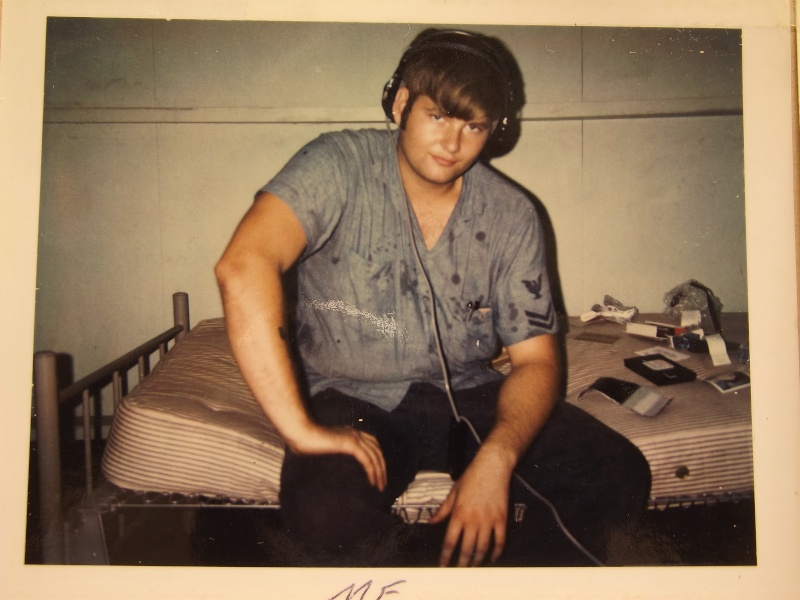
We called it the Marine shower. Duct tape a Riteguard can to the locker door and stand under it, push the button . Top it off with a healthy douche of Old Spice on the civilian shirt, good to go.Leave a comment:
-
DO NOT EVOKE MY WRATH!!!!.......
(crack of thunder)
Back then our idea of personal hygiene was fresh boxers and Rite-Guard deoderant: empty the contents within the pits, jump into civies, and hit the gate.
I was young, dumb, cocky, and good looking. What could possibly go wrong? (Lost a tooth over there). The Boat Bar on Duval St. was my home-away-from- home?
MLeave a comment:
-
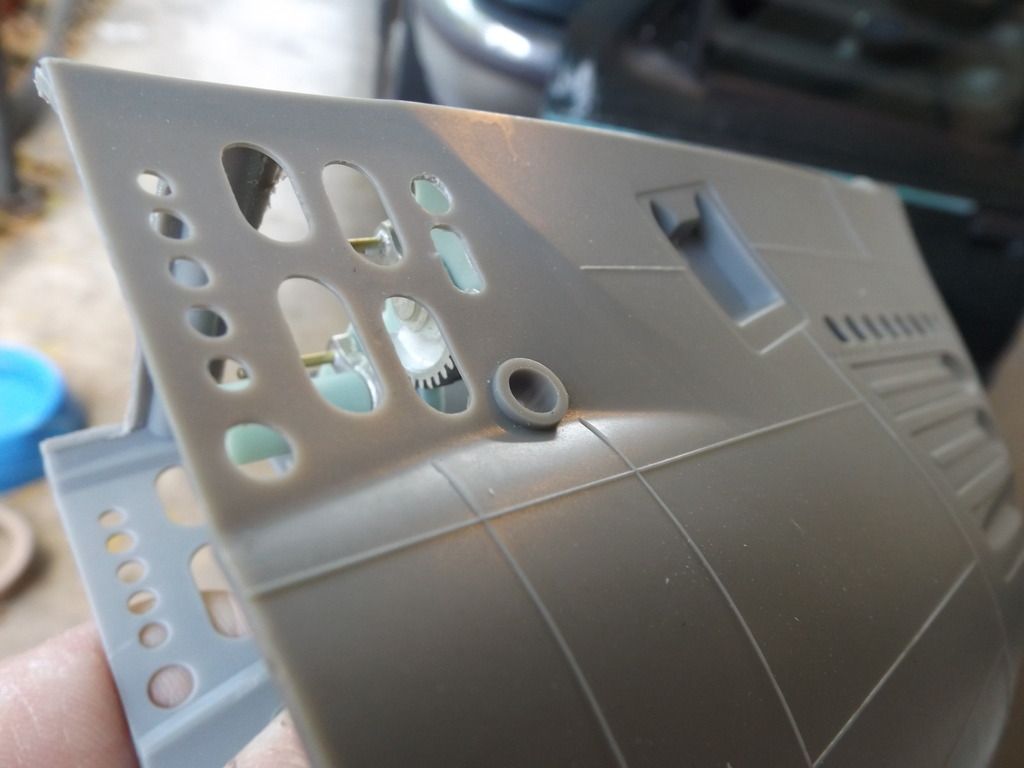
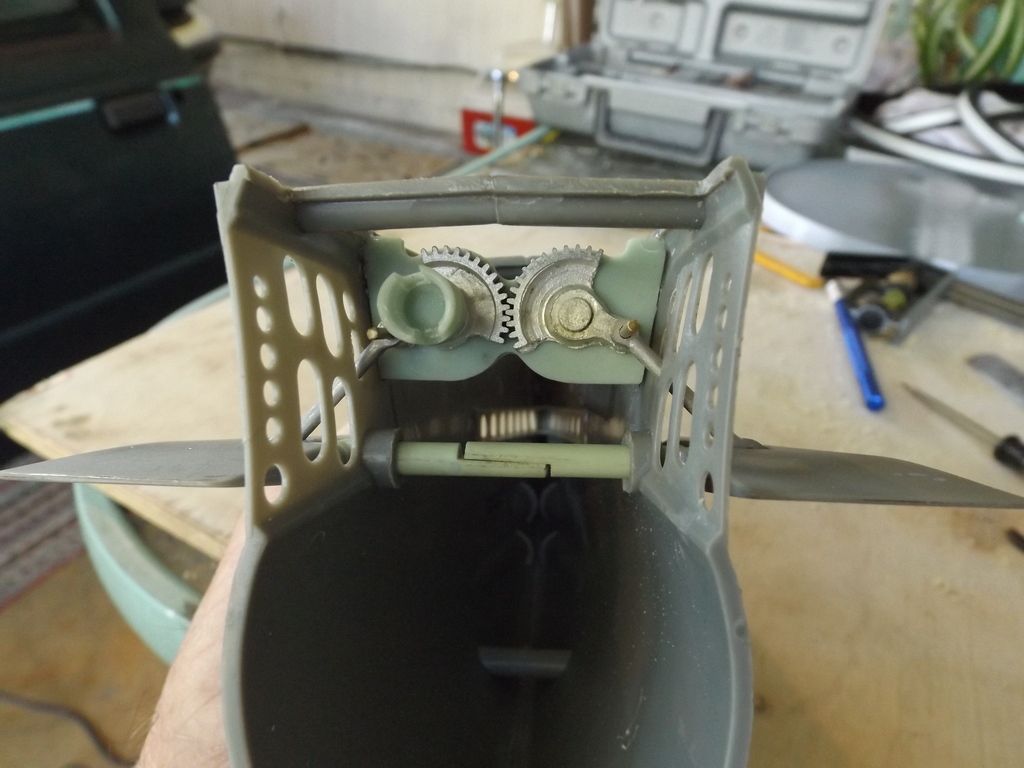
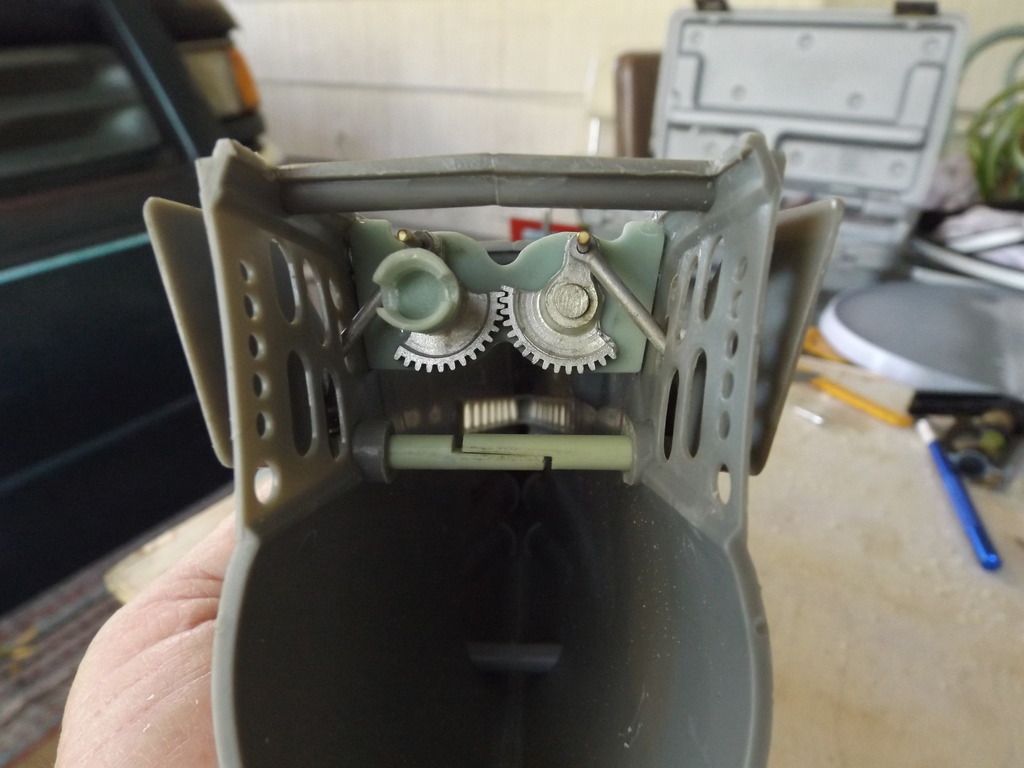
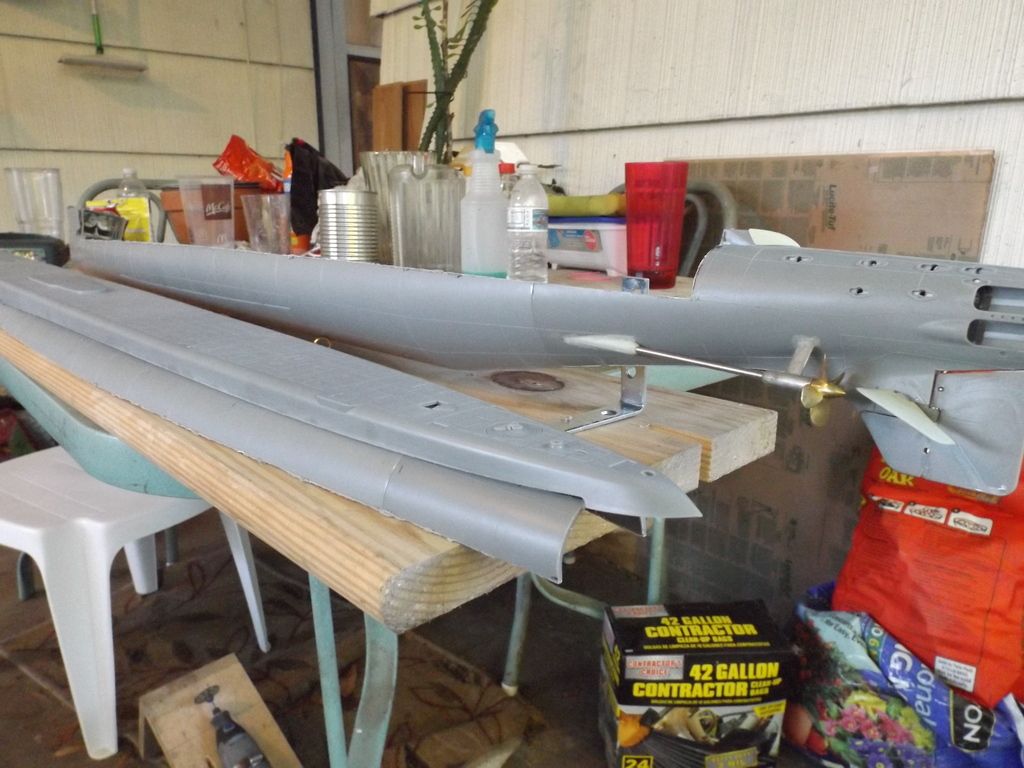
I noticed that the kit supplied bow plane axle and knuckle are perpendicular to each other, as you would naturally expect them to be. In the instructional videos Dave shows them being used, so you have to drill it out to take a rod thru it. Then to my surprise, I suddenly realized that the fittings kit comes with a set of green ones. Then I notice that the green ones are not perpendicular as the kit supplied ones are. Knowing Dave, there has to be a reason. Dave tells me that thru much trial and error, that angle helps the planes conform better to the hulls shape in the retacted position. One of the pictures you will see displayed here now is a closeup of the hull at the bow planes position. In it you can see how the hull is recessed in to some extent so the bow planes can nest up close to the skin. Anyway here is a few pictures of the latest progress.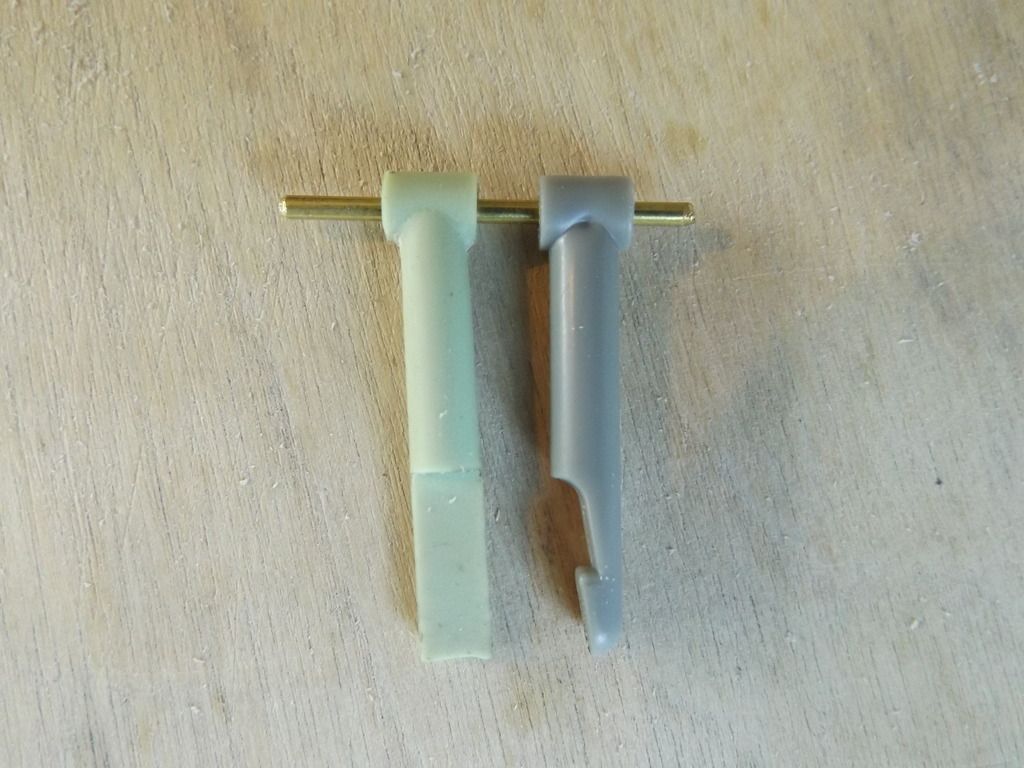
Leave a comment:
-
Looks like He was a character back then too. OH!................................Leave a comment:
-
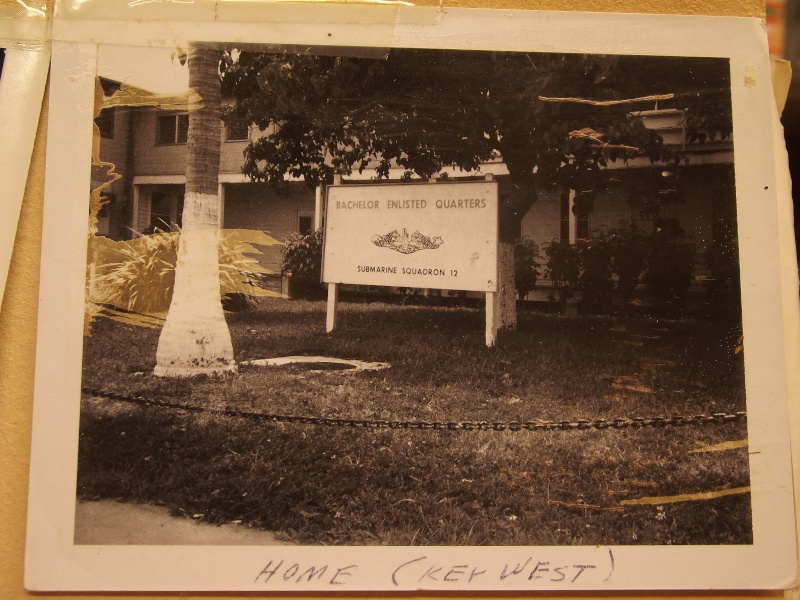
Naw, I'm taking the picture from the pier -- me and some other guys were left to tend the mooring lines to keep the TRUTTA centered between the piers as she went up and down. UDT students would take turns locking in and out of the forward room. Noet the double 72's lashed to the leading edge of the sail -- they had to breath hold from the lock to the sail. Most boats in the squadron were dragooned into this work -- the UDT school was right there and they wanted practical experience for the students when it came time to train on submarine in-and-out op's.
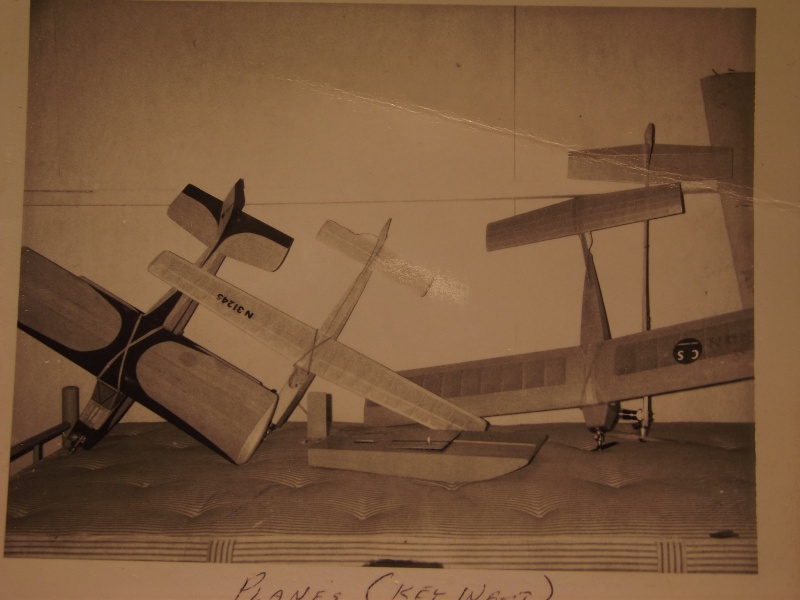
No room for model-making on the boat. I did that in the barracks (Qualified guys only slept on the boat if we had duty or were underway):
Leave a comment:
-
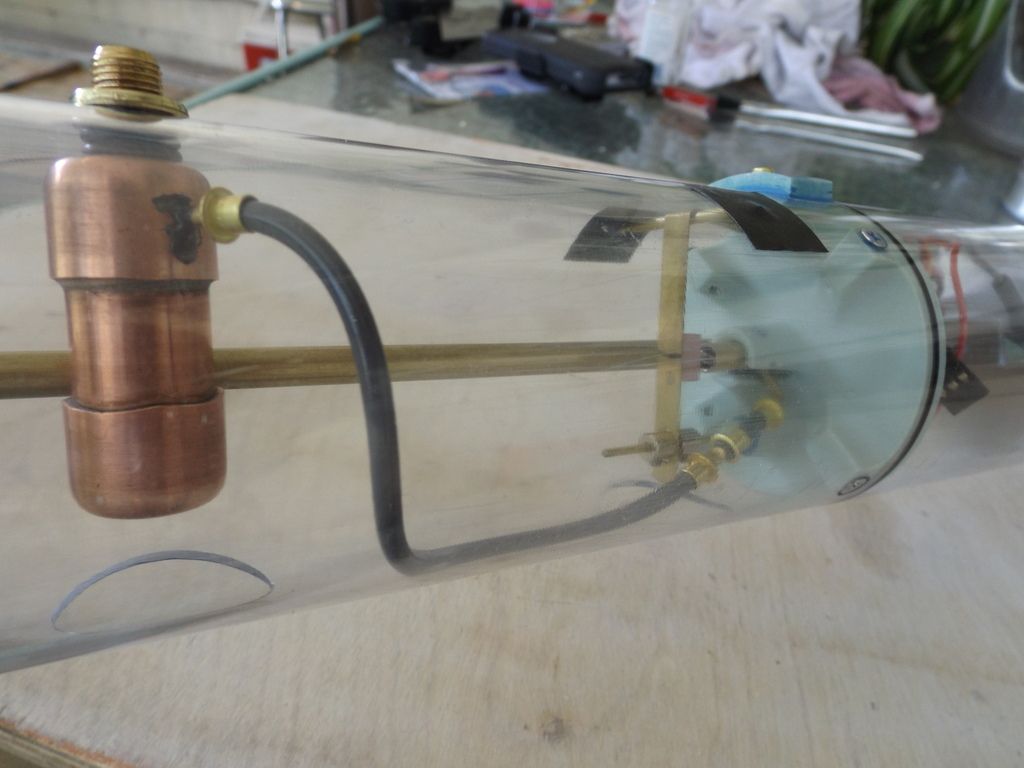
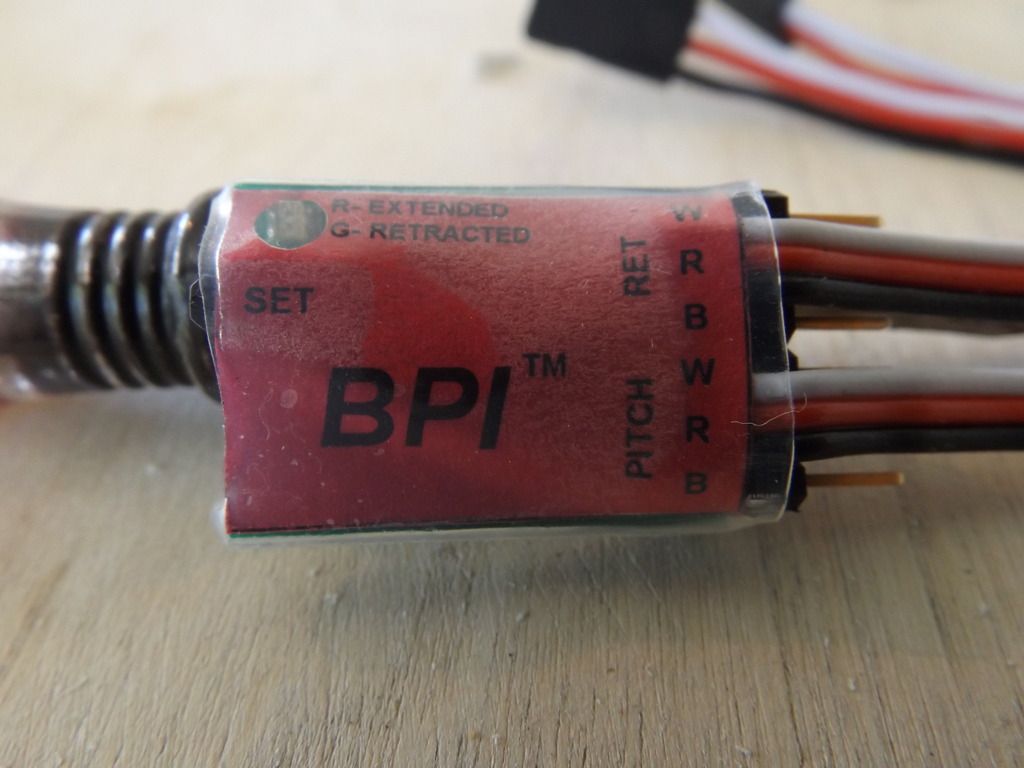
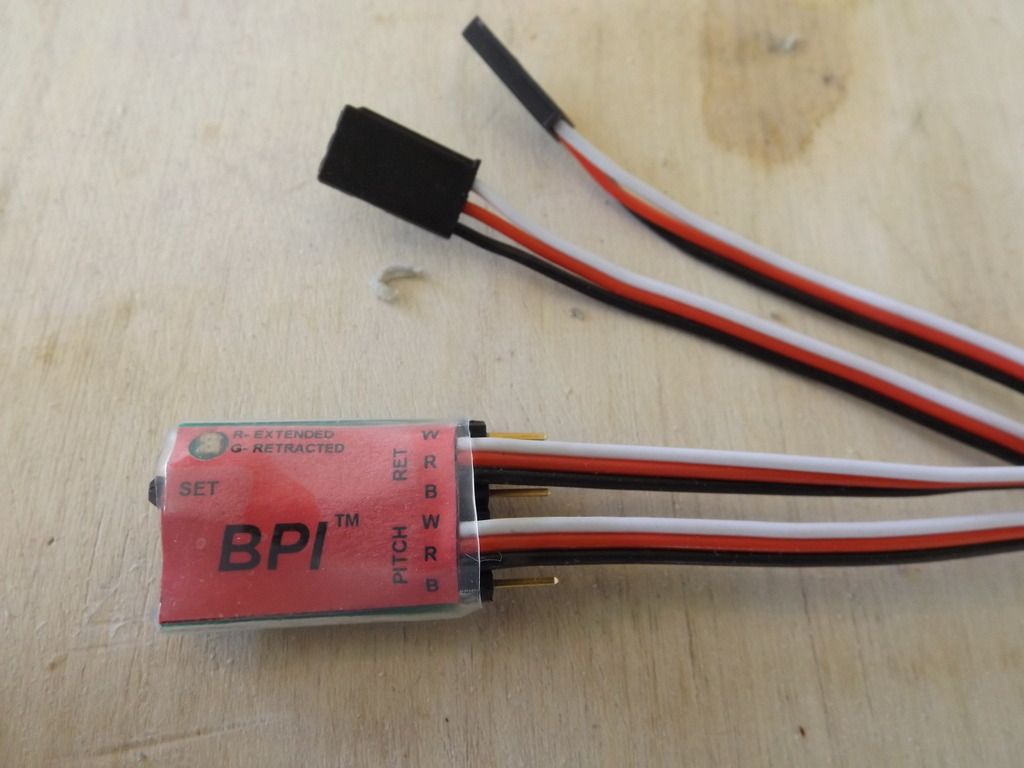
You have seen this Subdriver before. Its the one I purchased for the Gato several months back. Notice a new addition to it. Its Daves gas ballast backup. Note the propel reservoir and associated admission valve. Note also the huge ballast tank. Also rendered here is Kevin Mcleods bow plane interlock gizmo. Pretty Cool
Leave a comment:

 At least ten characters. OK , now are you satisfied?
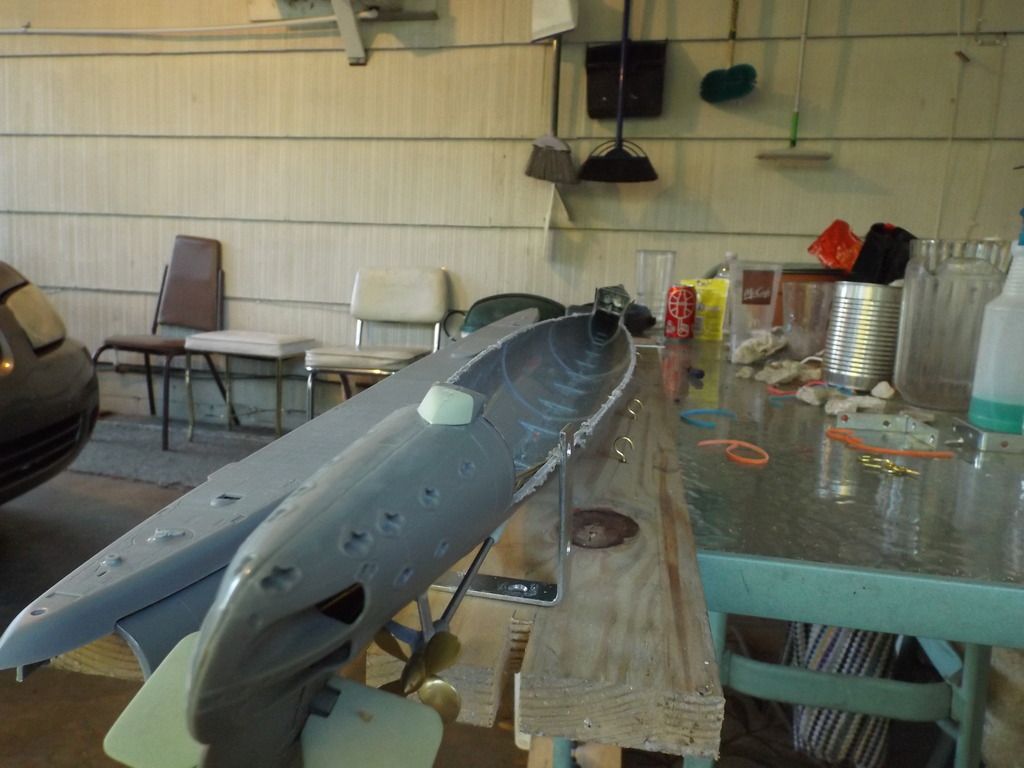
Leave a comment: