Dan
The previous competition was a lot of work to organise and administer, so we decided to put everything under one umbrella and simply give out several substantial prizes for 1st, 2nd and 3rd places.
BUT - what do you folks think? I can change it if everyone prefers it.
-
Mike & David,
When I entered last year's competition it was in a category - in my case, "Use of SNORT." What I don't see this year, so far, at least, is various categories like 1) Purchased from Caswell, 2) SNORT, 3) homemade WTC...etc. Is this because, this year, there are no categories or you just haven't defined them yet, or ...?
Perspiring minds want to know,
DanLeave a comment:
-
1:72 Requin (SS-481)
Guess its about time that I reach deep into the stash & dust off a couple boxes that I've been sitting on for the past 2 years.
Give me a few days & I'll start a build thread on USS Requin (SS-481).
Leave a comment:
-
Sorry Mike, my bad. If anyone is interested you can now follow along with my folly under it own banner.Leave a comment:
-
Oztruck
If this is your competition entry, you have it all mixed up in the 'hints for competition' thread.
Start a new thread and post this stuff there please.Leave a comment:
-
On with the build. The quality of the plastic and the fit of parts in this huge kit is very good. The hull has quite thick plastic and is supplied in 4 pieces. The instructions only tell you how to build the Lindberg "THING" and as such are not much use other than a basic guide on how it is assembled.
The first thing I did was join all the hull parts together to see what I had to work with. It was big, gray, and if I closed one eye and squinted with the other one I could just see a real boat hiding in there. While it was sitting there I went from the bow to the Stern and made a list of thing that needed to be adjusted and there was a lot of them.
The first thing that needed adjusting to convert this thing into RC was the control surfaces, then the drive shafts and last but not least the pointy bit at the front of the boat.
I started with the easy bit first. the prop shafts. I used 1/8 brass rod for the shafts and 1/8+ id brass K&S tube for the bearings through the hull and in the skegs. Using the kit parts of the rear dive planes a few photos and the kit prop shafts I was able to line up and drill the holes and install the tubes with little or no problems.
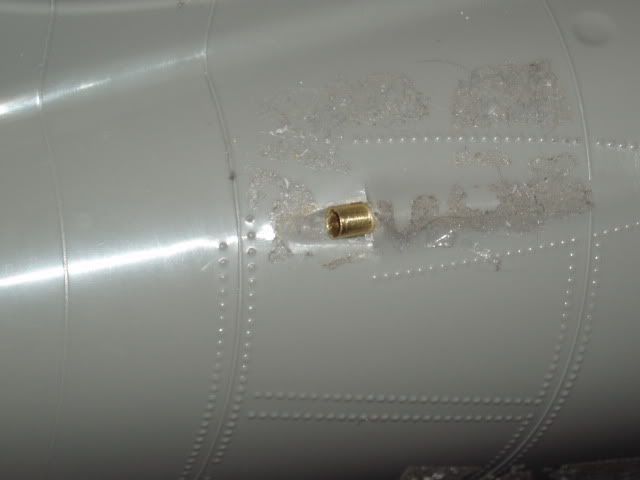
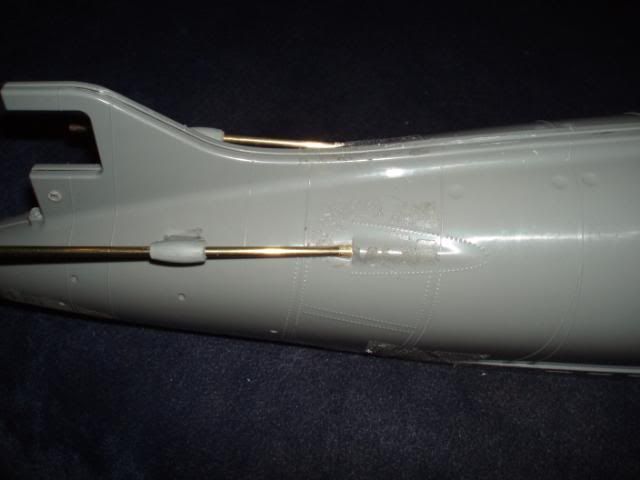
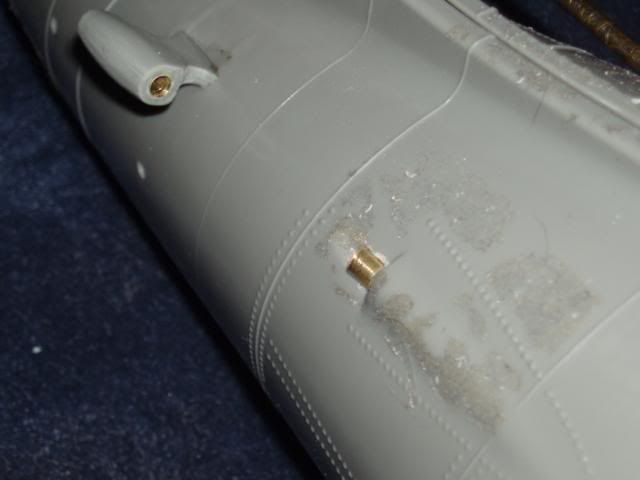
So far so goodLeave a comment:
-
-
I dont know what a Sky Diver is. Im surprised Dave goes in for some fantasy stuff, you wouldent think he would huh... lol
You should make that plane on tracks, so it comes out of its hangar and wings unfold and vice versa with the flick of a switch. That would be neat!Leave a comment:
-
Don't listen to him Rick, Go with what you want, a sub with a airplane on it, or a 2 man sub or half a dozen manned torpedo's and this thing was real and active over 60 years ago. It has everything, a big gun, a little gun and if you want an airplane, you can even have 6 torpedo tubes to play with. You don't need a DKY-SIVER or what ever it is called.Leave a comment:
-
OK, let's do the SKY-DIVER. It's on my personal rotation and I have damned good documentation -- bases on an actual effects miniatures a very kind person from the UK sent me.
Want a piece of that, Rick?
David,Leave a comment:
-
See what we have to deal with here guys! He's like a kid in a candy shop! OOOOOOHHHH! MOMMY! I want one of those - and one of those and please Mommy, can I have one of those too?
Just get back to work and stop it! Finish that damned Skipjack! Everyone else wants one of those!Leave a comment:
-
Stop this, right now, Oztruck!
I'm getting the urge to finish that bow modification.
David,Leave a comment:
-
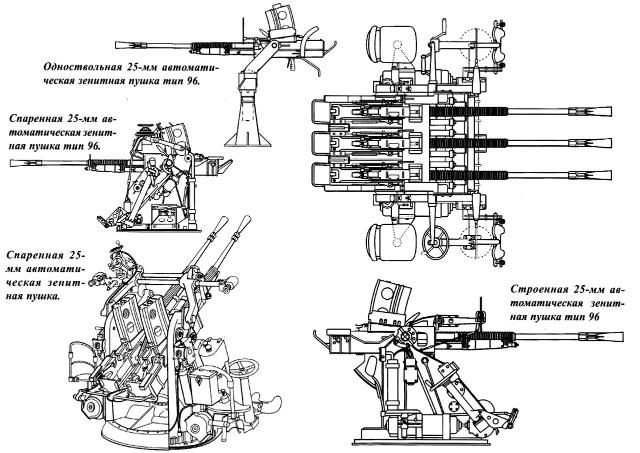
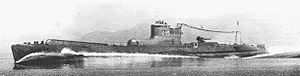
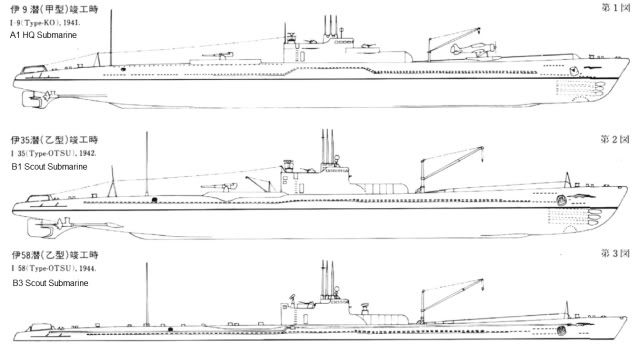
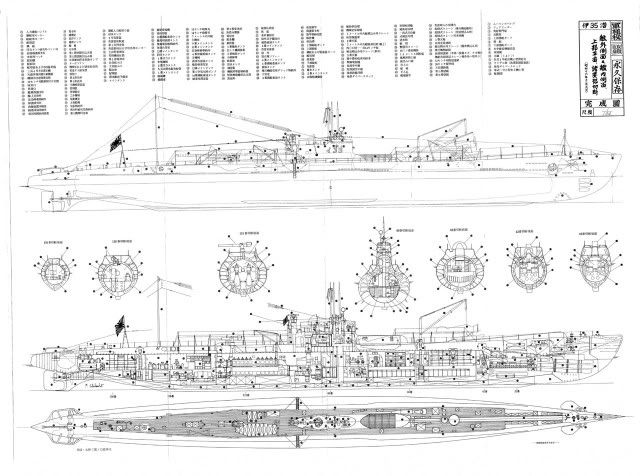
Here is some of the information I am using as a guide for this build. Looks like it is going to be a fun build.
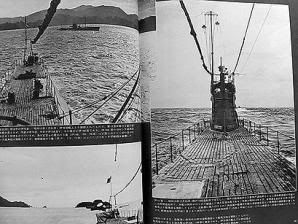
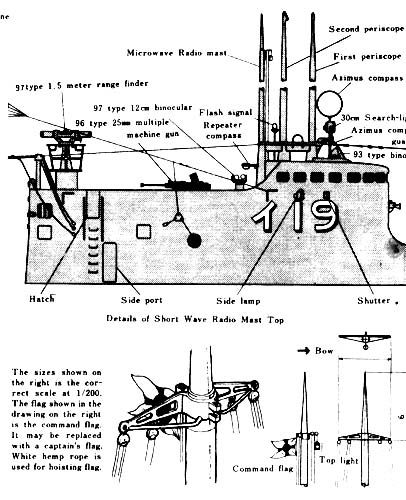
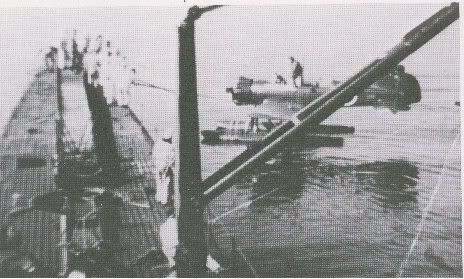
NOW where did I put my dermal?Leave a comment:

Leave a comment: