-
Today I painted the white stripe on the other side and installed the Bow and stern plane protector fins. I can tell you right now for any of you who plan to re-create this paint scheme, that 3/16" is too wide. I didnt realize that until I saw it on the models port side after I removed the masking tape. OH WELL! Such is life. Im not going to repaint them..................at least I dont think I am. Too many other Irons in the fire.Leave a comment:
-
Today I continued with the painting. Using precut widths of masking tape, I used them to set the width of the white diagonal line I needed to paint. 3/16" suited me as 1/4" seemed too wide. Yesterday I painted some dark Grey. I was having trouble getting the airbrush to spray. Everything was clean and open but it turned out that the low temperatures had thickened up the paint I was using(rustoleum) and I didnt have any thinner for it. So I turned up the pressure to 45 lbs. And opened up the flow to get it to spray. It came out well.I need to paint the white line on the starboard side, glue in the planes protecting fins on the four corners, mount the walk boards and spray on some clear flat finish and we are done.Leave a comment:
-
I dont like losing propellors. As you know , Ive lost a few. So, to that end I started sticking a drill bit in the set screw hole to put a mark on the shaft. Then pulling the prop shaft out, I drill out that mark until the set screw will go into the hole. Then after you put it together, some blue loctite will do the rest.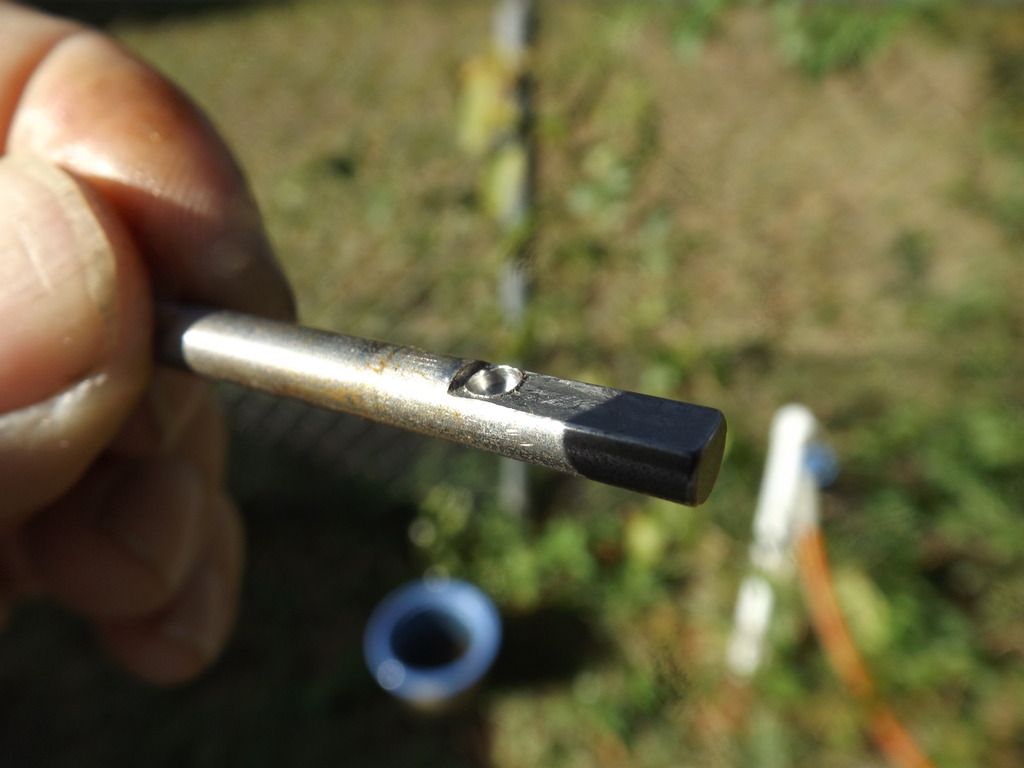
Leave a comment:
-
Thank You Sir! You ARE a Scholar And a Gentlemen......all rolled up into one!Leave a comment:
-
Sometimes he's crawling around on my Ko Hyoteki thread, peppering me with usefull historical information,
This one is for you Mark, a rare picture from the XXIII scope and snorkel, you can see it's reaching into heaven, just like the snorkelmast, on my model i left them shorter due to the use of the 2,5 SD
Manfred.Leave a comment:
-
-
Sure enough. If youll recall, earlier in this build thread, I had this boat in the water several times in Clearwater, at Duck lake. I got it all sorted out there. The handling was nice straight and consistant. I didnt have any problems once I got the Thor adjustable APC dialed in. Well since then the Thor APC started doing its jittering thing on its own. I CANT STAND THAT! So into the trash it went. The occasion of my previous testing is found in this particular thread on page 12Last edited by greenman407; 01-18-2016, 11:48 AM.Leave a comment:
-
Looking good, Mark. I want to see if you have the same 'dive-of-death' issue with this model that I had with mine. I expect a full report soon!
Yes, Kevin McLeon's electronic devices are the way to go in this hobby. Love his stuff!
MLeave a comment:
-
Nice work Mark, you''re getting there, as for the scope, the lenght had to be that long because of the schnorkelmast, with the scope you just can see over the schnorkelhead, during underwater travel they tend to go up and down, in real live there was a kind of mechanical levelkeeper onboard, it wasn't that accurate, so the boat went up and down within a few meters, when your scope is too short, the conningtower will break through the surface, a captains nightmare.
Correct me if i'm wrong, but the germans used 7 or 9 meter long peroscopes, depending on which boat, on my type VII they are 9 meters long.
Manfred.Leave a comment:
-
Im looking at the height of this scope and am saying to myself. Its way too high. Then it occurred to me that this is a little submarine, as evidenced by the large diameter of the scope mast. So I guess it looks ok. I wonder if the Bronco people are going to come out with another large submarine? I hate those little 1/400 models that have flooded the market.Leave a comment:
-
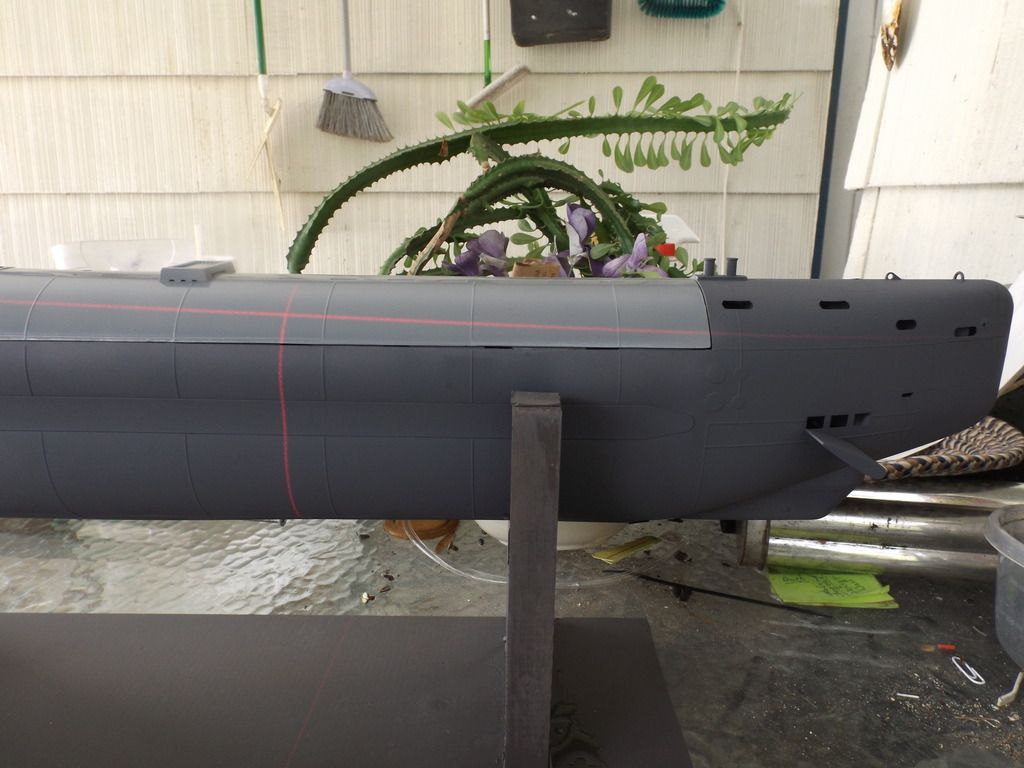
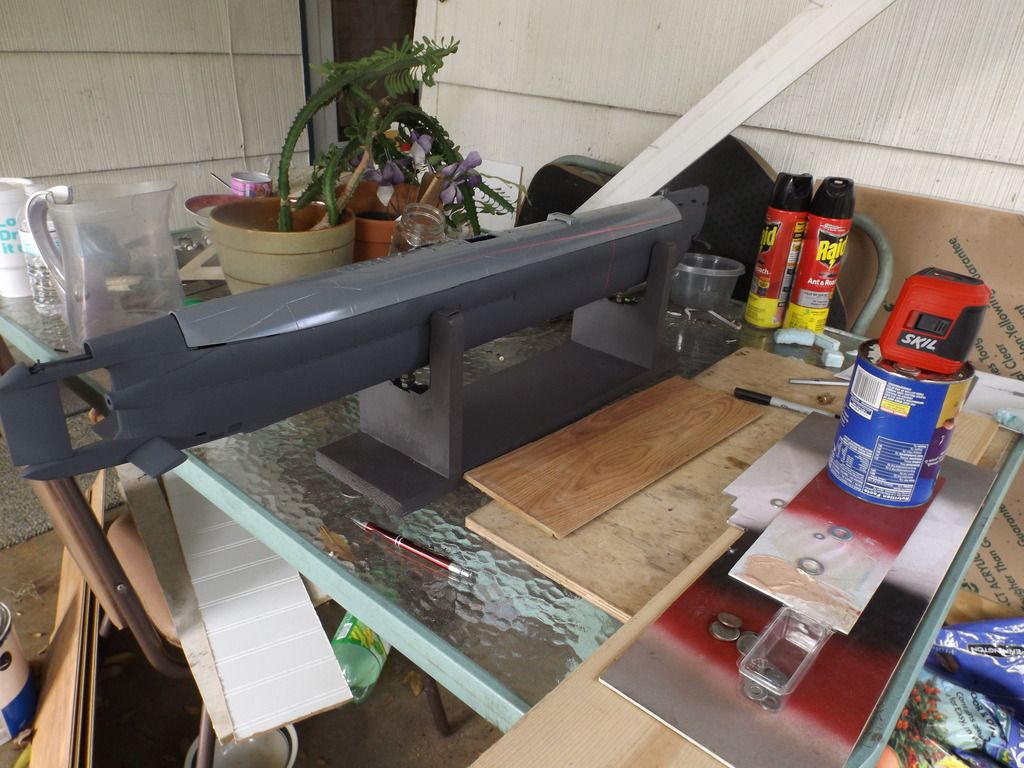
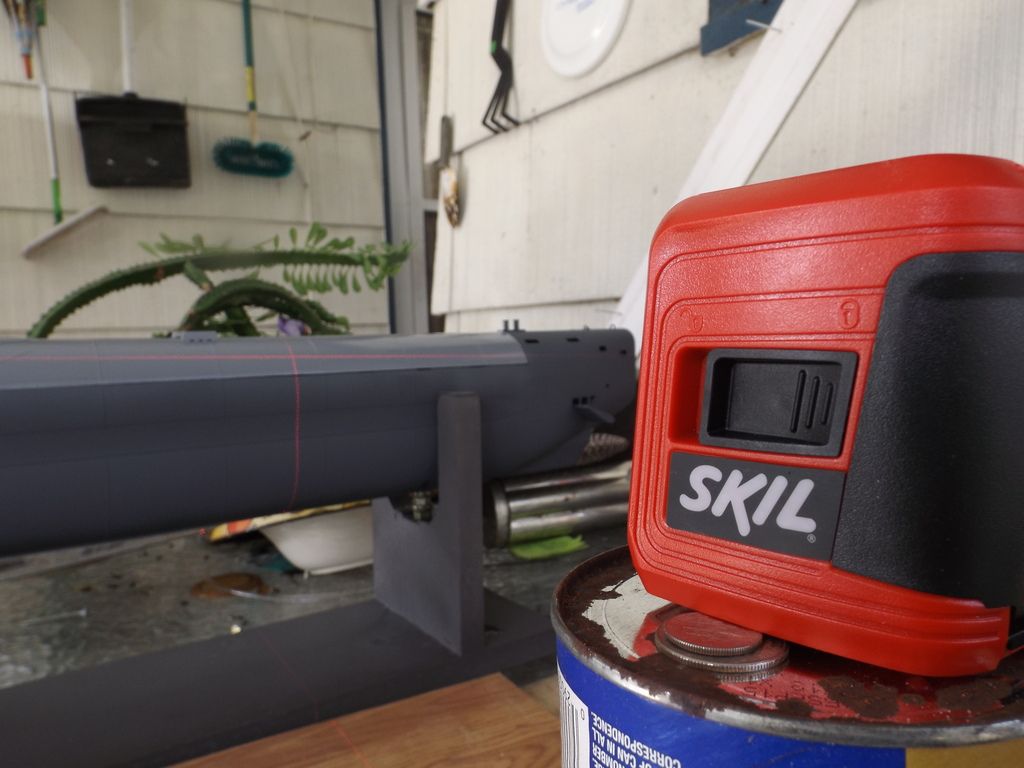
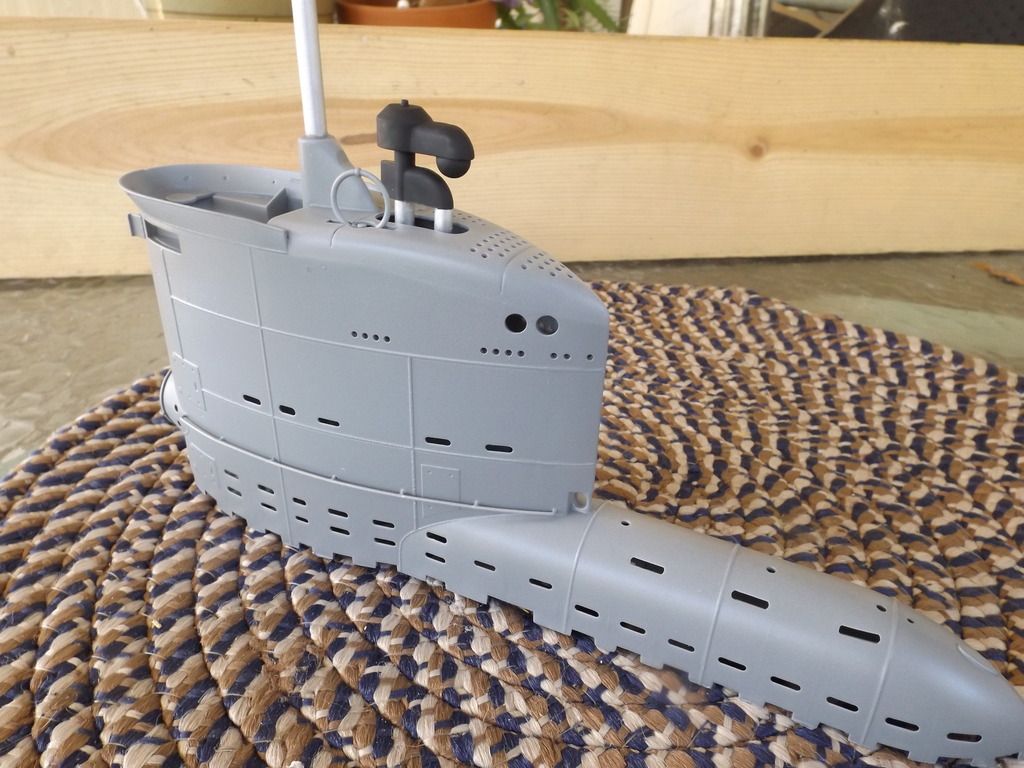
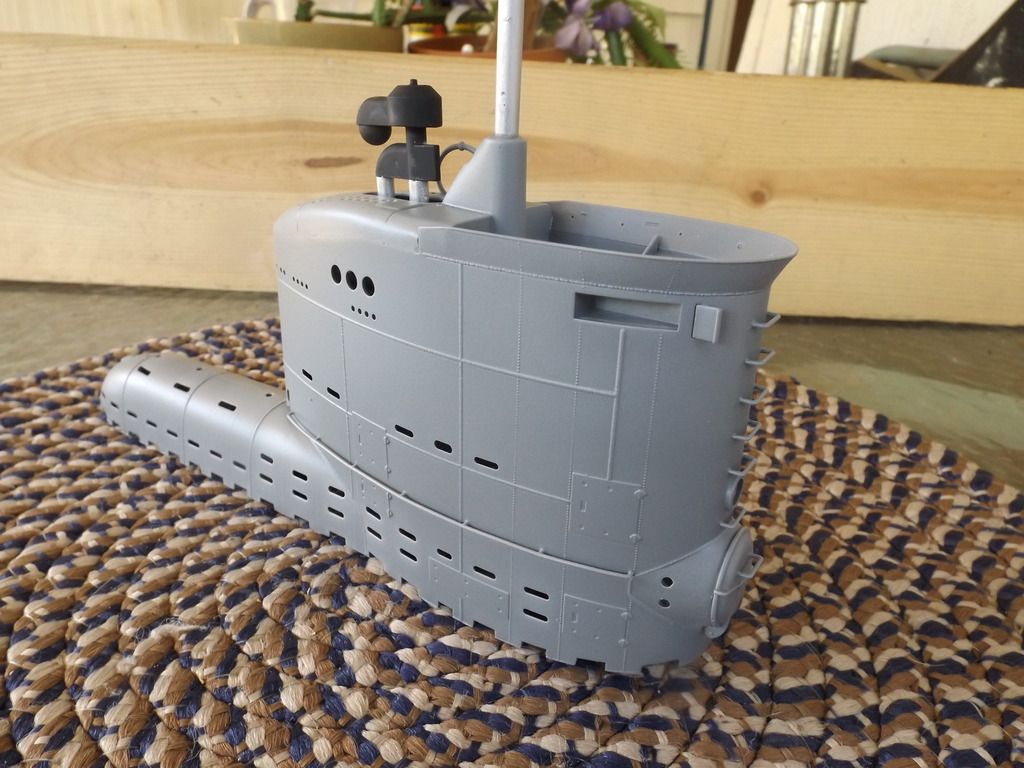
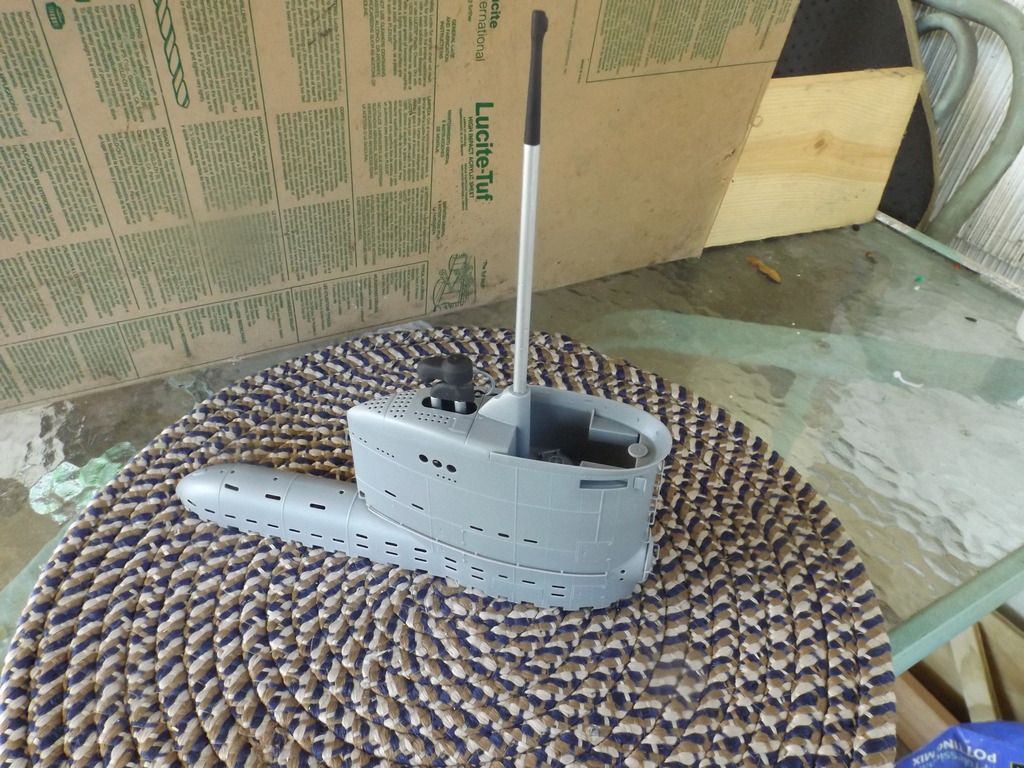
Using an inexpensive laser level, I established the angled white line and placed some marks on the hull to tape too. The line is also the seperation between the dark grey and the light grey. I also finished the sail with its masts. The painting operation continues. Originally, I had installed an APC purchased from the (other guys). It didnt work so well. So I purchased an ADF2 from Caswell and put it in its place. WORKS PERFECT! Thanks Kevin Mcleod.
Leave a comment:
-
Looks like tomorrow was last year. I did get some Dark Grey on the bottom hull. I had to make it, blending light grey with a dark grey(which was too dark) to achieve the desired color. I spent a lot of time filing and sanding all the seams which for some reason seemed to have a slight mismatch, even though I put the pin in the hole during assm. Also, to my embarrassment, something got on the hull in storage, that melted the Evercoat and ran down the side. It didnt hurt the plastic, but whatever it was didnt like the body filler. It smelled like Turpentine or something like that. So I had to reapply evercoat to address what was melted. I got a good primer coat on and the paint came out very well. I still have to tape off and paint the white stripes and then put on some clear flat. Keep in Touch.Leave a comment:
-
Today I was able to devote a few hours to it. Scuff sanding the whole thing as well as working on a few problem areas. I hope to get some paint on the bottom hull tomorrow.Leave a comment:
-
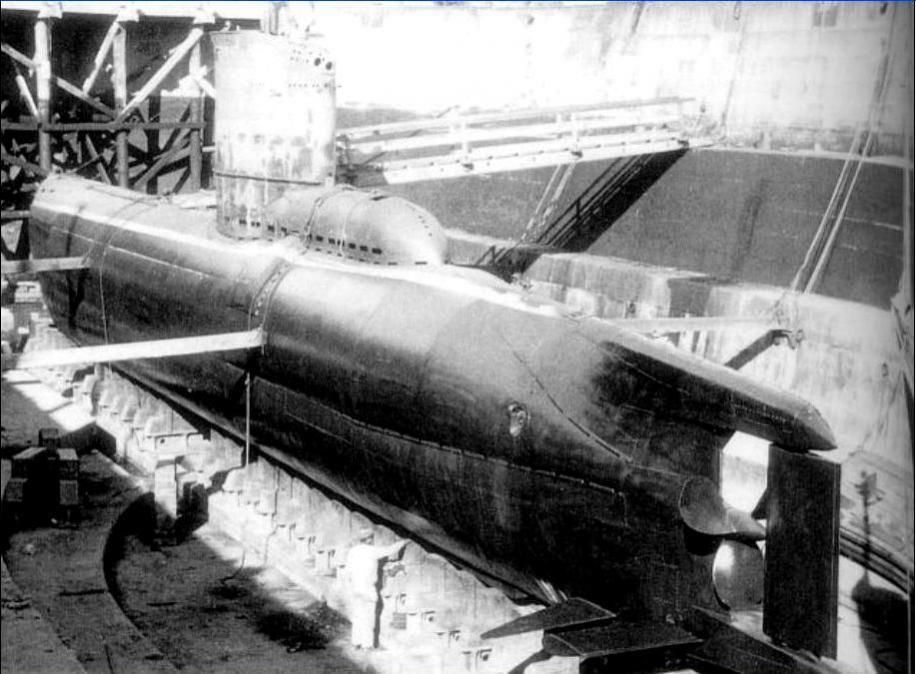
This is what we are shooting for. Below the white line is dark grey. Above the white line is light grey.
Leave a comment:

Leave a comment: