-
Hi Mark those pictures are awesome! I know the builder on this thread personally, I'll have a talk with him to see what the holdup is lolLeave a comment:
-
Its been awhile on this thread with no further posts, so I thought I would add more pictures. Maybe they will spark a resurgence of activity.
Leave a comment:
-
When i was at high school it was called "metal work". I had the advantage that my Dad at that time owned a small jig and tool making company. Saturday mornings i would go with him, and visit the model shop which was a short walk away, buy something then sit in his office pouring over the parts until he had finished up. Sunday mornings there was no one working in the shop, so i would take my school projects in and work on them. The place had no guards on the machinery, and there would usually be only me there while my dad sorted his work stuff out, health and safety would have a field day. unsupervised 13 year old using unguarded machinery :)Leave a comment:
-
Thanks John,
Here in Canada, it is also officially referred to as Industrial arts. I wished they ditched the "arts" part of the term though. It doesn't accurately describe what they're doing and I don't like the association between the word and those who nowadays have declared full ownership and monopoly over the word and its works. They should call it "Industrial practical skills", or "industrial useful abilities" or something of the like...
JoelLeave a comment:
-
Lathe copy tool David, or Astute sub?
The latter as far as I am concerned will be a collector's item.
Joel,
I love these posts - candid and informing. I must say I've never ventured down to the route of getting my own lathe, although I do fondly remember my industrial arts teacher (US equivalent probably "shop teacher") at high school providing great instruction on using one. Probably one of the more enjoyable lessons from school.
JLeave a comment:
-
-
Astute Chapter 4
Pressure hull continued
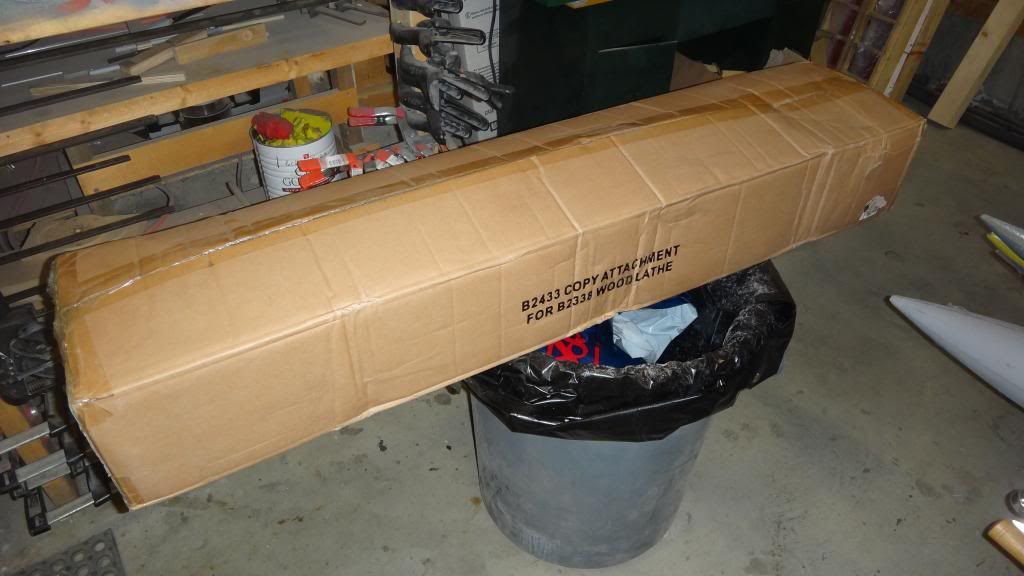
So last time a few weeks ago, I had to put the pressure hull to the side as I was waiting for my new lathe attachment to come in. Well it finally has, and I�ll tell you a few things about what it can (and should) do. It�s a copy attachment and it�s made for reproducing multiple copies of a finished work piece ie�stair spindles, baseball bats and the like and eliminates all the extra work it would take if you were doing each piece measurement by measurement. Another cool feature is that instead of copying and actual finished piece you can simply make a template, clamp it in place and your copier will follow this shape exactly. So, for those thinking of doing a hull-of-revolution shape, have a wood lathe and some skills, here is the tool that will cut down a whole hell of a lot of work off your machining time AND be more accurate.
The theory behind how it works is pretty cool, in a nutshell you have a follow pin which rides the original work. It�s spring loaded so that there is pressure against the work and as the guide goes, so goes the cutting tool. There is also a handle that allows the operator to add extra pressure to the work or take it away, but at the end of the day, if the following pin is against the work, then that is as far as the tool can cut. This ensures repeatability to the master or template. In my case, I simply want a perfect straight line for the pressure hull so I don�t need a template at all, as the natural path for the cutter will be straight.
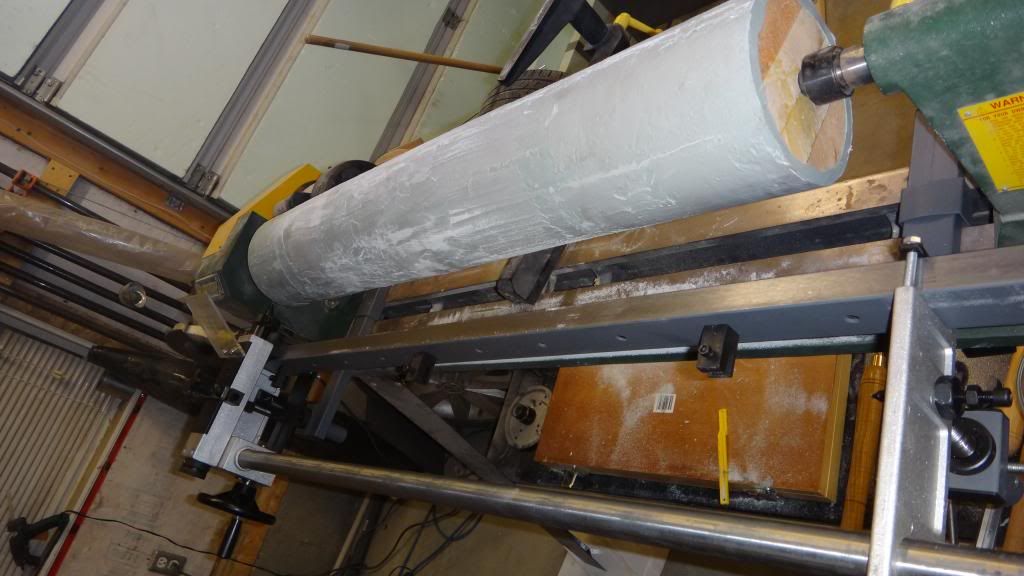
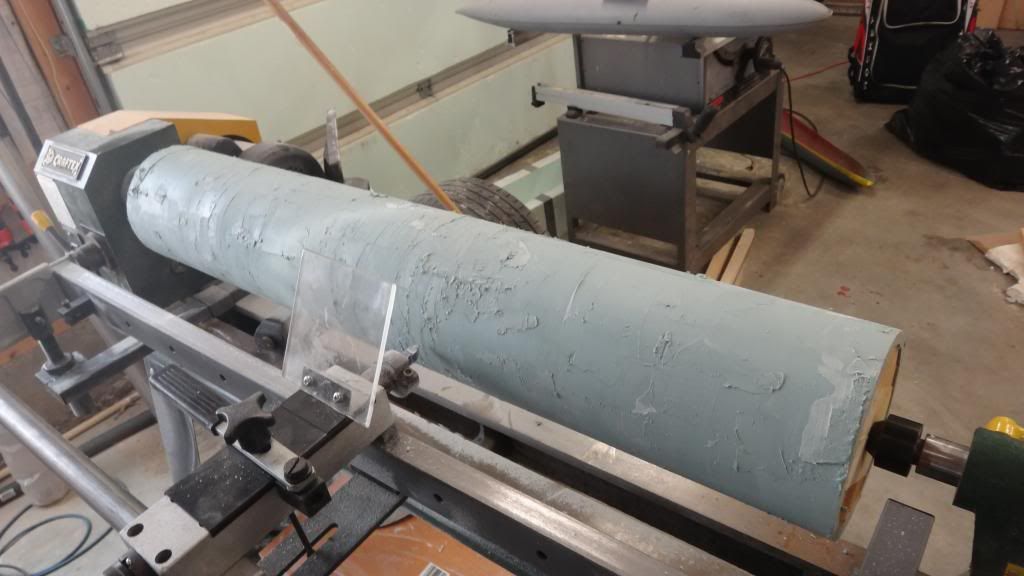
For every HMK build there is always a story involving disaster or something close to it. The Astute project�s first big issue comes to the machining of this pressure hull. Upon first using my copy rig I found it to not be rigid enough to mill down the Evercoat coating. I had lots of vibration. The cutting tool that came with the copy rig is made of plain old carbon steel and became dull within a few inches of cutting. I decided that the rig would still be good down the line for baseball bats or whatever else wood that I would want to copy, but I would have to cut my pressure hull into three sections and machine it on my metal lathe. I did do this and discovered that my metal lathe was short exactly 1/16� clearance to allow the work to be turned on it.
Back to the wood lathe! The pressure hull sections were glued back together and I went down to the store and bought some cheap carbide tools that would fit into the tool holder on the copy rig. The problem here is that the rig�s tool holder accepts round shanked tools, and the only shaped tools they have for metal working are square shanked. The solution here was to buy the square that didn�t quite fit into the circle and do a bit a modification with my bench grinder so that it eventually would. Anyways, the end result was that the carbide tip is the answer, and by being able to properly cut the material, I reduced the vibration that was introduced into the copy rig.
The moral of the story is, however, that model making is a process of innovation and problem solving. This is what the hobby is all about and should be accepted if one is to enjoy it. There WILL be more problems�so bring it on!
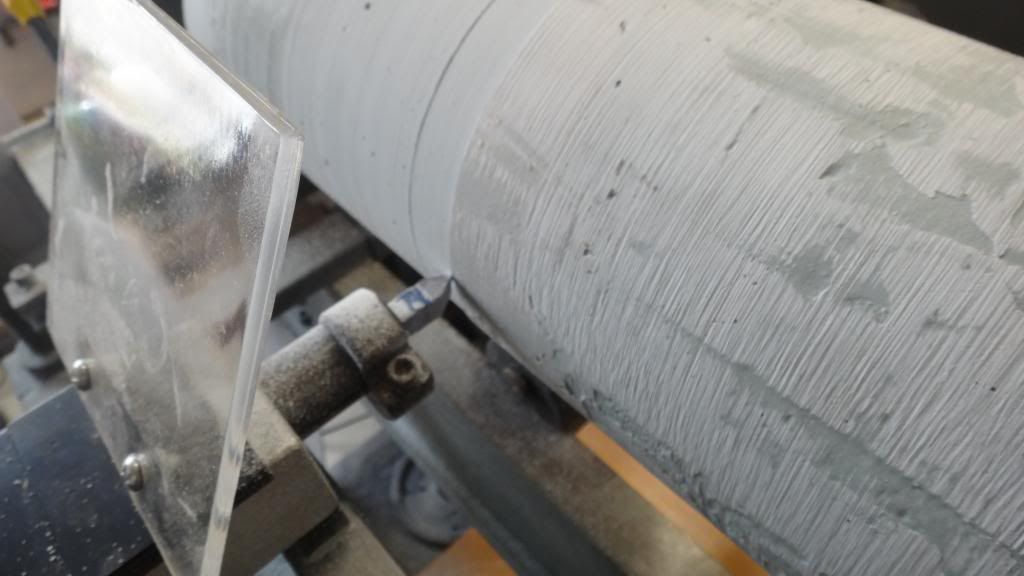
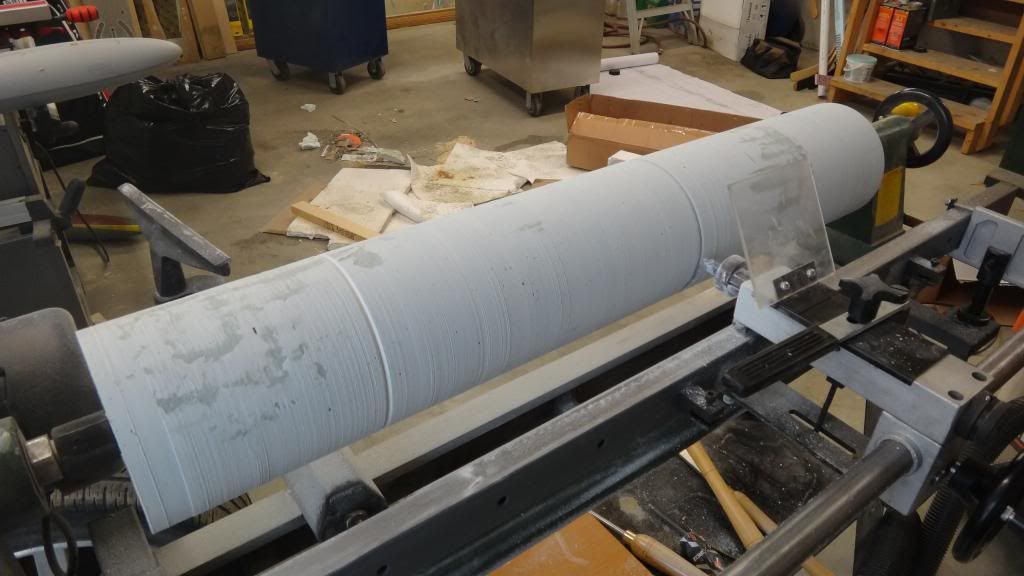
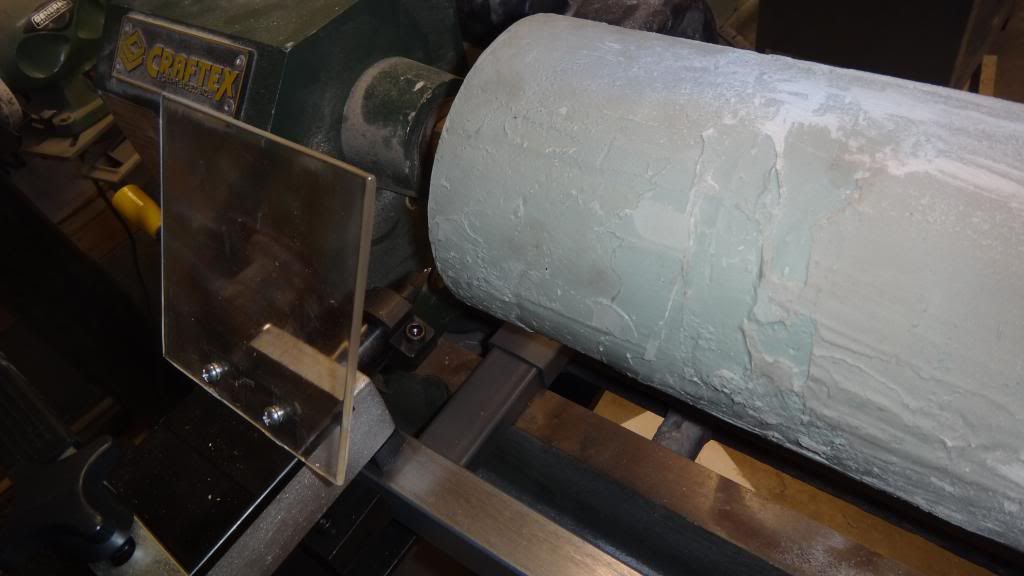
This process is done in a few stages as well. First I�ll do my rough machining to a little larger than the pre-required diameter. I�ll do a skim coat of plastic to fill the voids (which are evident by dark, untouched sections and fill in the air bubble holes or other flaws. I also machined a larger groove where I rejoined my sections and over-filled them with plastic. Once cured I�ll machine this down to size and do another skim coat if needed. Not much sanding yet!
Leave a comment:
-
Astute Chapter 3
The Stern,
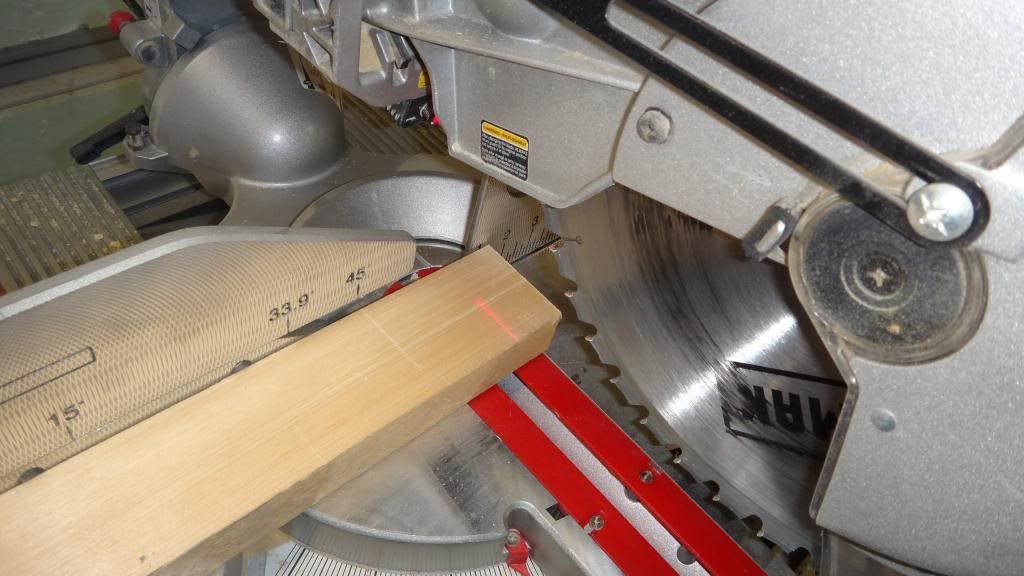
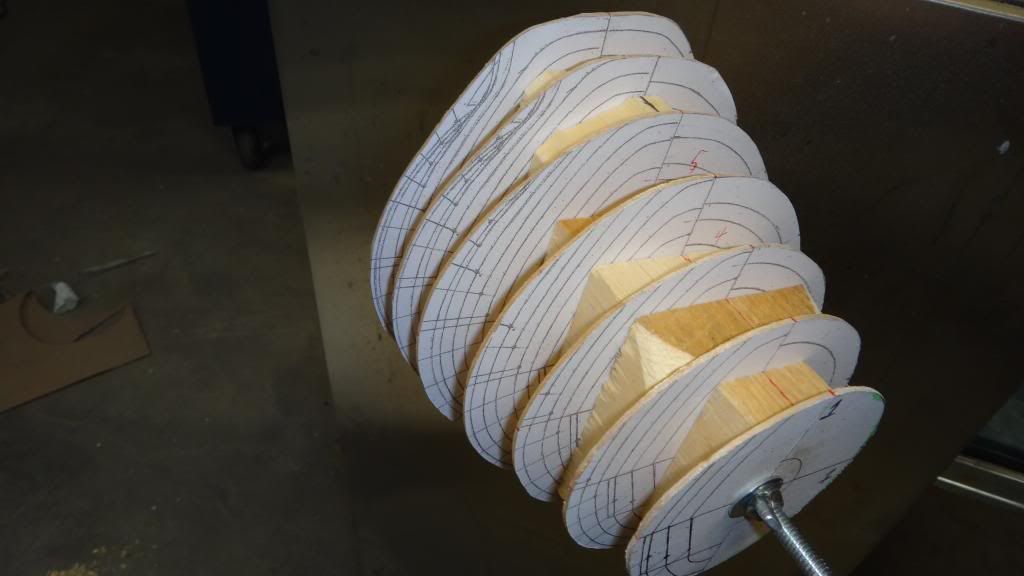
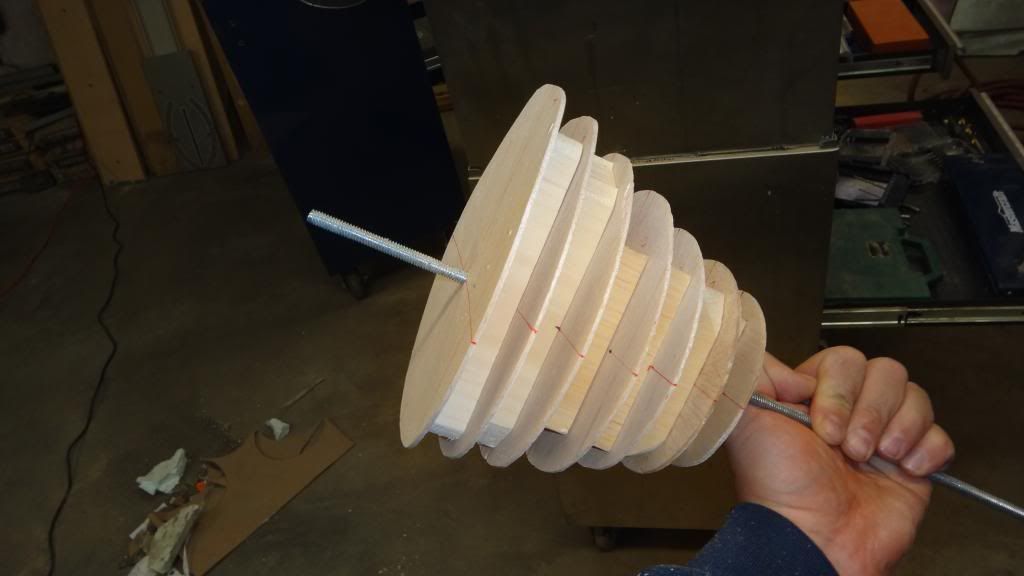
I used hull section print offs glued to balsawood so that I could make the stern section. Balsa is a great material to work with because to cut it to shape all I need to use is a #11 exacto scalpel. Between the sections are blocks of white pine that is precision cut to the measurements that is in between each section. I used different sized blocks in order to fill as much volume in the spaces between each section as well.
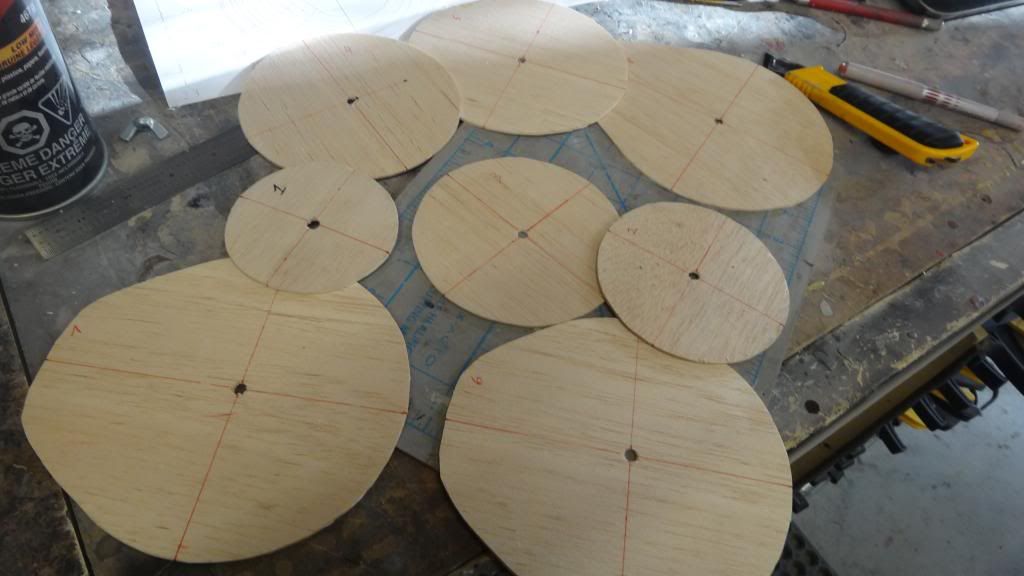
Each section and block has a �� hole drilled through the center reference cross-points, and the blocks are marked with center lines both horizontal and vertical to allow matching up of the parts. The whole assembly is held together using �-20 threaded rod and nuts, and has large fender washers at each end to distriThe bute the levering force of the nuts when tightened.
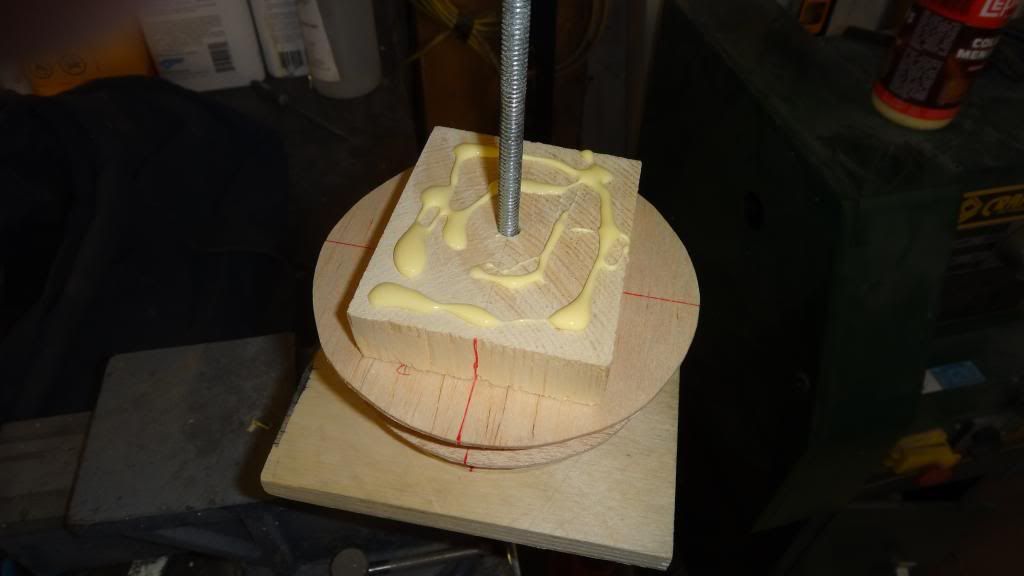
The assembly is dry fit at first to make sure the measurements match the prints and then taken apart. I then applied glue to each section and block did an aligning, then went on to the next section and tightened the whole thing together using a clamp, which was in turn held steady in my vise.

Now, from here, it�s a matter of filling the remaining spaces between each section with Evercoat. This is a multi-step process that starts with a base of plastic that adheres to the wood and stabilizes the sections, more fill and then a final coat of filler that will conform to the shapes guide lined by the balsa sectioning. Once happy with the general shape, then the balsa wood will be ground out and replaced by filler to give me a homogenous surface from which to my work on. This is going to be a lot of work, but I think the results will turn out pretty good.Leave a comment:


Leave a comment: