USS Nautilus - Final Edition

Collapse
X
 
  • Time
  • Show
Clear All
new posts

  • DrSchmidt
    replied


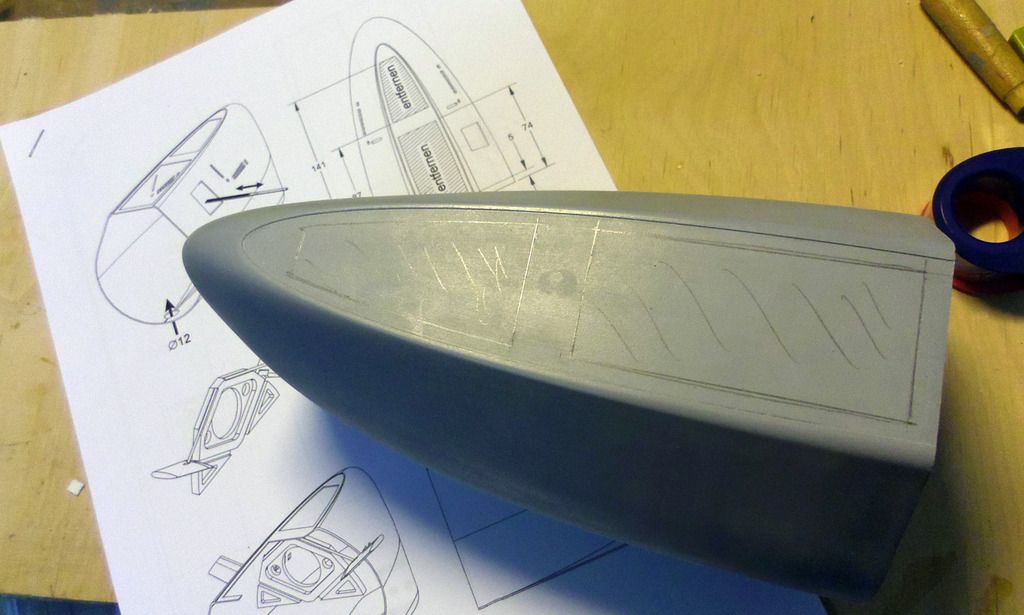
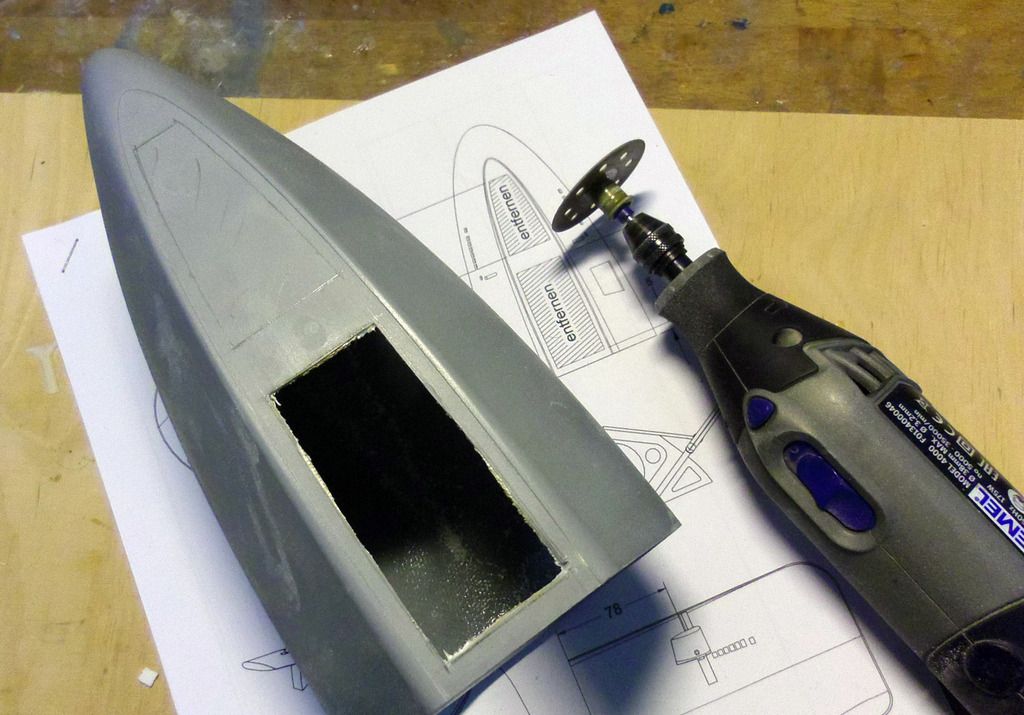
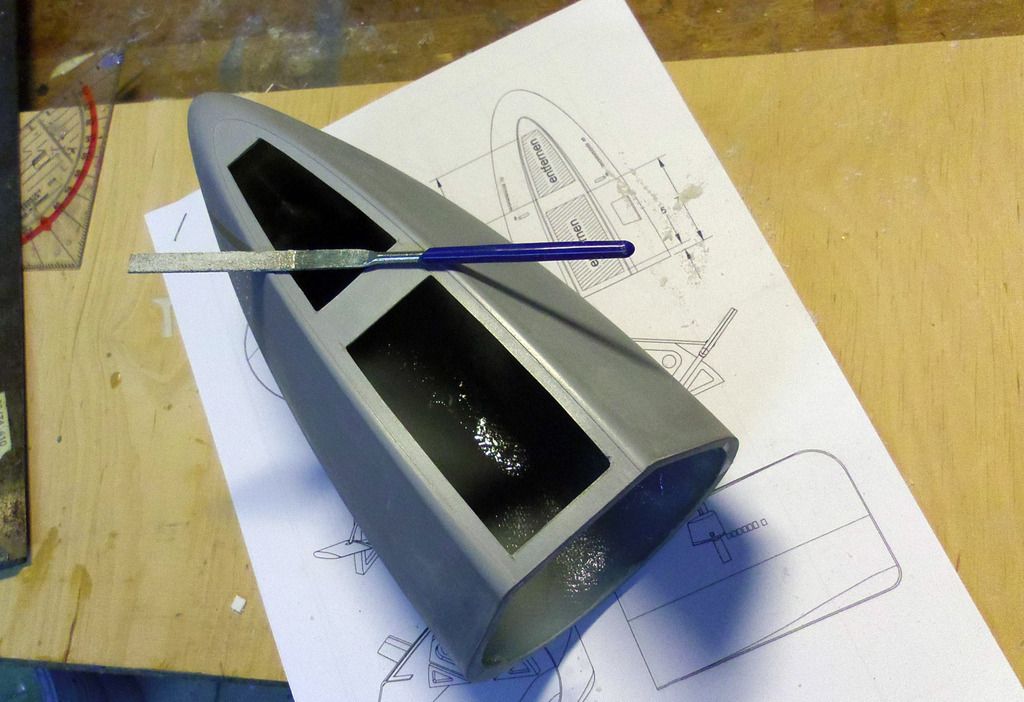
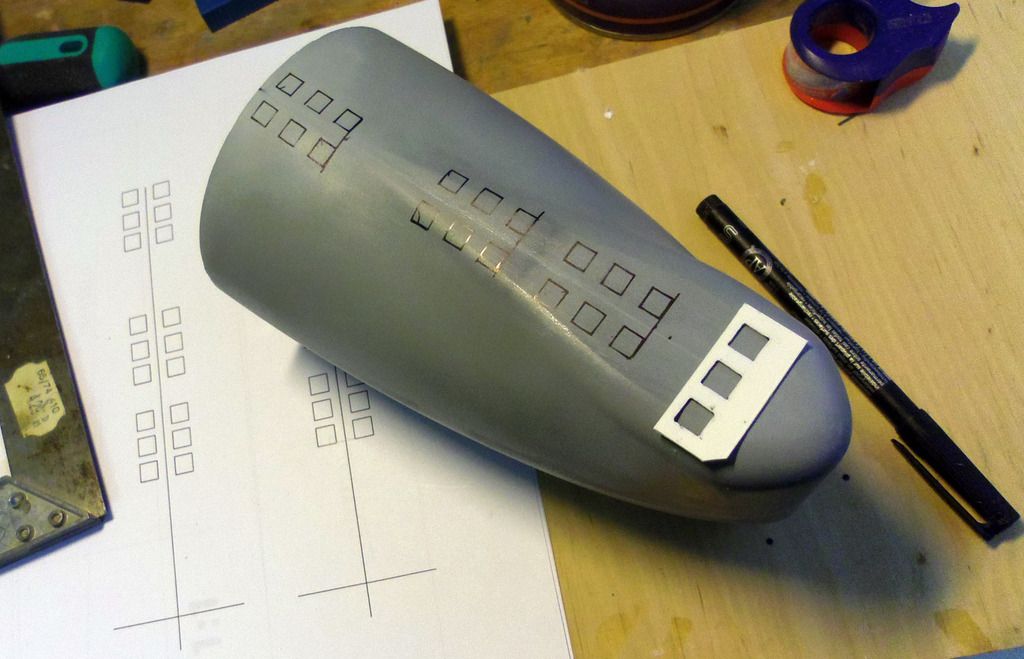
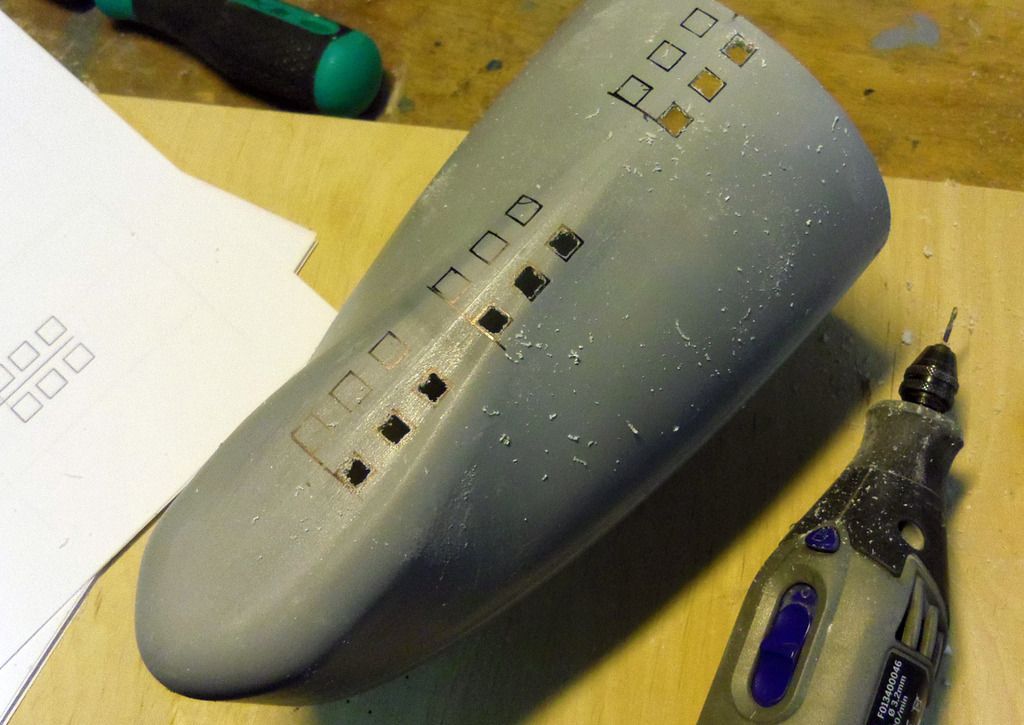
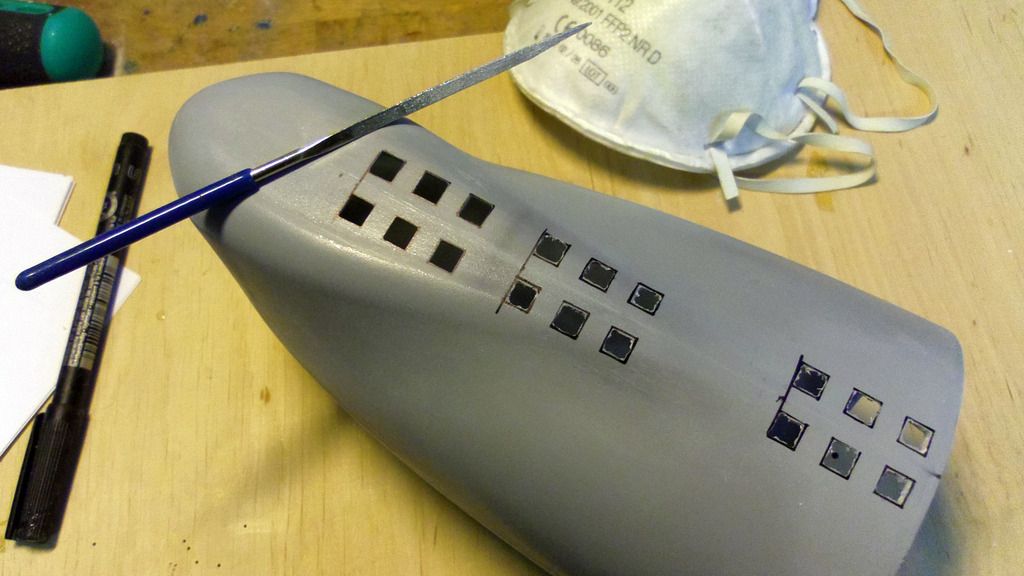
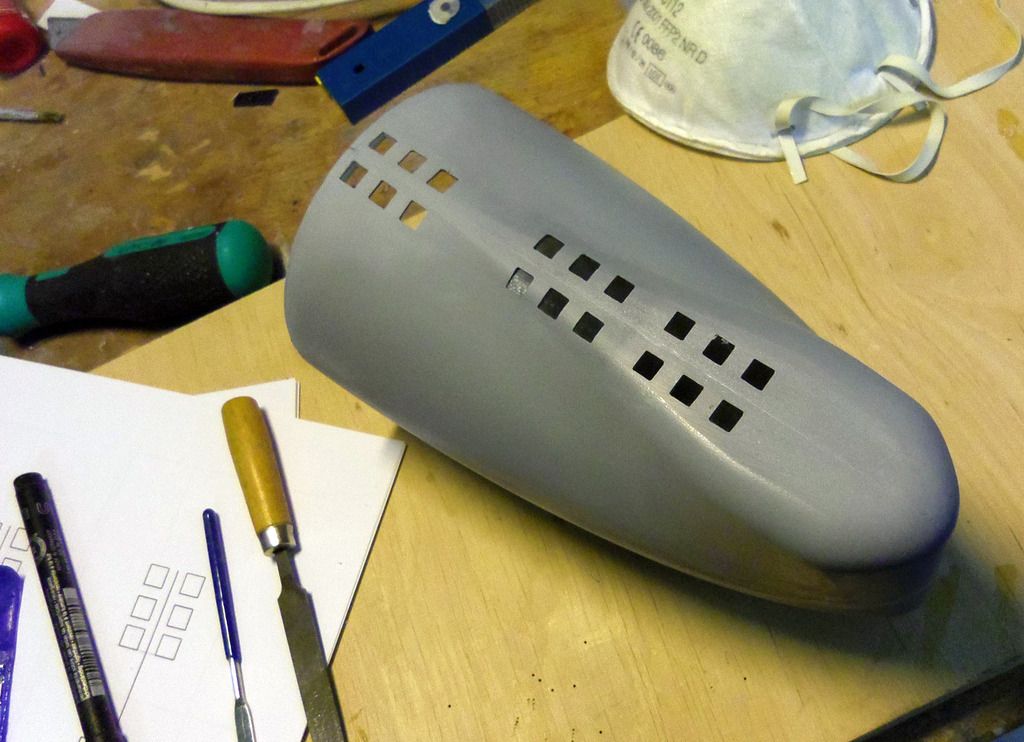
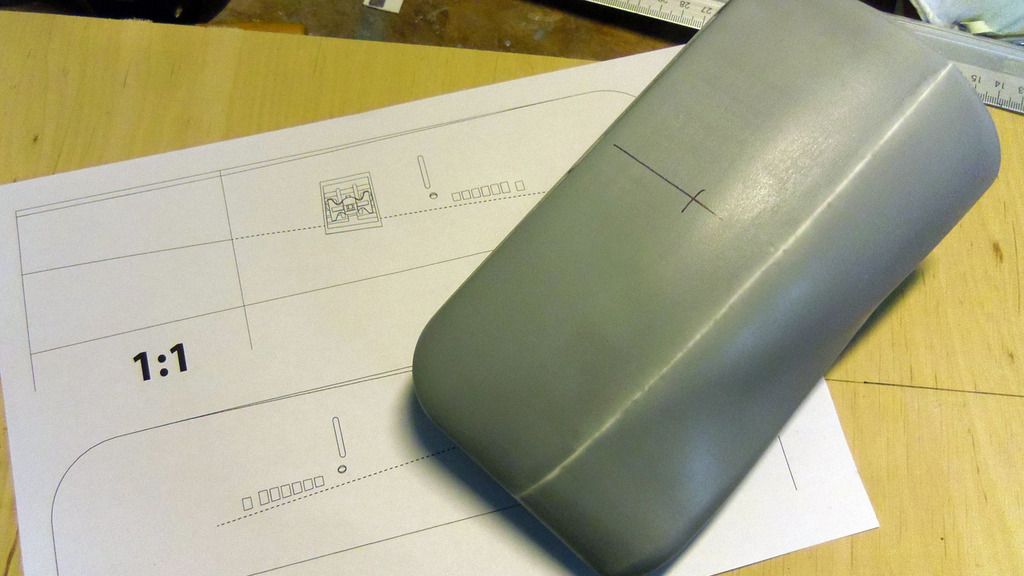
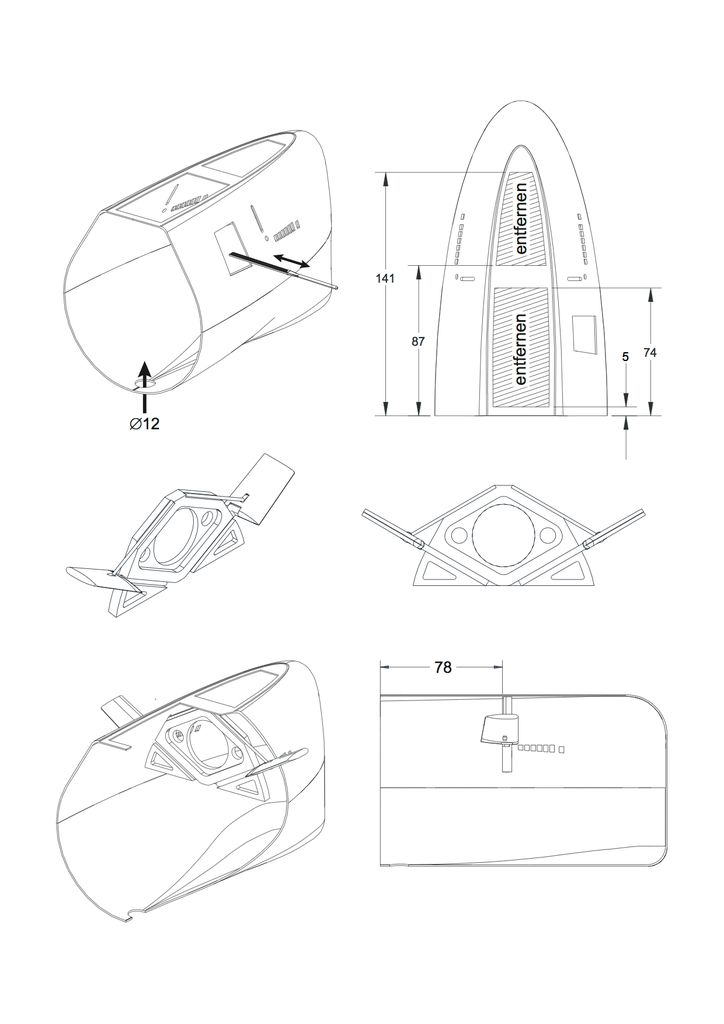
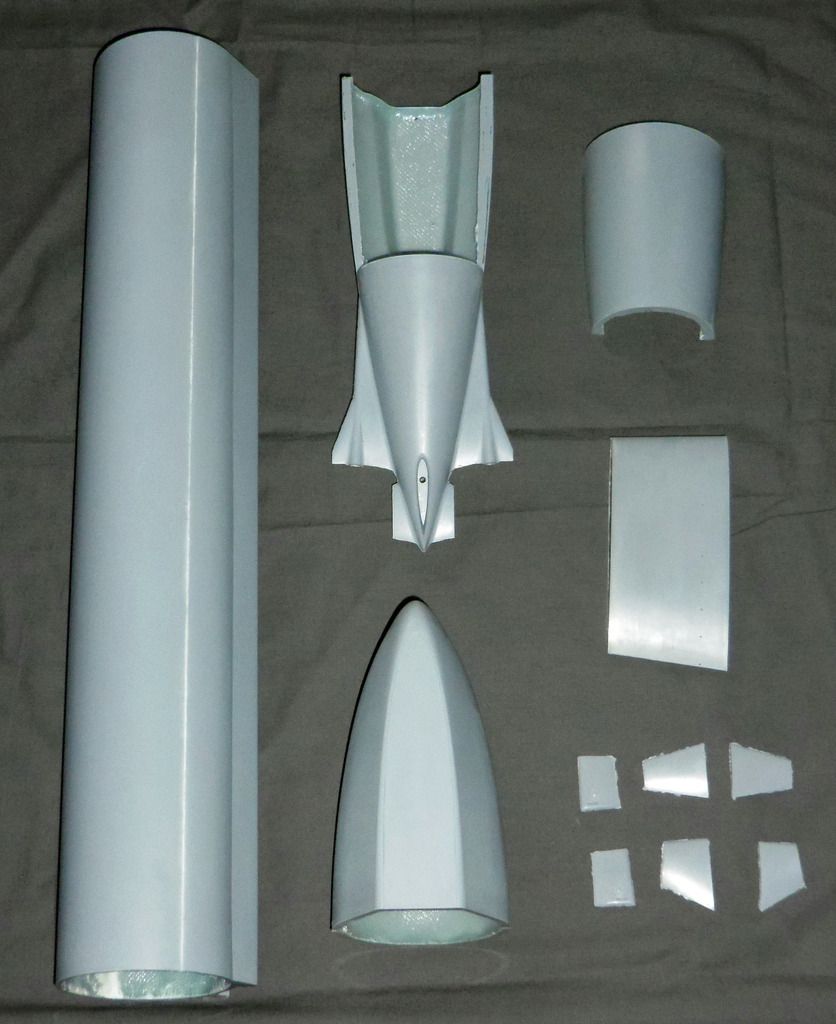
    Mark the deck openings, roughly cut them with the diamond wheel and the file it to end dimensions:


    I decided to make the limber holes on the lower side closer tot he original (in contrast to the 12 mm hole depicted in the manual). For marking I made a styrene stencil. Drill the holes out with a 1 mm drill and file them to their final shape using a diamond file.


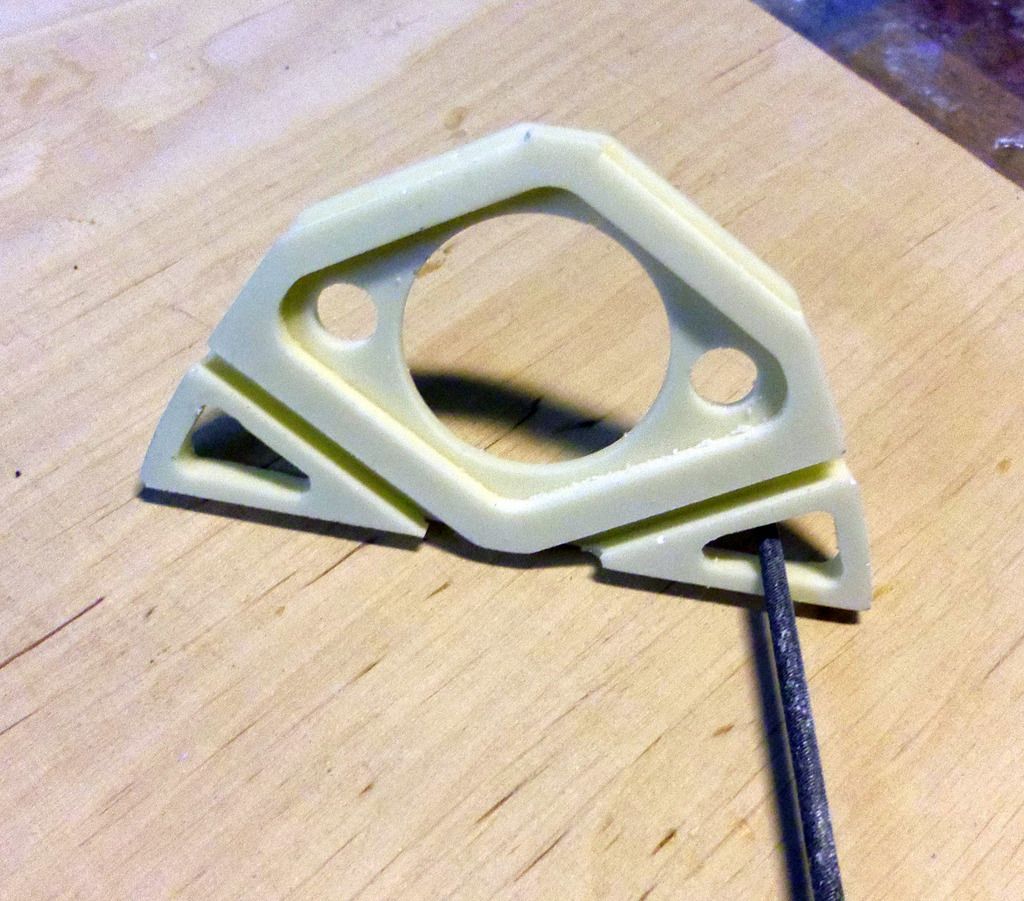
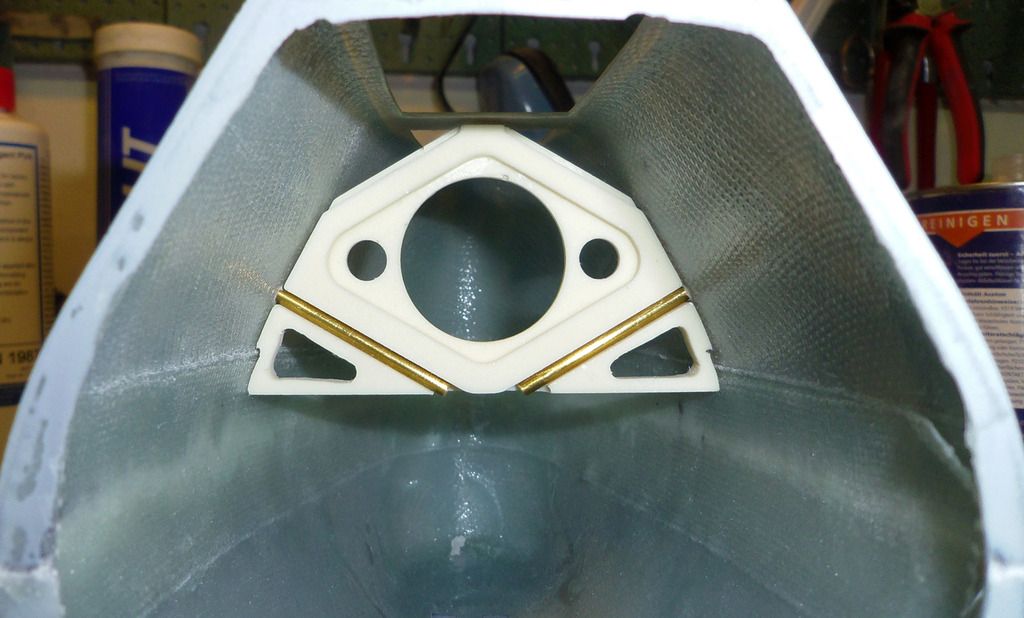
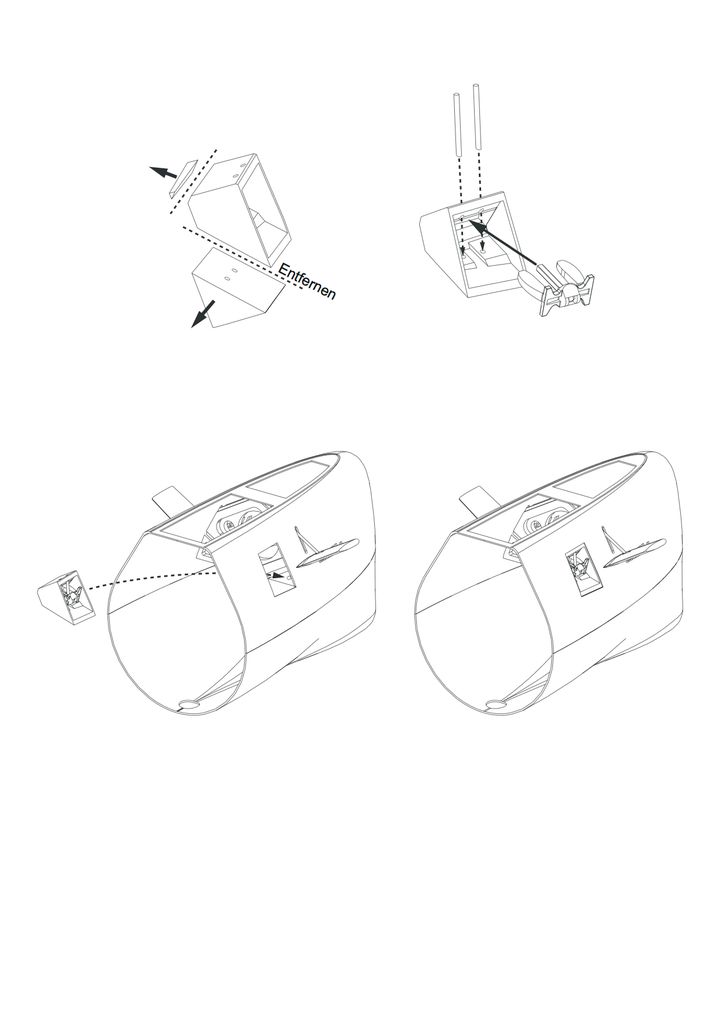
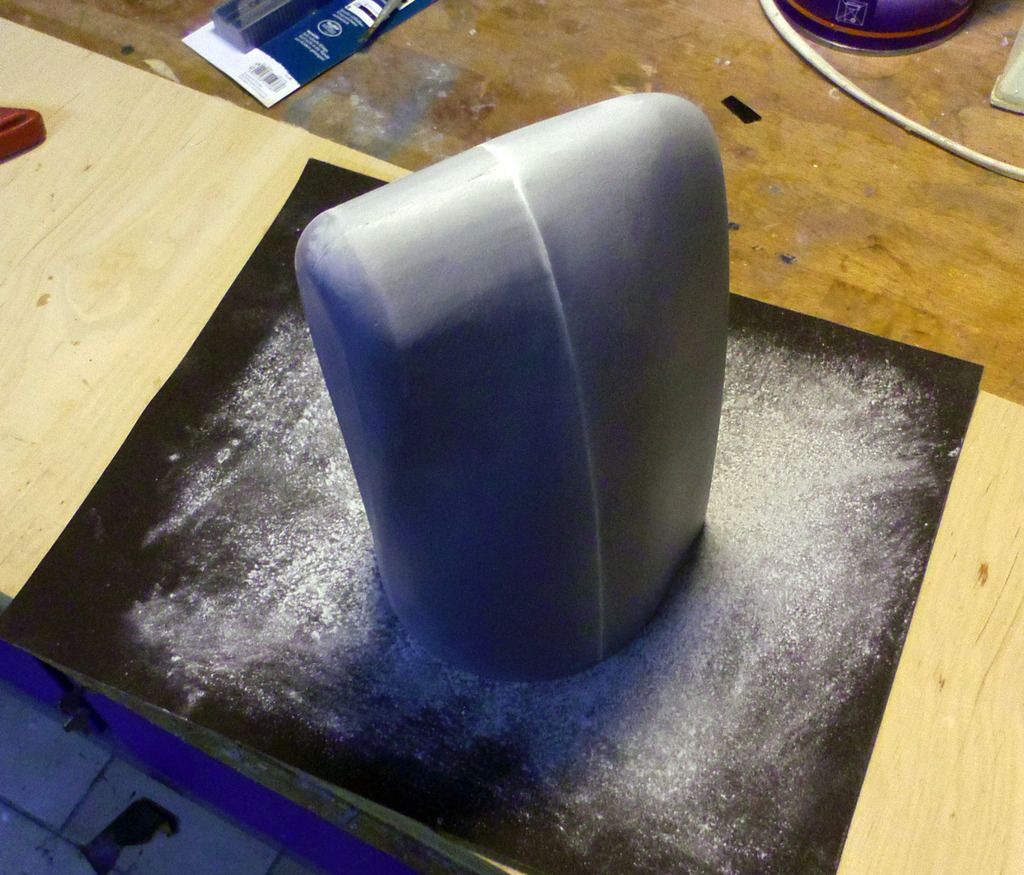
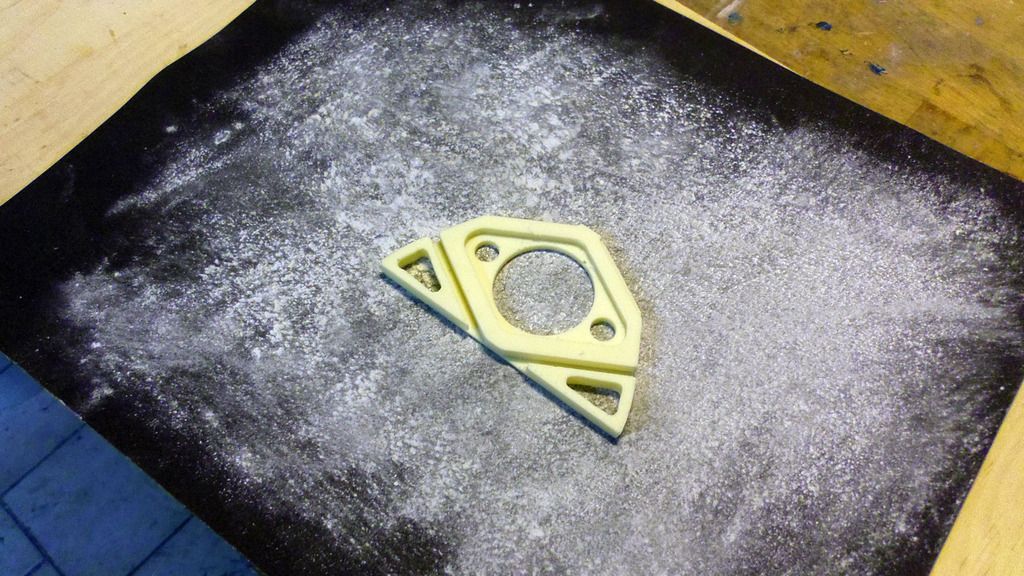
    Mark the position oft he bow plane shaft. Here precision is mandatory as precisely positioned shafts make the assembly oft he mount absolutely easy. If everything fits, it’s just a snap together job. Note that the mount was adjusted to the inner contour oft he hull near the seam:


    Leave a comment:


  • DrSchmidt
    replied
    We start with the bow section. Limber holes, deck openings and the holes fort he bow planes have to be defined. The bow planes will be fixed which proved sufficient on the prototype. The bow planes are tilted upwards 30° with respect tot he horizontal. That was not the original state, but during the test runs oft he Nautilus vibrations occurred at the bow planes that disappeared when the planes were tilted 30° upwards. So this was adopted. I work forward along my self-made manual:


    Clean the seam with 400-grade sandpaper and flatten the base plane:


    Same with the PU resin bow plane mount:


    The mount is further hollowed out to reduce its volume above the waterline:

    Leave a comment:


  • DrSchmidt
    started a topic USS Nautilus - Final Edition

    USS Nautilus - Final Edition

    After successful test runs with the prototype, I've decided to incorporate my experiences with it in a second, improve version of the Nautilus. This time it will reach its design waterline and will have a higher battery capacity. I start with a complete set of parts that would also make a kit (in case I do it):

    GRPparts: All parts made by glass cloth with epoxy gelcoat as top coat. Moulds were fabricated based on CNC-milled masters. The parts comprise:

    - Bow
    - Main hull
    - Stern
    - Service hatch
    - Sail
    - all control planes
    - rear bulkhead (not depicted)


    PVC milled parts: All parts for the inner structure, additional pats and the standCNC milled out of 5 mm and 2 mm PVC:


    Brass parts: Photo-etched decks and accessories. 2 x scale brass props custom-made by the PropShop (UK)


    Resin parts: Accessories and structure components made from PU resin:


    A set of decals with ships number, name, draft marks...

    Bought parts:

    Engel Modellbau:
    1 x Hall sensor for Compact-Tank Controller CTS2 (1585-H05S)
    2 x Compression Fittings 2 mm (3289)
    1 x Compact-Tank Controller CTS2 12V (1584-CTS2-12)
    1 x Piston Tank EA 12V 540 -custom made- 1000 ml (1588-EA-12)
    1 x Autoleveler SPC2 (1574)
    1 x Pressure Switch 3,0 mm (5029)
    2 x ROXXY® BL-Outr. C35-29 500kv 4989 (RO4989)


    Hobby-Lobby Modellbau:
    10 x Rail posts 11 mm , 3 Durchzüge (910-11)
    2 x Standard Wellenanlage , 170 / 125 mm M4 (5000-05)

    Conrad:
    2 x Roxxy Bruschless-Control 930

    Hacker:
    1 x TopFuel LiFe 30C 4100mAh 4S (44100451)

    Graupner:
    2 x Graupner Servo digital DES 47 (7917)

    Brüggen:
    1 x Bayonet Catch 99 mm x 88 mm
    1 x Receiver Corona RP8D1

    And small stuff like bras tubes, rods, connectors.....
Working...